How to Make a Unique Crochet Phone Pouch for Your Smartphone

Are you tired of your phone getting scratched or damaged in your bag? Why not add a touch of creativity and protection to your phone with a crochet phone pouch? This fun and easy DIY project will not only keep your phone safe but also make it look stylish and unique. Say goodbye to boring and generic phone cases and hello to a one-of-a-kind crochet phone pouch that showcases your creativity and craftsmanship. This delightful DIY project allows you to not only protect your phone but also express your unique style through the art of crochet.
Materials
- Yarn: worsted weight yarn
- Crochet Hook: H (5mm)
- Notions: Yarn needle for weaving in ends, ½” button, sewing needle and matching thread
- Optional: Measuring tape, scissors
Measurements
- Finished Measurements:
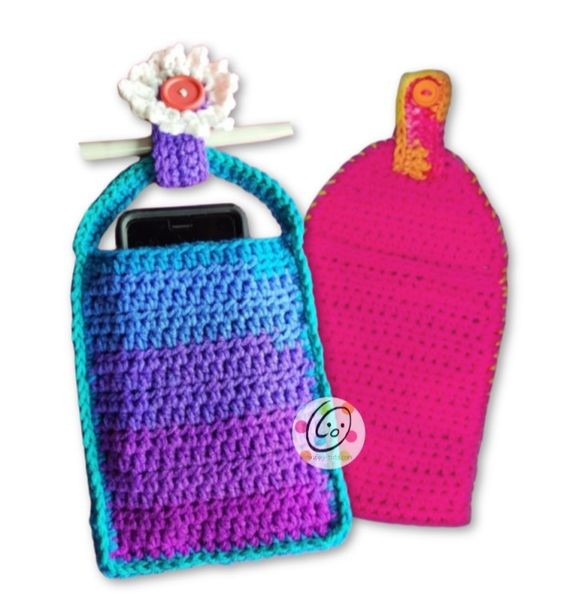
Pouch with handle (variegated sample): 6.5” long x 5.25” wide
Pouch with tapered top (pink sample): 9” long x 5” wide
Tag: 5” long x 1” wide
- Gauge: not needed for this project.
Tips
- First stitch of each row is worked into the same stitch as the turning chain.
- Numbers at the beginning of each line may refer to steps and not indicate the number of rows.
- Stitch count remains the same unless noted at the end of row/round.
Pouch With Handle (Variegated Sample)
- With an H hook and yarn, ch 17, sc in 2nd ch from hook and in each ch across. (16sts)
- Ch 2, turn, hdc in the same st and in each st to end of row.
- Repeat row #2 for an additional 29 rows. Add or subtract length to this section if desired.
- This step creates the pocket and is worked around the outer edge. Fold piece in half, matching short ends. Ch 1. Working through both layers, sc in last st made, sc 22 sts evenly down the side, 3sc in the corner, sc 14 sts evenly across the folded edge, 3sc in the corner, sc 22 sts evenly up the side.
- This step creates the handle at the top. Ch 26, sl st in 2nd to last st at end of top row and in the last st, making sure the chain is not twisted. Ch 1, turn, sc in each ch across, sl st in first st on pocket. Finish off and weave in the ends.
- This step is worked around the outer edge of the entire piece. With an H hook, attach matching yarn to the bottom corner of the pocket. Sl st in each st around the pocket and handle, sl st to join at the end of the round. Finish off and weave in ends.
Pouch With Tapered Top (Pink Sample)
- With an H hook and yarn, ch 17, sc in 2nd ch from hook and in each ch across. (16sts)
- Ch 2, turn, hdc in the same st and in each st to end of row.
- Repeat row #2 for an additional 29 rows. Add or subtract length to this section if desired.
- Ch 1, turn, sc2tog, sc 12, sc2tog. (14sts)
- Ch 1, turn, sc2tog, sc 10, sc2tog. (12sts)
- Ch 1, turn, sc in each st to end of row.
- Ch 1, turn, sc2tog, sc 8, sc2tog. (10sts)
- Ch 1, turn, sc in each st to end of row.
- This step creates the button hole opening at the top. Ch 1, turn, sc2tog, sc, ch 4, sk 4, sc, sc2tog. (8sts)
- Ch 1, turn, sc2tog, sc 4 around ch, sc2tog. (6sts)
- This step is worked around the outer edge. Ch 1, sc in the same st and evenly down the side of the rectangle, (sc, ch 1, sc) in the first st of the bottom row, sc in each st until 1 st remains, (sc, ch 1, sc) in the last st, sc evenly up the side of the rectangle, sl st in the first st to join. Finish off and weave in the ends.
- Fold the piece so the bottom edge is even with the last full row before it starts to taper. With matching yarn and a yarn needle, start at the bottom corner and sew the layers together, wrap around the sts at the top and sew the layers together down the opposite edge.
Button Tab
- With an H hook and worsted weight yarn, ch 21, sc in 2nd ch from hook and in each ch across. (20sts)
- Ch 1, turn, sc in the same st, ch 2, sk 2, sc in each st to end of row.
- Ch 1, turn, sc in the same st and in each st across, working 2sc around the ch from the previous row.
- This step is worked around the outer edge of the tab. Ch 1, sl st in the same st, sl st in the end of the tab, (sl st, ch 1, sl st) in the corner, sl st down the side of the tab, (sl st, ch 1, sl st) in the corner, sl st in the end of the tab, (sl st, ch 1, sl st) in the corner, sl st up the side of the tab, sl st to join. Finish off and weave in ends.
- With a sewing needle and matching thread, sew a ½” button to the opposite end of the tab from the button hole.
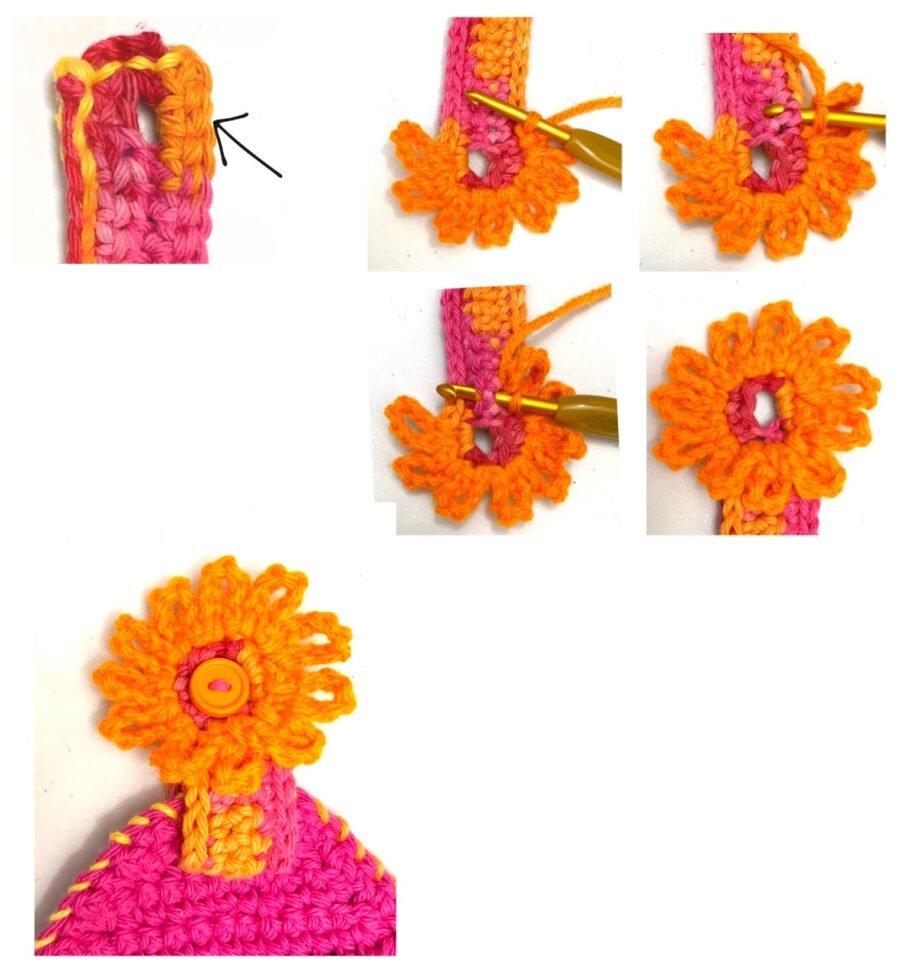
Flower (optional): With an H hook and yarn color of choice, attach the yarn to a st next to the button hole on the opposite side of the tab. This is important so the button will come through the hole and have the flower around it. *Ch 7, sl st in the same st, sl st in the next st*, repeat, working around the outer edge of the tab and across the tab below the hole to form a circle. See photos below.
- Recipes
-
 Tofu Quesadilla
-
 Easy Egg Curry
-
 Chocolate Strawberry Cake
- Funny Pictures
-
 Go Ahead and Get Yourself Some of Those Painful Monday Memes
-
 Wonderful Pics for Those Who’ve Been Waiting for September
-
 Cool and Funny Memes to Keep You in a Good Mood
- Crochet Ideas
-
 Crochet Halloween Finger Puppets
-
 Crochet Glorious Gray Pineapple Doily
-
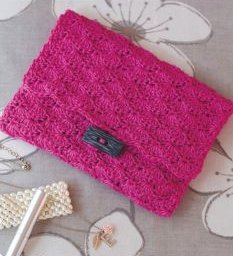 Crochet Clutch Bag
- Lifehacks
-
 Striped Mesh Crochet Stitch Photo Tutorial
-
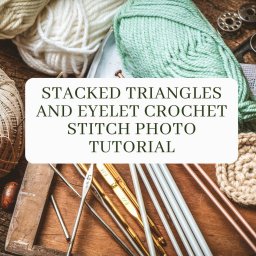 Stacked Triangles and Eyelet Crochet Stitch Photo Tutorial
-
 Double Crochet Net Stitch Photo Tutorial
- DIY
-
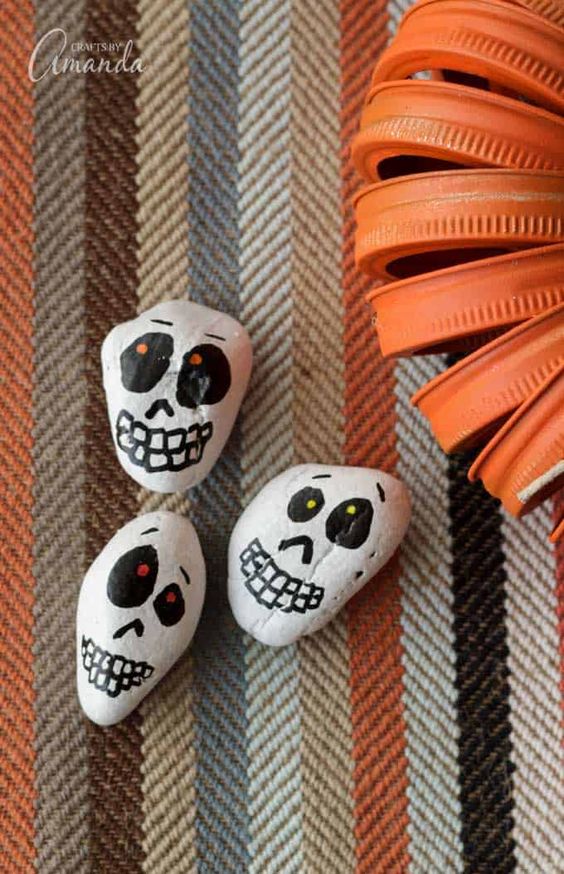 Cute Skull Rocks
-
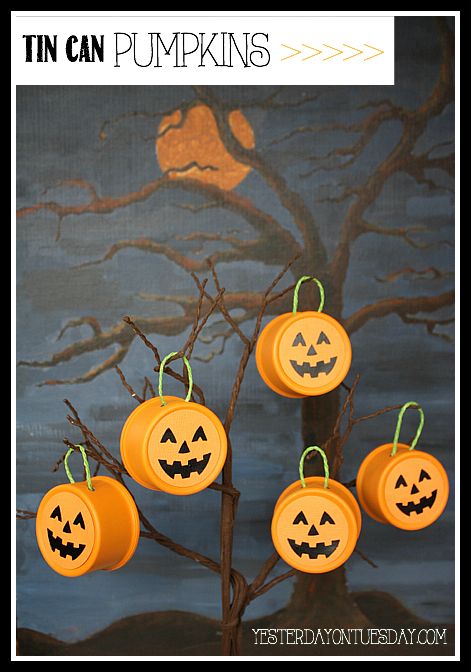 Tin Can Pumpkins
-
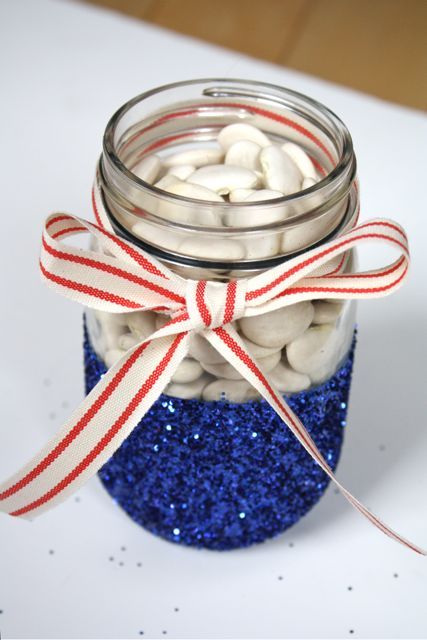 Mason Jar Candle Holders
- Knitting Ideas
-
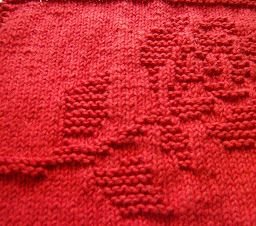 Knitted Rose Dishcloth
-
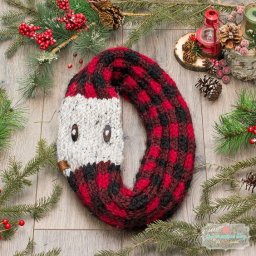 Knitted Woodland Infinity Scarf
-
 Cute Kitty Change Purse