DIY Crochet Phone Holder: A Step-by-Step Guide


Crochet phone holders are not just practical but also charming accessories that add a touch of personality to your everyday routine. With a myriad of colorful yarns and intricate patterns to choose from, crafting your own crochet phone holder can be both relaxing and satisfying. Whether you opt for a simple design or go for a more elaborate style, the end result is sure to be a unique and functional piece that keeps your phone safe and snug.
Materials:
Step by Step Pattern
Making the Base
1st Step: Set Up Chain
Start by chaining seven stitches.
2nd Step: Row Creation
Create five rows, each with six Single Crochet (SC). Use stitch markers to mark your first stitch.
Step 3: Work On the Border
Create a border around your work:
Start with a corner: work a SC, Chain 1 (CH 1), and then work a SC in the same space.
Make three SC stitches along the side.
Work the next corner like the first.
Stitch four SC along the next side.
Continue around till you complete the border with four corners and sides filled SC stitches.
Step 4: Create a Loop
Remove your hook, extend your current loop, insert the hook in the first stitch, and pull the loop through.
Creating the Holder Walls
5th Step: First Row of Walls
Start with another border of Slip Stitches (SL ST) until you have 26 SL ST all around.
6th Step: Second Row of Walls
Work Single Crochet (SC) stitches in each slip stitch.
7th Step: Working With The Box
Now, work on only three sides of the box.
Step 8: Decreases
Between the rows of normal stitches, you need to decrease by skipping a stitch at both the start and end of your rows.
9th Step: Pattern Continuation
Continue this pattern with one normal row and one decreased row till you reach the required height of your phone holder.
Final Touches
10th Step: Last Row
The last row should end with a decrease, leaving you with 13 stitches.
Step 11: Creating the Holder Border
Make a border around your holder with a pattern of CH 1, SL ST.
12th Step: Finishing
Cut your yarn, fasten off, and weave in the ends.
- Recipes
-
 Cilantro Lime Rice
-
 Sweet Potato Soup with Roasted Cauliflower Crumbles
-
 Americano Cocktail
- Funny Pictures
-
 Incredible Animal Pics to Have Some Good Time
-
 Totally Wholesome Doggo Memes
-
 Cute and Adorable Animals for You
- Crochet Ideas
-
 Crochet Crop Top
-
 Crochet Easter Sheep and Duck Egg Bags
-
 Crochet Summer Top
- Lifehacks
-
 How to Crochet the Plaid Stitch Photo Tutorial
-
 How To Crochet The 3-Colored Crosshatch Stitch Tutorial
-
 Flower With Stem Stitch Photo Tutorial
- DIY
-
 DIY Seashell Hair Pins
-
 Crochet Smiling Flowers
-
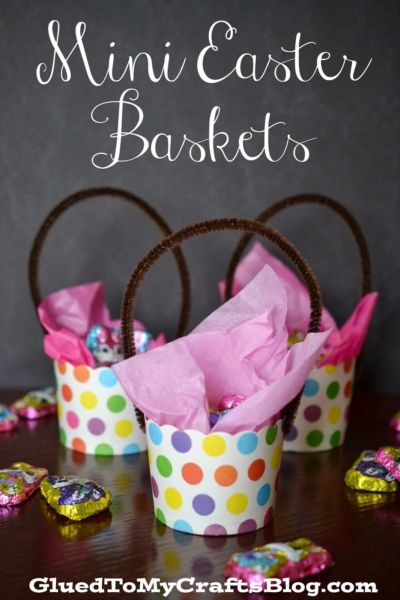 Paper Cup Mini Easter Basket Gifts
- Knitting Ideas
-
 Knitted Tank Top
-
 Knitted Pom-Pom Booties
-
 Knitted Rabbit Dolls