Crochet Easter Bunny Napkin Ring: A Creative DIY Guide
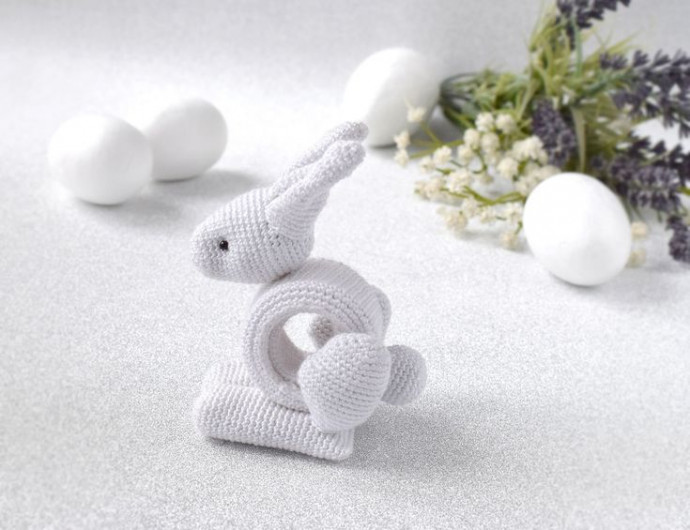
The Crochet Easter Bunny Napkin Ring is an adorable addition to your holiday table setting. This charming little bunny crafted with soft yarn adds a delightful touch to your Easter decor, bringing a whimsical and festive vibe to your dining experience. Not only does it create a cute focal point on each napkin, but it also adds a personal and handmade feel to your table that your guests will surely appreciate.
Materials Needed
– Alize forever 50 gr/300 m
– 1,25 mm crochet hook
– A sewing needle, hollow fibre stuffing, 2 small beads for the eyes, a plastic sellotape reel or something of a similar type
Abbreviations
sc – single crochet
inc – increase
dec – decrease, two single crochets together
Preparation
I used a sellotape reel.
Adjust the size of your napkin ring according to your own measurements.
Instructions
Outer Ring
ch 47 in the ring
1 – 18. 47 sc
Inner Ring
ch 36 in the ring
1 – 17. 36 sc
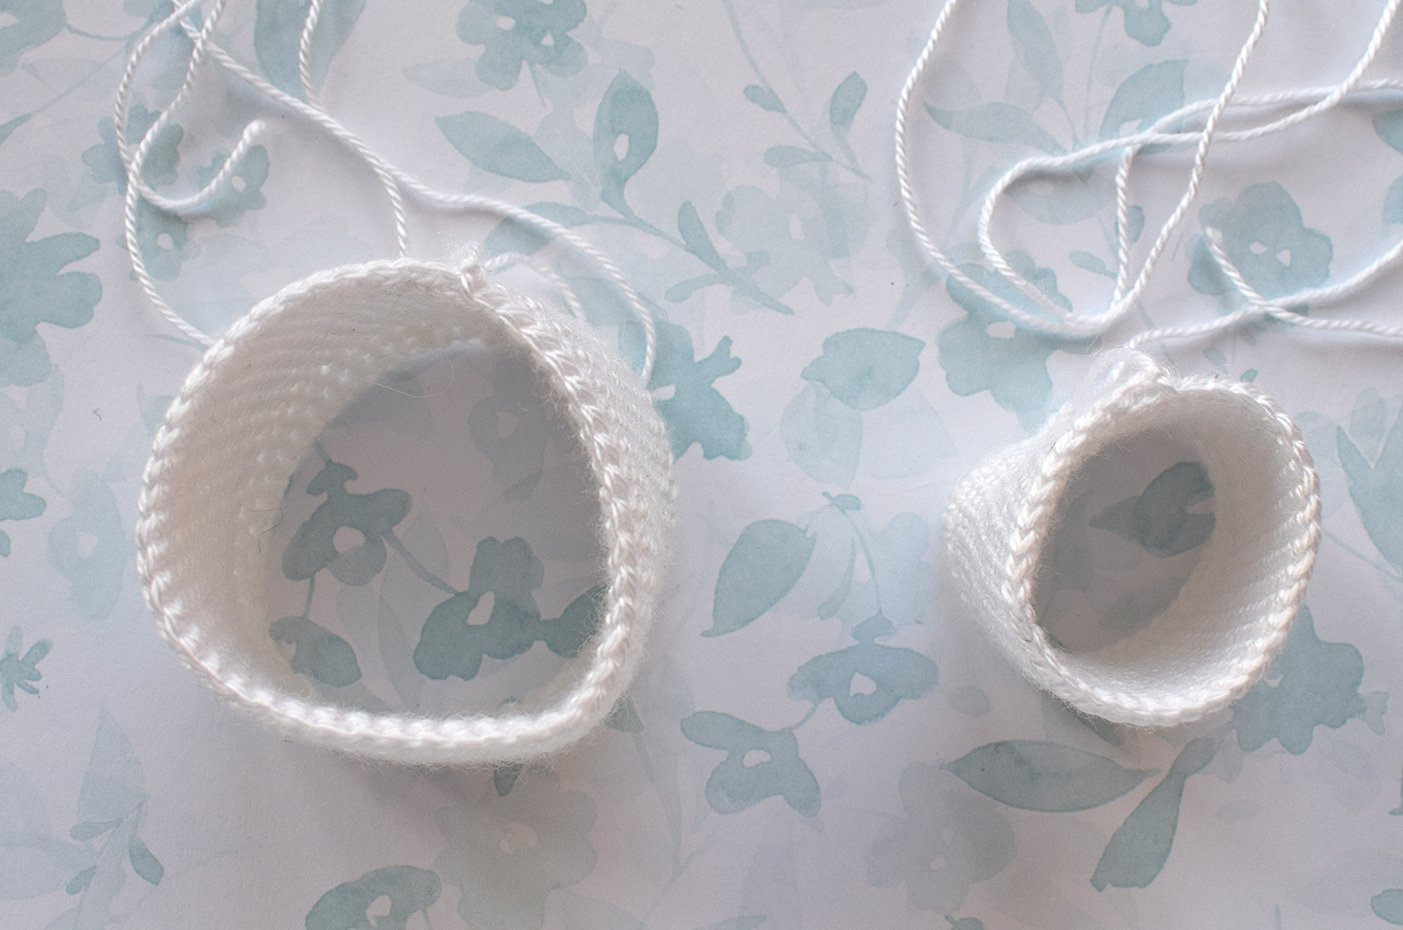
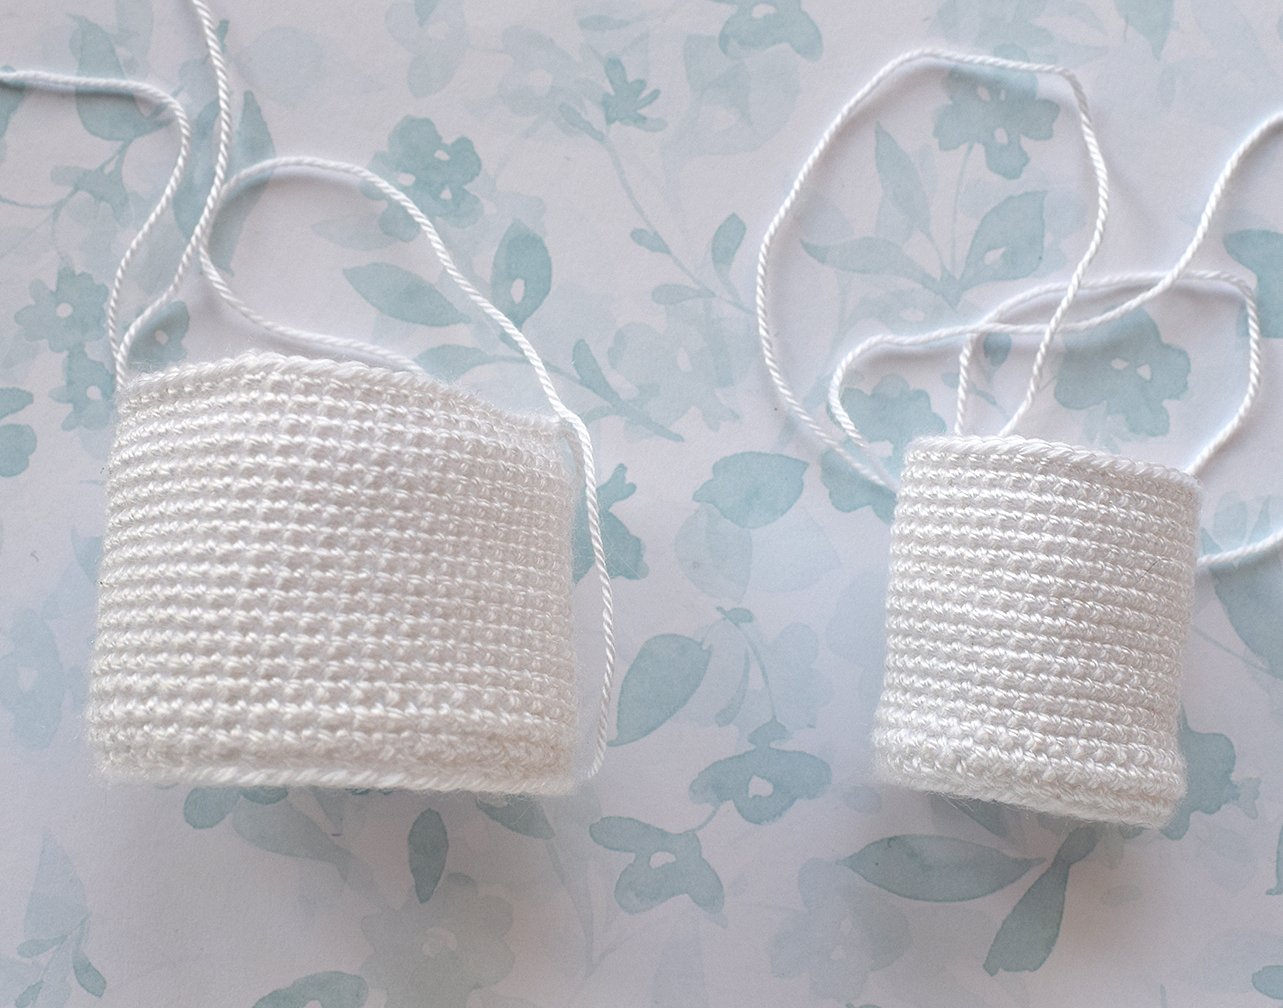
Foot (2 pcs)
1. Crochet 6 sc in a Magic Ring
2. 6 inc = 12 sc
3. (1 inc, 1 sc) х 6 = 18
4. (1 inc, 2 sc) х 6 = 24
5, 6. 24 sc
7. 1 inc, 1 sc, 1 inc, 21 sc = 26
8. 26
9. 1 inc, 1 sc, 1 inc, 23 sc = 28
10. 1 inc, 1 sc, 1 inc, 25 sc = 30
11, 12. 30
13. 1 dec, 1 sc, 1 dec, 25 sc = 28
14. 1 dec, 1 sc, 1 dec, 23 sc = 26
15. 1 dec, 1 sc, 1 dec, 9 sc, 1 dec, 10 sc = 23
16. 1 dec, 1 sc, 1 dec, 8 sc, 1 dec, 8 sc = 20
17. 1 dec, 1 sc, 1 dec, 6 sc, 1 dec, 7 sc = 17
Stuff lightly.
18. 2 dec, 3 sc, 2 dec, 4 sc, 1 dec = 12
19. 12
Bind off. Cut off, leave a small length of thread for further sewing.
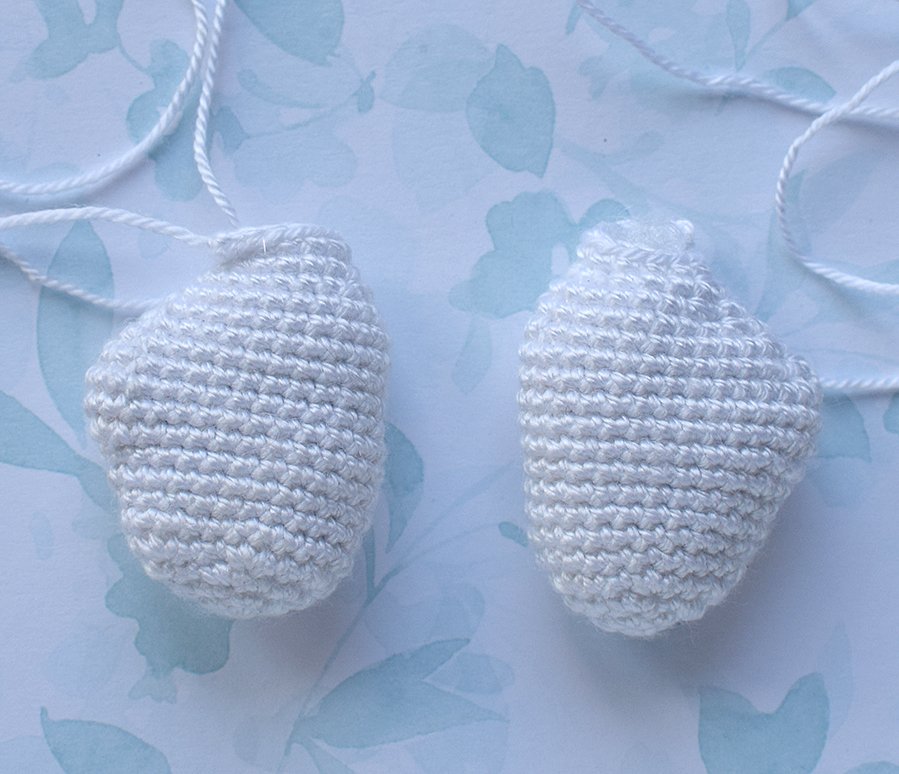
Hip (2 pcs)
1. Crochet 6 sc in a Magic Ring
2. 6 inc = 12 sc
3. (1 inc, 1 sc) х 6 = 18
4. (1 inc, 2 sc) х 6 = 24
5 – 27. 24 sc
Stuff lightly.
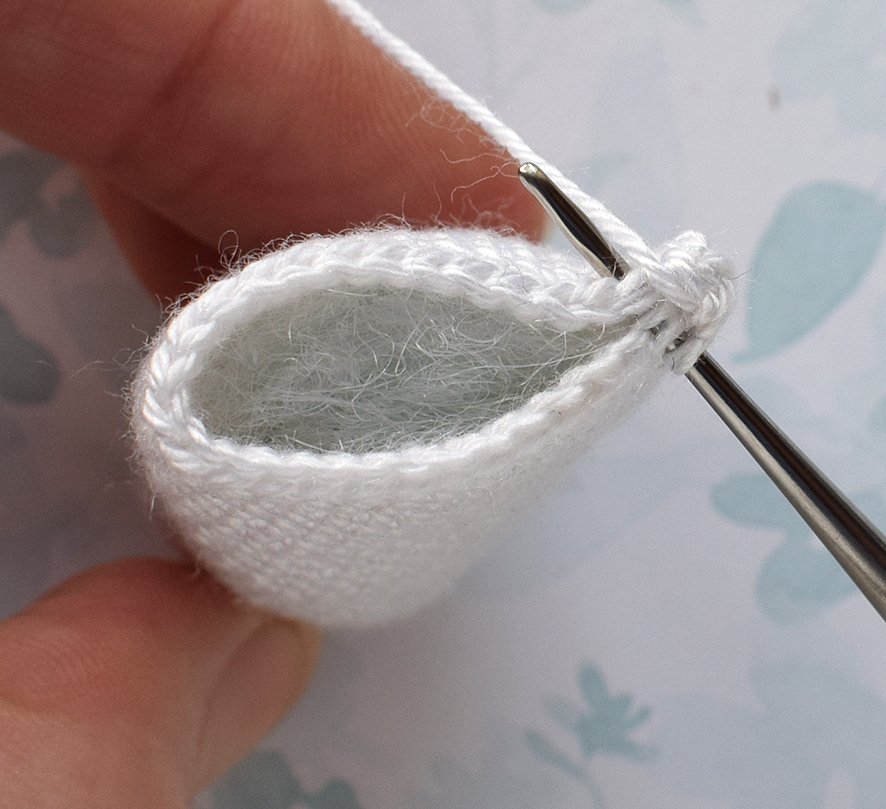
Fold the part in half, work sc hooking through both edges. Bind off.
Head
1. Crochet 6 sc in a Magic Ring
2. 6 inc = 12 sc
3. (1 inc, 1 sc) х 6 = 18
4. (1 inc, 2 sc) х 6 = 24
5 – 7. 24
8. (1 inc, 3 sc) х 6 = 30
9. 30
10. (1 inc, 4 sc) х 6 = 36
11 – 13. 36
14. (1 inc, 5 sc) х 6 = 42
15, 16. 42
17. (1 dec, 5 sc) х 6 = 36
18. 36
19. (1 dec, 4 sc) х 6 = 30
20. 30
21. (1 dec, 3 sc) х 6 = 24
22. (1 dec, 2 sc) х 6 = 18
Stuff lightly.
23. (1 dec, 1 sc) х 6 = 12
24. 6 dec = 6
Bind off. Cut off, leave a small length of thread for further sewing.
Tail
1. Crochet 6 sc in a Magic Ring
2. 6 inc = 12 sc
3. (1 inc, 1 sc) х 6 = 18
4. (1 inc, 2 sc) х 6 = 24
5 – 8. 24
9. (1 dec, 2 sc) х 6 = 18
10. (1 dec, 1 sc) х 6 = 12
Stuff lightly.
11. 6 dec = 6
Bind off. Cut off, leave a small length of thread for further sewing.
Ear (2 pcs)
1. Crochet 6 sc in a Magic Ring
2. 6 sc
3. 6 inc = 12 sc
4, 5. 12
6. (1 inc, 1 sc) х 6 = 18
7 – 10. 18
11. (1 inc, 2 sc) х 6 = 24
12 – 15. 24
16. (1 inc, 3 sc) х 6 = 30
17, 18. 30
Bind off. Cut off, leave a small length of thread for further sewing.
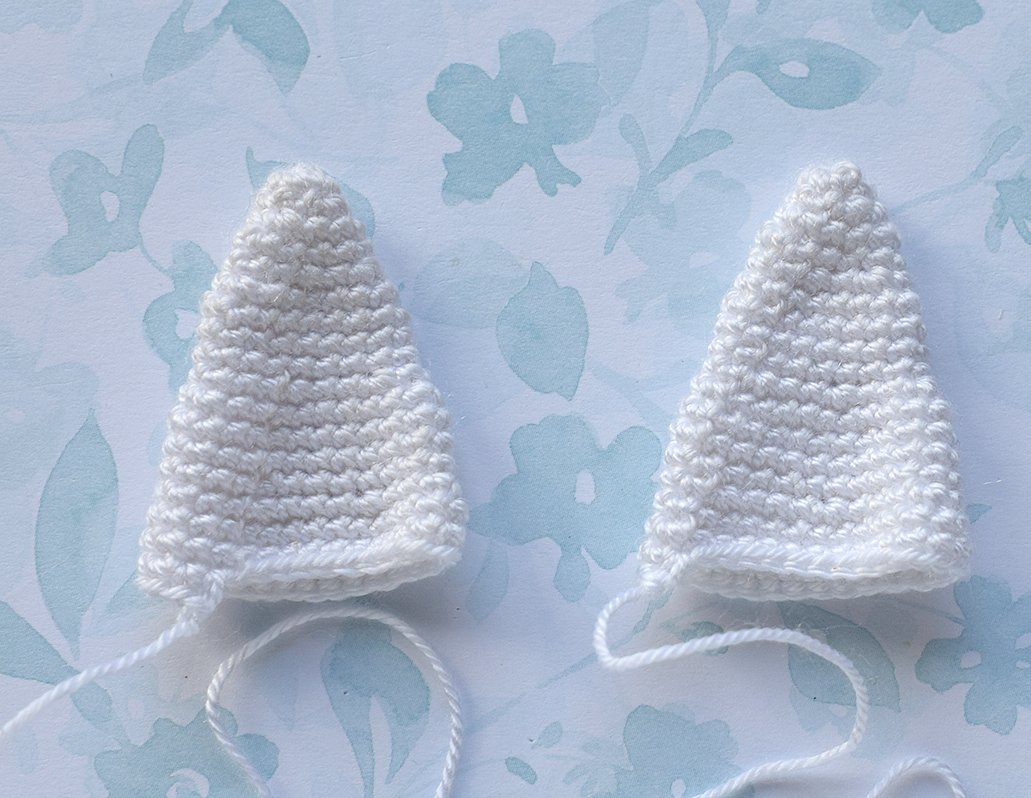
Assembly Instructions
Put both rings one over and one inside the plastic reel. Sew them together. See the pictures for guidance.
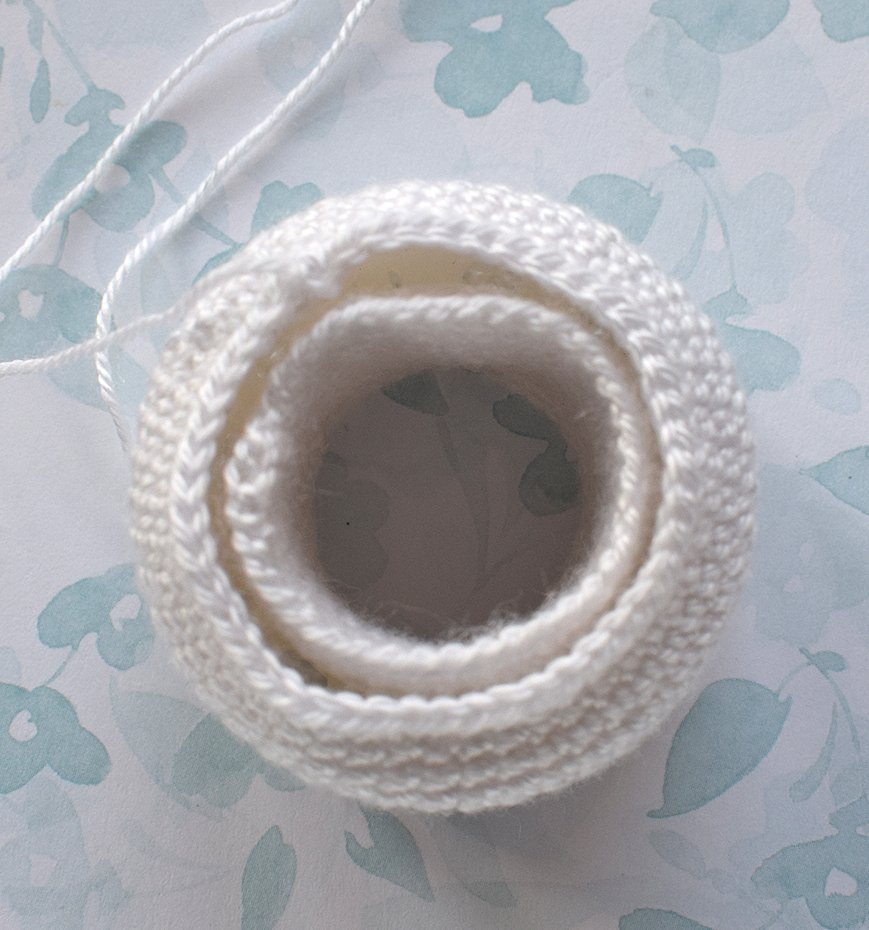
Sew the feet together.
Sew the ring to the feet as shown.
Attach and sew the hips onto the sides of the ring and the feet.
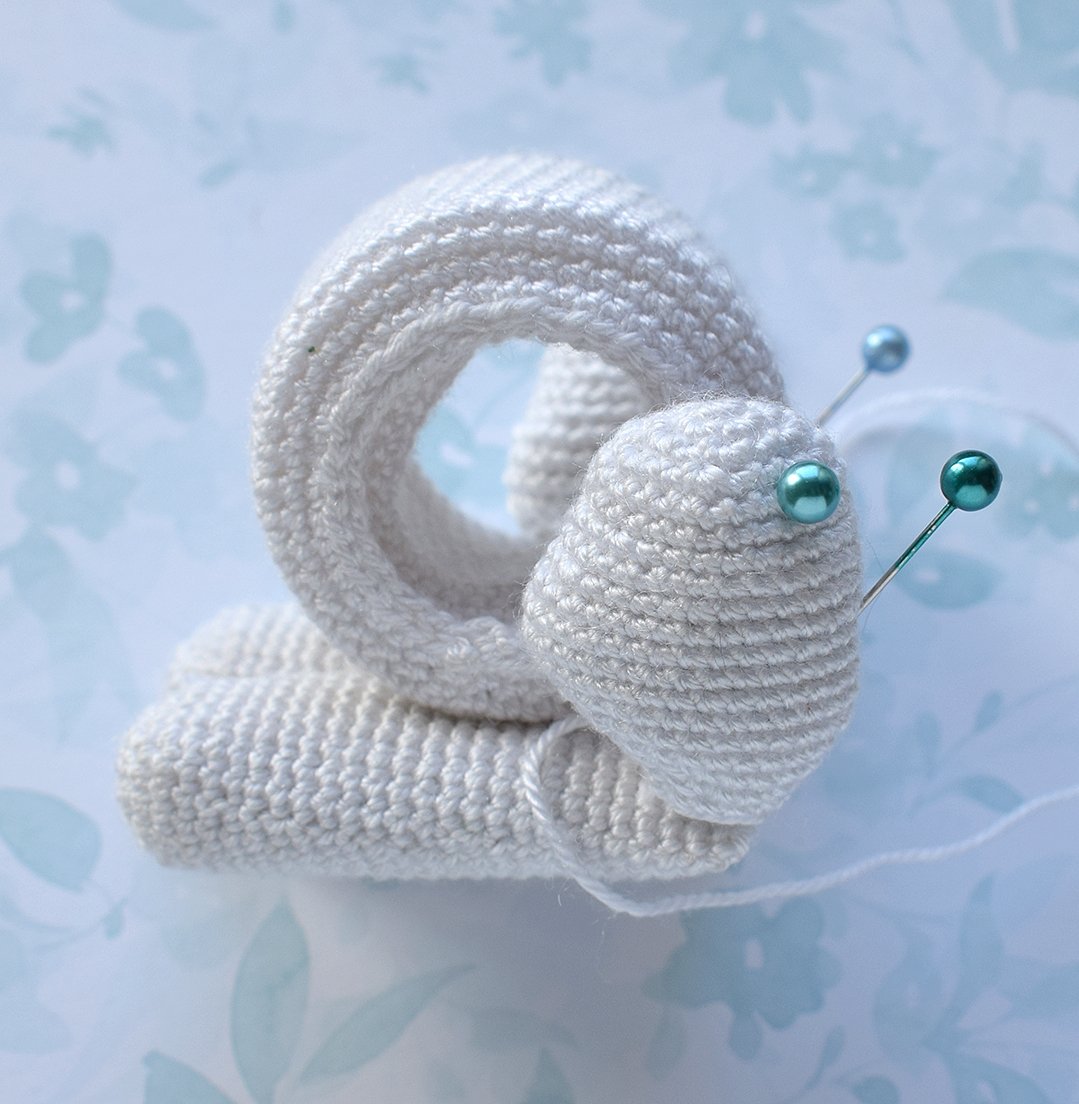
Attach and sew the tail on.
Attach and sew the ears on.
To sculpt the eye pits, count 9 rounds from round 1 and place two dressmaking pins where the future eyes will be. Leave 11 sc between the pins. Follow the pictures for guidance.
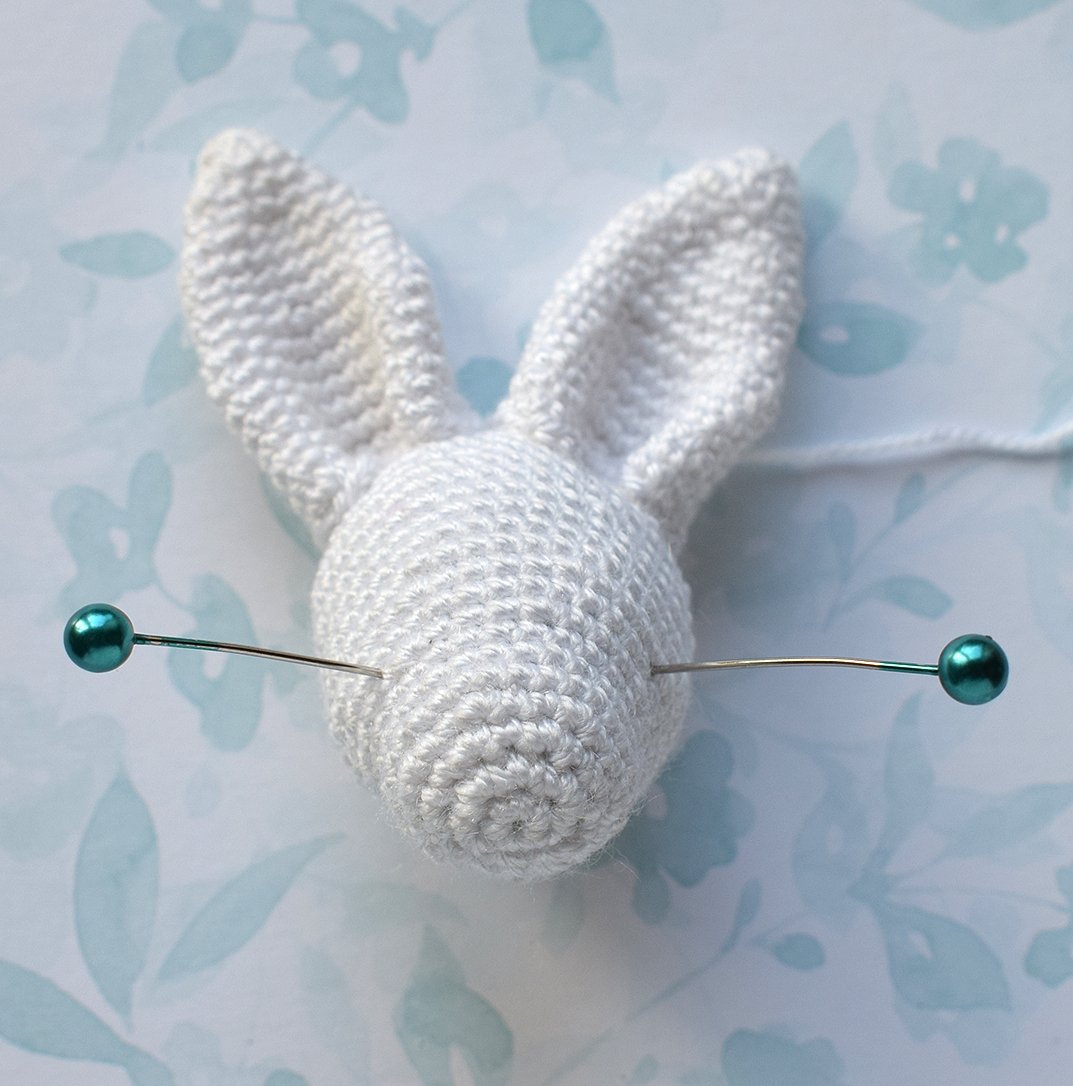
Attach and sew the head to the body.
Sew the eyes on.
Your Easter bunny is now complete.

