Crochet Easter Bunny Ornaments


Looking to add a touch of cuteness to your Easter decorations this year? Crochet Easter Bunny Ornaments are the perfect way to bring some charm and whimsy to your home. These adorable little bunnies can be crocheted in an array of pastel colors, making them a delightful addition to any Easter centerpiece or tree.
Material:
For this pattern I’ve worked with small amounts of cotton yarn (Rico essentials cotton dk) and a slightly thinner hook than it is suggested for the yarn (suggestion is 3-4, I've worked with a 2.5mm hook). I highly recommend that you use cotton yarn as well, so that the ornaments – and mainly the ears – keep their shape. You’ll also need a ring (crochet ring or key ring). Mine measures 36 mm (1,4”) in diameter, but the pattern is easy to adjust to any other kind of yarn or ring-size.
Stitches:
For this pattern I use US crochet terms. We’ll need the following stitches: chain stitch (ch), slip stitch (slst), single crochet (sc), and half double crochet (hdc).
First, let’s start with
The Ring:

1st Round
Attach yarn with a slst to your ring, ch-1, 1 sc into the ring, ch-20, slst in the first ch to form a big loop. 3 sc into the ring, ch-20, slst in the first ch to make the second ear. 30 sc into the ring, close the round with a slst to where you started.
2nd Round
Slst in the first sc, slst in every back bump of each of the next 20 ch, slst in the next 3 sc, slst in every back bump of each of the next 20 ch, slst in the next 30 sc. Close the round with a slst to the first slst of this round.
Cut thread, fasten off, and weave in the ends.
Try to work the 20ch-loops a littler looser than you normally would, that makes it easier to work into the back bumps later! Depending on the yarn you use and the size of your ring, you might want to adjust the number of chains worked for the ears and the number of stitches you have to work into the ring: The ring should have enough stitches to be covered (i.e. "invisible") completely, but not too many so it doesn't ruffle. For the ears, adjust the number of chains according to the desired size of the bunny ears.
Next, we’re gonna make
The Bow:

For the bow, start with a magic ring and a longer tail than usual (about the length you want for the hanger), ch1, 3 hdc, ch1, slst into the ring. Then once again: ch1, 3 hdc, ch1, slst into the ring. Cut the thread (about as long as the other end) and fasten off. Wrap the two ends (in two different directions) tightly around the middle of the bow once or twice, and secure with a knot on the back.
If you want to make a bigger bow, you can also work 2x *ch2, 3dc, ch2, slst into the ring*
And now, we’re gonna bring it all together:

Position the bow (I like to cover the beginning, which is sometimes not that neat), and - using a tapestry needle - pull the ends to the backside of your work, using the spaces left and right to the according stitch (what I want to say is: don't use the same gap for both ends). Make a knot to hold the bow in place. With the tapestry needle pull the two ends behind the stitches up to the middle sc between the ears. Tie the ends together at the desired length of your hanger.
And that's it! :)


No comments
Write a comment
- Recipes
-
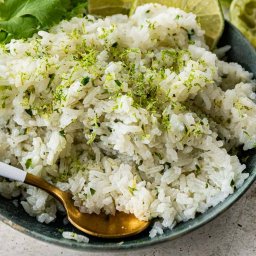 Cilantro Lime Rice
-
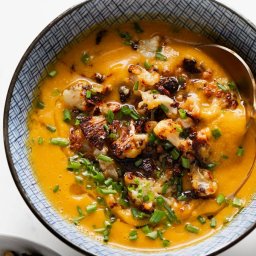 Sweet Potato Soup with Roasted Cauliflower Crumbles
-
 Americano Cocktail
- Funny Pictures
-
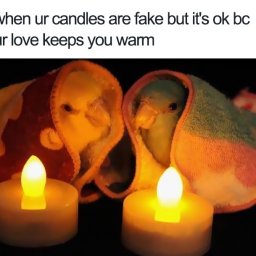
 Incredible Animal Pics to Have Some Good Time
-
 Totally Wholesome Doggo Memes
-
 Cute and Adorable Animals for You
- Crochet Ideas
-
 Crochet Crop Top
-
 Crochet Easter Sheep and Duck Egg Bags
-
 Crochet Summer Top
- Lifehacks
-
 How to Crochet the Plaid Stitch Photo Tutorial
-
 How To Crochet The 3-Colored Crosshatch Stitch Tutorial
-
 Flower With Stem Stitch Photo Tutorial
- DIY
-
 DIY Seashell Hair Pins
-
 Crochet Smiling Flowers
-
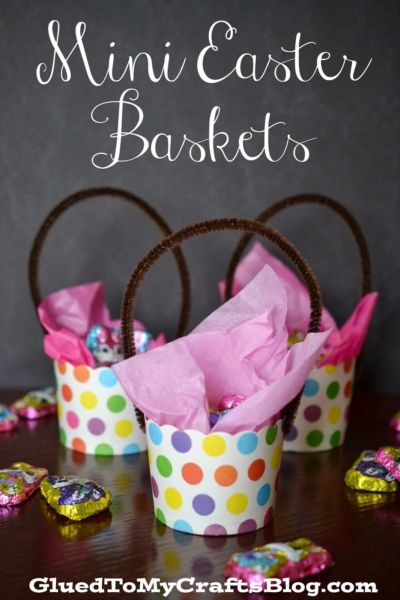 Paper Cup Mini Easter Basket Gifts
- Knitting Ideas
-
 Knitted Tank Top
-
 Knitted Pom-Pom Booties
-
 Knitted Rabbit Dolls