Crochet Binder Pencil Pouch Tutorial

Introduction
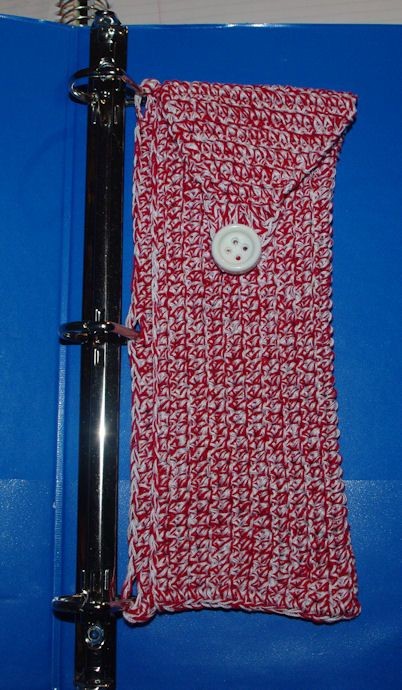
Transform your everyday pencil pouch into a stylish and unique accessory with this Crochet Binder Pencil Pouch. Handcrafted with care and attention to detail, this pouch is not only functional but also adds a touch of charm to your school or office supplies. The crochet design gives it a cozy and handmade feel, making it stand out from traditional pencil pouches. Keep your pens, pencils, erasers, and other small essentials organized and easily accessible in this one-of-a-kind Crochet Binder Pencil Pouch. The binder design allows you to easily attach it to your notebook or binder, ensuring that you always have your writing tools close at hand. Whether you're a student looking to add a personal touch to your school supplies or a professional wanting to stand out in the office, this Crochet Binder Pencil Pouch is the perfect accessory for anyone looking to add a bit of flair to their daily routine.
Materials Needed
Materials:
- Bedspread Cotton - Red: 1 ball
- Bedspread Cotton - White: 2 balls
- Hook Size 00
- 1-3/4" button
- Sewing Needle and Thread
Note: Hold one strand of red and two strands of white together throughout the pattern.
Stitches and Gauge
Stitches: ch, sc, sl st, dc, tr.
Gauge: 6 rows and 5 stitches = 1"
Difficulty: Medium
Crochet Instructions
Foundation Row
R1: Ch41, sc in the hump of the 2nd ch from the hook. (8sc)
Sc in the hump of each remaining ch across to the last ch. 5sc in the last ch.
Working in the unworked loops of the foundation ch, (ch1, sk 2sts, sc in 16sts) twice.
Ch1, sk next 2sts. 4sc in the last st (same ch as first sc)
Join with a sl st in the first sc.
NOTE: The Ch2 spaces are the binder ring holes. Check the positioning in your binder now.
Subsequent Rows
R2: Ch1, do not turn. Sc in same st and in the next 39sts. (40sc)
Rs3-40: Ch1, turn. Sc in each st. (40sc)
Joining Rows
Fold the piece holding R3 and R40 together. Ch1, sc corner stitches together across row ends.
Thread a yarn needle with a 10-12" length of the same three strands of thread. Begin on the sewn end and stitch corner stitches to join R3 & R40.
Fasten off.
Creating the Flap
With the open end on the top and the ring holes on the left, join the same thread (all three strands at once) with a single crochet in the first stitch on the far right on the backside of the opening. The flap is worked across 18sts along the backside of the opening.
R1: Sc in each st. (18sts)
Rs2-5: Ch1, turn. Sc in each st. (18sts)
R6: Ch1, turn. Sc2tog. Sc across to last 2sts. Sc2tog. (16sts)
R7: Ch1, turn. Sc in each st.
R8: Rep R6. (14sts)
R9: Rep R7. (14sts)
R10: Rep R6. (12sts)
R11: Rep R7. (12sts)
R12: Rep R6: (10sts)
R13: Rep R6. (8sts)
R14: Rep R6. (6sts)
R15: Rep R7. (6sts)
R16: Ch1, turn. Sc in the first st.
Dc in the next st.
2tr in the next st.
Ch3 (this is the buttonhole)
2tr in the next st.
Dc in the next st.
Sc in the last st.
Fasten off.
Finishing Touches
Sew the button on the front in a position to align with the buttonhole.
- Recipes
-
 Chickpea Tikka Masala
-
 Salt and Pepper Tofu (椒盐豆腐)
-
 Raspberry Rose Choux Cream Puffs
- Funny Pictures
-
 Extremely Good Memes That Will Simply Describe Your Life
-
 The Best Office Memes to Laugh and Remember Some Great Things
-
 Relatable Memes to Laugh Before Going to Sleep
- Crochet Ideas
-
 Crochet Copper Gleam Cardigan
-
 Crochet Bohemian Cardigan
-
 Crochet Adorable Kimono
- Lifehacks
-
 Woven Shell Crochet Stitch Photo Tutorial
-
 Raspberry Ripple Crochet Square Photo Tutorial
-
 Tripple Puff Crochet Granny Square Photo Tutorial
- DIY
-
 Crochet Tilly The Turkey Hat
-
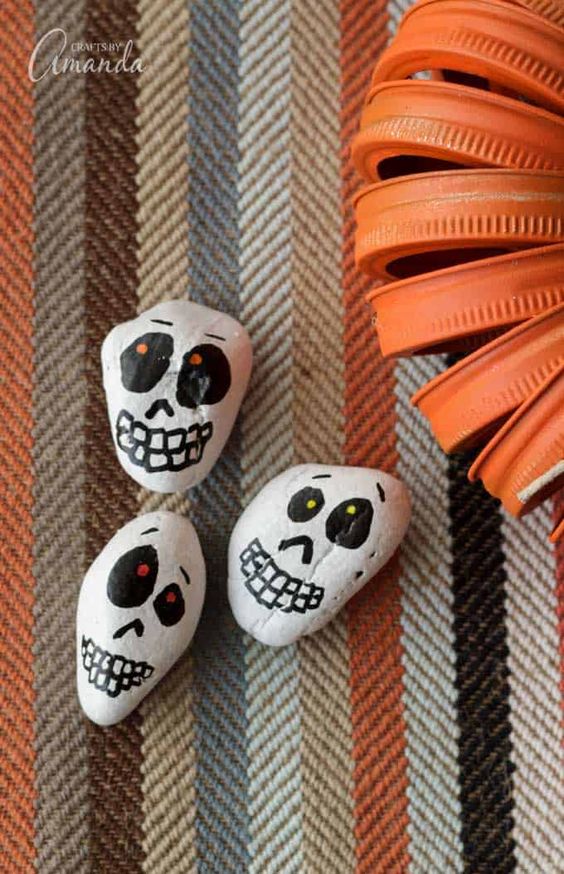 Cute Skull Rocks
-
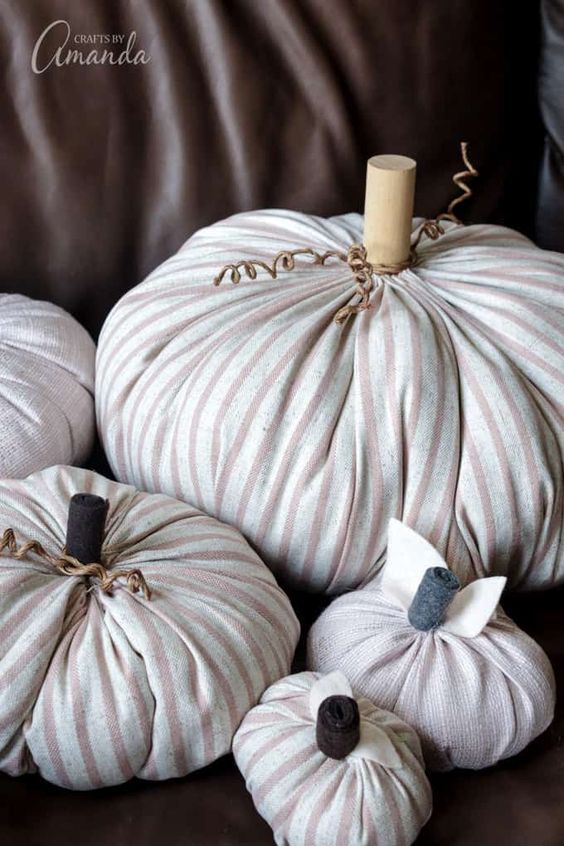 Easy Fabric Pumpkins
- Knitting Ideas
-
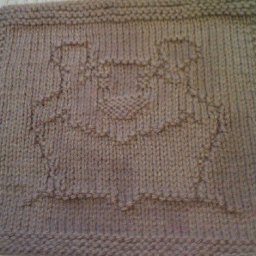 Knitted Adorable Washcloth
-
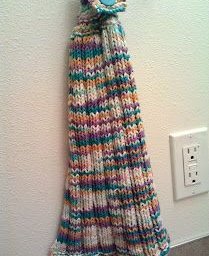 Knitted Button-top Ribbed Hand Towel
-
 Knitted Kiss Me Lips Dishcloth