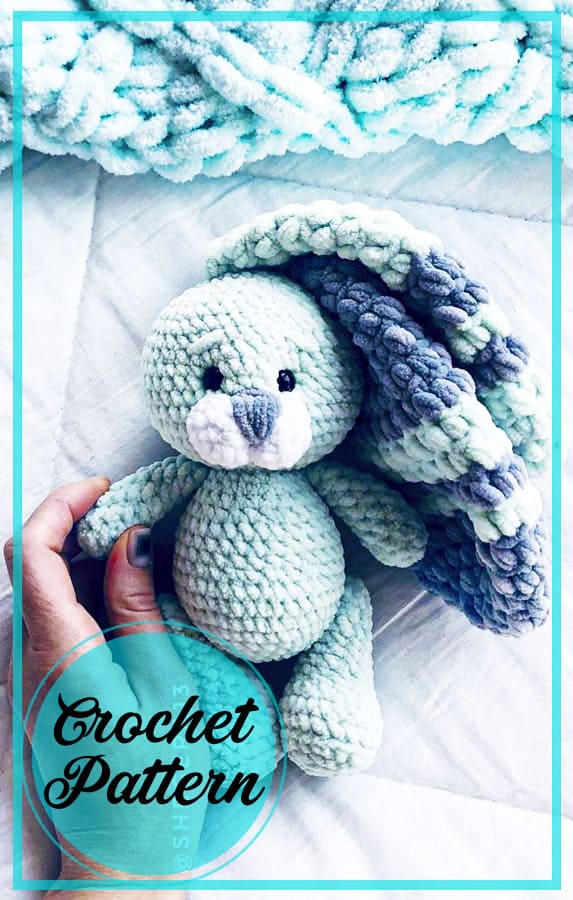
Crochet Plush Floppy Ears Bunny Amigurumi
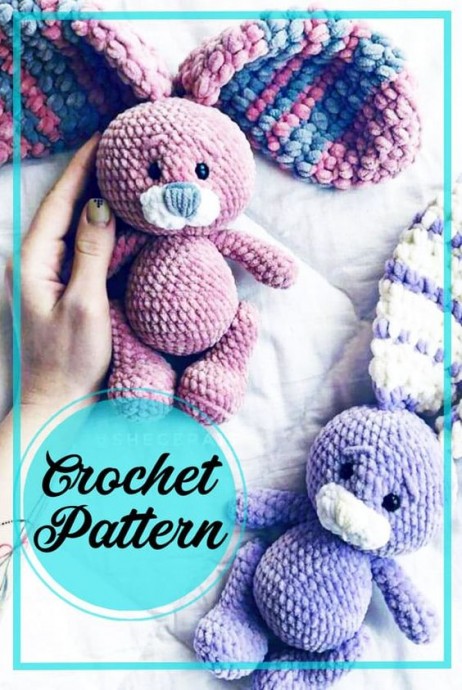
Create your very own adorable bunny toy with floppy ears using the art of crochet. This plush amigurumi project is perfect for those who enjoy crafting and want to make a cute and cuddly toy for themselves or a loved one. By following a crochet pattern and using soft yarn, you can bring this charming bunny to life with its floppy ears and sweet expression. Whether you're a beginner or an experienced crocheter, this project is a fun and rewarding way to showcase your skills and create a one-of-a-kind toy. You can customize your bunny by choosing different colors of yarn, adding embellishments like bows or buttons, and even experimenting with different sizes to create a whole family of bunnies. Once you've completed your amigurumi bunny, you'll have a charming and huggable toy that is sure to bring joy to anyone who receives it. So grab your crochet hook and yarn, and get ready to create a lovable bunny with floppy ears that will be cherished for years to come.
Materials needed:
Yarn
Crochet Hook
sc : Single Crochet
inc : Increase
dec : Decrease
tr : Triple Crochet/ Treble Crochet
st: Stitch
dc : Double Crochet
hdc: Half Double Crochet
sl-st : Slip Stitch
ch : Chain
..in : make increase into same stitch as many as the number which is given in front of “inc” abbreviation (exp; 3inc, 4inc..).
FLO : Crochet into front loops only
BLO : Crochet into back loops only
BL : Bobble Stitch – do 5dc all in the same stitch and then yarn over and pull through all the loops on your hook (the original loop + 1 loop for each partially completed dc).
Hands (2times):
1) 6sc in MR (6)
2) (sc, inc)x3 (9)
3-5) 9sc (3 row)
6) dec, 7sc (8)
7) 8 sc
8) dec, 6sc (7)
9-10) 7sc (2 row)
11) dec, 5sc (6)
Legs (2times):
1) 5ch, in the 2nd from the hook, 3sc, in the last ch 3 sc, then on the other side 2 sc, inc (10)
2) inc, 2sc, (inc)x3, 2sc, (inc)x2 (16)
3) sc, inc, 2sc, (sc, inc)x3, 2sc, (sc, inc)x2 (22)
4) Behind the back wall 22sc
5) 22sc
6) sc, dec, 3sc, (dec)x4, 4sc, dec, 2sc (16)
7) 4sc, (dec)x3, 4sc, dec (12)
8-14) 12sc (7 rows)
15) (dec)x6 (6)
Pull off.
Body:
1) 6sc in MR (6)
2) (inc)x6 (12)
3) (sc, inc)x6 (18)
4) (2sc, inc)x6 (24)
5) (3sc, inc)x6 (30)
6) 11sc, (sc, inc)x4, 11sc (34)
7-9) 34sc (3 row)
If the legs are on the joints, then you need to insert them into the body between the 6th and 7th rows.
+2 sc for offset
10) 11sc, (sc, dec)x4, 11sc (30)
11-13) 30sc (3 row)
+1 sc for offset
14) (3sc, dec)x6 (24)
15) 24sc
16) (2sc, dec)x6 (18)
+1 sc for offset
17) 18sc (we knit hands)
18) (sc, dec)x6 (12)
Head:
We continue to knit with the same thread.
19) (inc)x12 (24)
20) (sc, inc)x12 (36)
+2 sc for offset
21) (5sc, inc)x6 (42)
22) (6sc, inc)x6 (48)
23-28) 48sc (6 rows)
29) (6sc, dec)x6 (42)
We insert safety eyes between 28 and 29 rows.
30-31) 42sc (2 row)
+ 1 sc for offset
32) (5sc, dec)x6 (36)
33) (4sc, dec)x6 (30)
We stuff our head.
34) (3sc, dec)x6 (24)
35) (2sc, dec)x6 (18)
36) (sc, dec)x6 (12)
37) (dec)x6 (6)
Pull off.
Muzzle:
1) 6ch, in the 2nd from the hook, inc, 3sc, in the last ch 3sc, on the other side 4sc (12)
2) sc, inc, 3sc, inc, sc, inc, 3sc, inc (16)
Tail:
1) 6sc in MR (6)
2) 6sc
Ears:
We change the hook to a larger size, knit the ears of the psn, alternating knitting for the front and for the back wall.
1) 6sc in MR (6)
2) (inc)x6 (12)
3) (sc, inc)x6 (18)
4) (2sc, inc)x6 (24)
5) (3sc, inc)x6 (30)
6-10) 30sc (5 rows)
+2 sc for offset
11) (3sc, dec)x6 (24)
12-13) 24sc
+1 sc for offset
14) (2sc, dec)x6 (18)
15) 18sc
16) (sc, dec)x6 (12)
17) (dec)x6
Pull off.
Sew on the tail from behind, the muzzle under the eyes, ears to the head

