
How to Make a Crochet Amigurumi Bunny: A Fun Craft Project

Penelope
Jul 22, 2024 09:25 AM
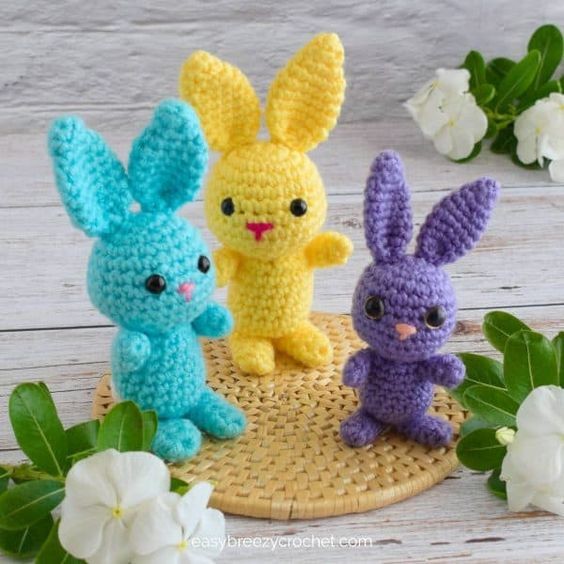
The crochet amigurumi bunny is a delightful and charming creation that brings joy to both kids and adults alike. With its fluffy yarn and adorable design, this cute bunny is perfect for cuddling or as a charming decor piece.
Creating your own amigurumi bunny can be a fun and rewarding craft project, allowing you to unleash your creativity and make something truly special. Whether you are new to crocheting or a seasoned pro, making your own amigurumi bunny is a fantastic way to relax and unwind. So grab your crochet hook and yarn, and let's bring this lovable bunny to life with a touch of handmade magic!
What You Will Need
Yarn
- Body
- #4 medium yarn (also known as worsted, Afghan, Aran, or 10-ply) with 11 WPI (wraps per inch).
- Color A, yellow (body) - 41 yards (38 meters) of yarn
- Tail
- #3 medium yarn (also known as DK, light worsted, or 8-ply) with 12 WPI (wraps per inch).
- Color B, white (tail) - 3.2 yards (3 meters)
Hook
- 4 mm (G/6) hook for the bunny
- 3.5 mm (E/4) hook for the tail
- Note: This pattern allows for flexibility with yarn weights. Adjust your hook size to be 1-2 sizes smaller than the recommended size for your chosen yarn. Doing so will create a tighter fabric, preventing the stuffing from showing through.
Notions
- Scissors
- Yarn Needle
- Stitch marker
- 2 x 8 mm safety eyes
- Fiberfill toy stuffing.
- 19 inches (50 cm) length of black or pink #3 DK yarn or embroidery floss for the nose.
Gauge
- Not important for this pattern
- This pattern allows for flexibility with yarn weights. Adjust your hook size to be 1-2 sizes smaller than the recommended size for your chosen yarn. Doing so will create a tighter fabric, preventing the stuffing from showing through.
Finished Size
- The finished size of the amigurumi bunny when made in the yarn weight and hook size mentioned above is about 6 inches (15 cm) tall from base to tip of ear.
Stitches and Abbreviations Used (US Terms)
- MR – magic ring
- sc – single crochet
- invdec - invisible decrease - see special stitches below
- st/sts – stitch/stitches
- hk – hook
- rnd/rnds – round/rounds
- rpt – repeat
- YO - yarn over
- FLO - front of the loop - see special stitches below
- lp/lps - loop/loops
- [ ] - at the end of a round, indicates the number of stitches in that round
Special Stitches
- invdec – Insert hk in FLO of next st, then in FLO of next st, YO, pull through 2-lps, YO, pull through 2-lps.
Pattern Notes
- This pattern is worked in a spiral, so do not join the rounds as you go, unless otherwise stated in the pattern.
- Use a stitch maker to mark the first stitch of each round. This will help you keep track of the start and end of a round.
- Ensure the pattern stays accurate by counting the stitches in each round.
Instructions
Body
- Rnd 1 (col A)- 6sc in MR. [6sc]
- Rnd 2 - 2sc in next 6-sts. [12sc]
- Rnd 3 - * 2sc in next st, 1sc in next, rpt from * 6 times. [18sc]
- Rnds 4-9 (6 rnds) - 1sc in each of the next 18-sts. [18sc in each rnd]
- Rnd 10 - * invdec, 1sc, rpt from * 6 times, cut the yarn, leave a long tail about 20 inches (52cm) for sewing, and fasten off. [12sc]
- Stuff - Fill the body with stuffing and leave the top open. Don't overstuff because you want the base to sit flat.
Head
- Rnd 1 (col A)- 6sc in MR. [6sc]
- Rnd 2 - 2sc in each of the next 6-sts. [12sc]
- Rnd 3 - * 2sc in next st, 1sc in next, rpt from * 6 times. [18sc]
- Rnd 4 - *2sc in next st, 1sc in next 2-sts, rpt from * 6 times. [24sc]
- Rnds 5-6 - 1sc in next 24-sts. [24sc]
- Rnd 7 -* 2sc in next st, 1sc in next 3-sts, rpt from * 6 times. [30sc]
- Rnds 8-9 - 1sc in next 30-sts. [30sc in each rnd]
- Rnd 10 - *invdec, 1sc in next 3-sts, rpt from 6 times. [24sc]
- Attach eyes - Insert the eyes between rounds 6 and 7 with 5 stitches between them.
- Embroider the nose - Position the nose between rounds 8 and 9 and evenly between the eyes. Using pink or black yarn, make three back stitches between three single crochet stitches in the space between rounds 8 and 9, entering and exiting the stitches in the same space. Then create two long downward backstitches to complete the nose.
- Rnd 11 - * invdec, 1sc in next 2-sts, rpt from * 6 times. [18sc]
- Rnd 12 - * invdec, 1sc in next st, rpt from 6 times. [12sc]
- Stuff - Fill the head with stuffing
- Rnd 13 - * invdec, rpt from * 6 times, cut yarn, leave a short yarn tail, and fasten off, thread yarn tail onto a needle and weave the tail inside the head to hide and trim away the excess. [6sc]
- Attach head - Attach the head by threading the yarn tail onto a needle and sewing it to the body, along the body top edge, and between the ditch of the last two rounds made on the head. Finish off by weaving the remaining yarn tail inside the head and cutting off the excess yarn.
Ear (make 2)
- Rnd 1 (col A)- 4sc in MR. [4sc]
- Rnd 2 - * 1sc in next st, 2sc in next st, rpt from * 2 times. [6sc]
- Rnd 3 - 1sc in next 6-sts. [6sc]
- Rnd 4 - 2sc in next 6-sts. [12sc]
- Rnds 5-9 (5 rnds) - 1 sc in next 12-sts. [12sc in each rnd]
- Rnd 10 - * 1sc in next st, invdec, rpt from * 4 times, cut yarn, leave a long 19-inch (50cm) yarn tail for sewing, and fasten off. Do not stuff. [8sc]
- This completes one ear repeat rounds 1-10 to make a second.
- Attach ear to head - Attach the ear to the head by threading the yarn tail onto a needle and sewing the ear opening closed. Next, pinch the base of the ear so that the bottom outside edges meet, forming a hollow on the inside. Secure the sides in place by tacking them with the yarn tail threaded onto a needle. Then, sew the ears onto the top of the head over rounds 2 and 3.
Leg (make 2)
- Rnd 1 (col A) - 7sc in MR. [7sc]
- Rnds 2-6 (5 rnds) - 1 sc in next 7-sts, after making the last rnd cut yarn, leaving a long tail for sewing and fasten off. Do not stuff. [7sc in each round]
- This completes one leg. Repeat rounds 1-6 to make a second.
- Attach legs - Thread the yarn tail onto a needle and use that to sew the legs onto the underside of the body.
Arm (make 2)
- Rnd 1 (col A) - 6sc in MR. [6sc]
- Rnds 2-4 (3 rnds)- 1 sc in next 6-sts, after making the last rnd cut yarn, leaving a long tail for sewing and fasten off. Do not stuff. [6sc in each rnd]
- This completes one arm. Repeat rounds 1-4 to make a second.
- Attach arm - Sew each arm to the sides of the body just under the neck using the yarn tail from each piece threaded onto a needle.
Tail
- Rnd 1, (col B and 3.5mm hk) - 6sc in MR. [6sc]
- Rnd 2 - 2sc in next 6-sts. [12sc]
- Rnds 3-4 - 1 sc in next 12-sts. [12sc in each rnd]
- Rnd 5 - * invdec, rpt from * 6 times, cut yarn, leave a long tail for sewing, and fasten off. [6sc]
- Stuff - Fill the tail with stuffing.
- Attach the tail to the body - Use the yarn tail threaded onto a needle to sew the tail to the bunny's bottom, weaving the end inside the body. Position the tail so that it helps the bunny sit upright.
No comments
Write a comment
- Recipes
-
 Marry Me Pork Chops
-
 Butterflied prawns with cherry and lime leaf sambal
-
 2 Ingredient No Bake Healthier Cottage Cheese Chocolate Cake
- Funny Pictures
-
 Cute and Astonishing Pics of Capybara You Have to See
-
 Don’t Worry it’s Monday, Friday is Coming Soon!
-
 Hilarious Memes Most People Will Relate To
- Crochet Ideas
-
 Crochet Variegated Slouchy Hat
-
 Crochet Valentine Doily
-
 Crochet Triple Heart Bookmark
- Lifehacks
-
 How to Crochet the Boardwalk Stitch Photo Tutorial
-
 Regal Stitch Crochet Pattern Photo Tutorial
-
 How to Crochet the Modified Moss Stitch Photo Tutorial
- DIY
-
 Crochet Summertime Scarf
-
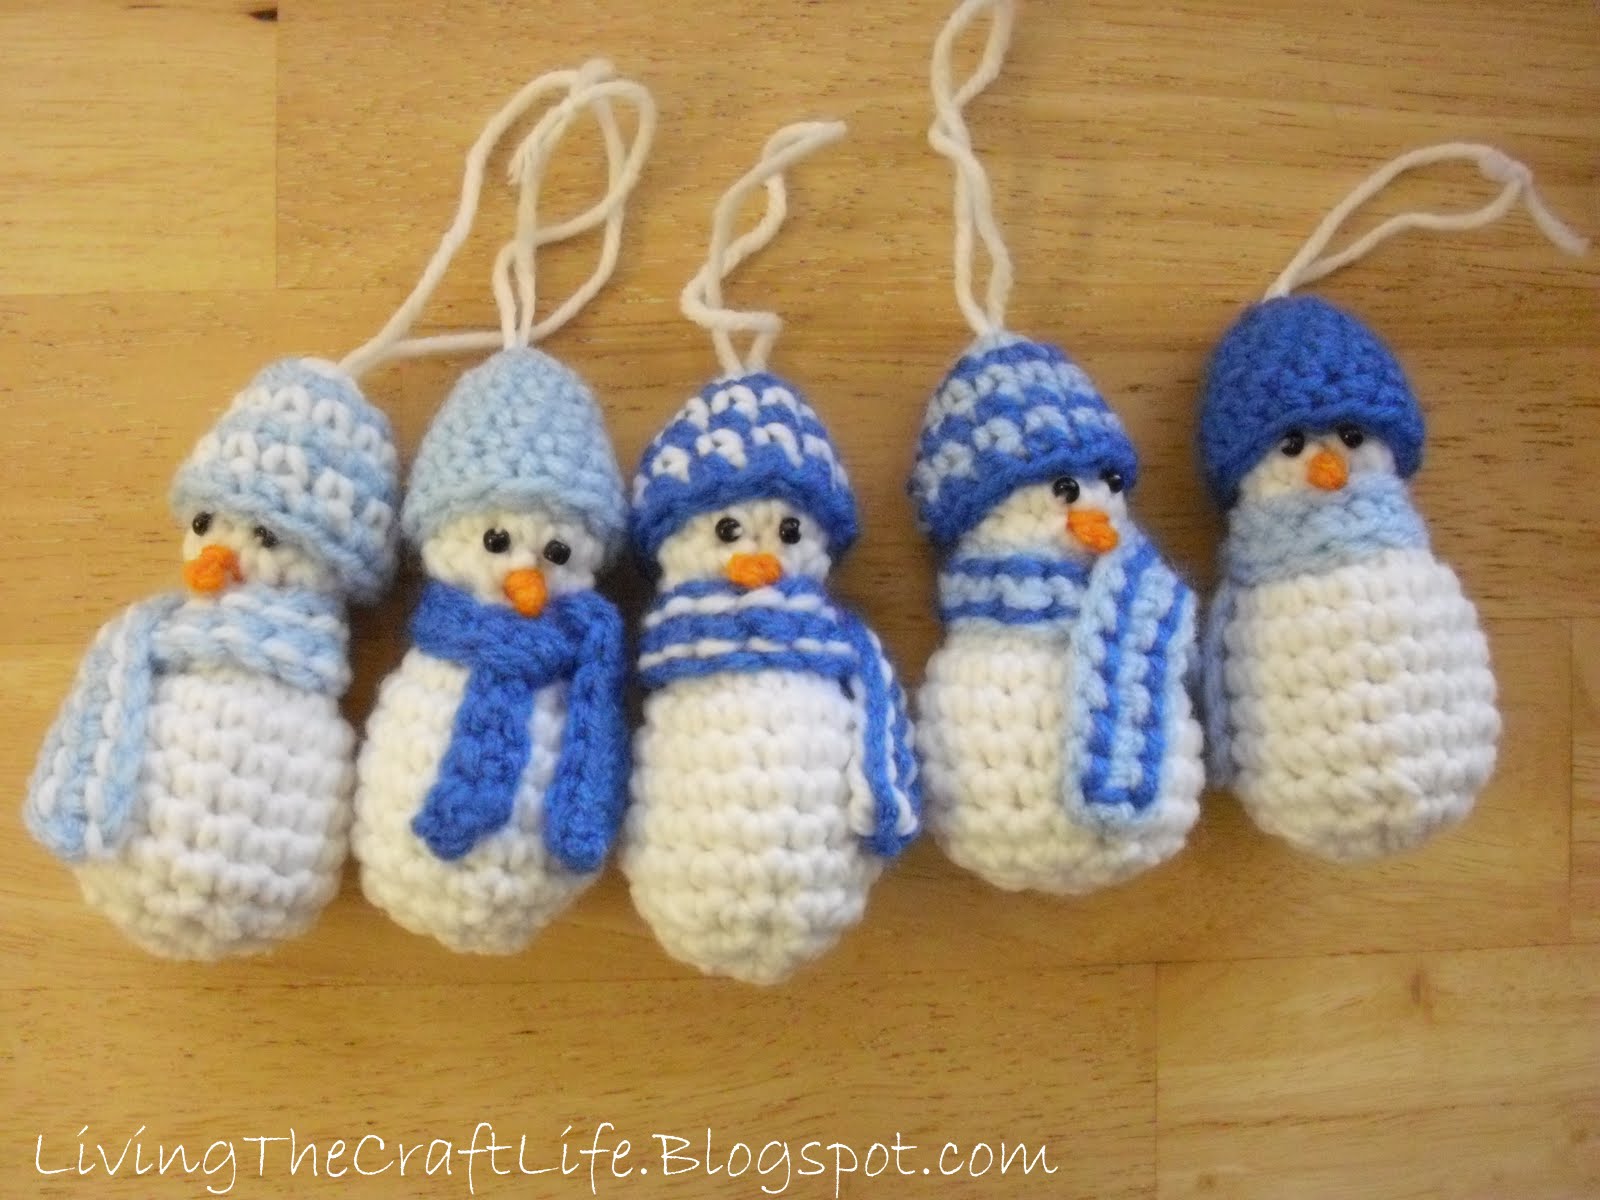 Crochet Mini Snowman Christmas Ornament
-
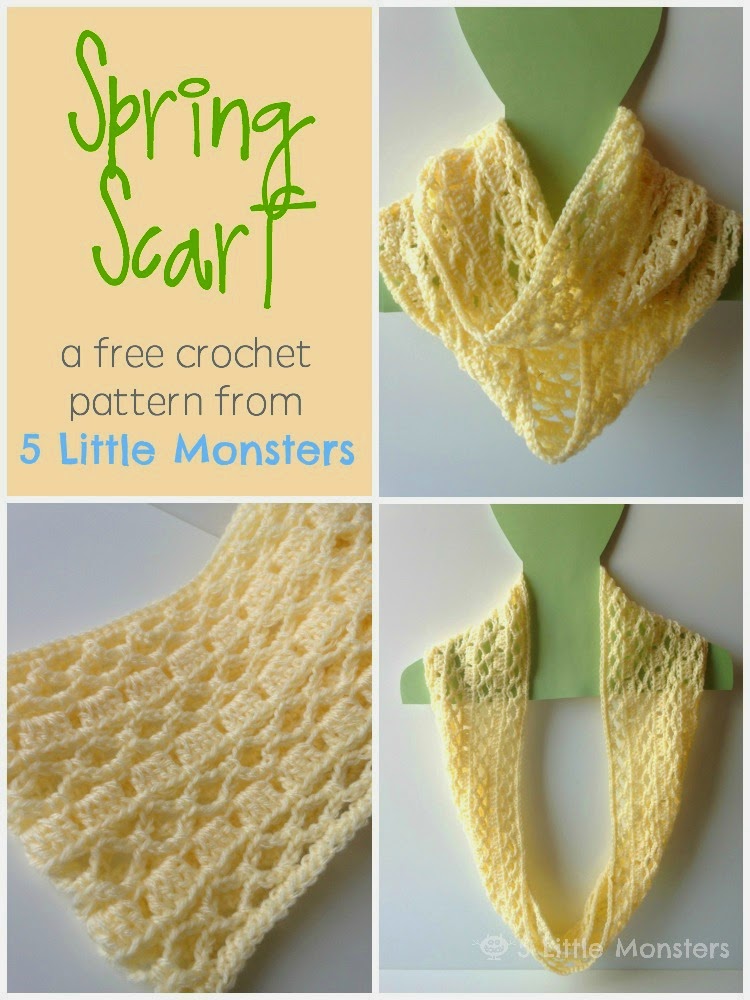 Crochet Spring Scarf
- Knitting Ideas
-
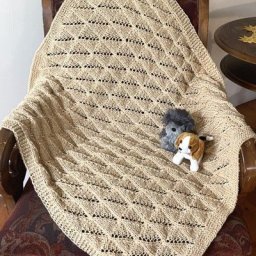 Knitted Pleated Lace Blanket
-
 Knitted Meerkat Dishcloth
-
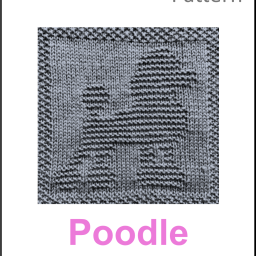 Knitted Poodle Dog Dishcloth