Crochet Bunny Hat


Crochet bunny hats are not just adorable but also a delightful way to add a touch of charm to any outfit, especially for little ones. These whimsical hats come in a variety of colors and styles, making them perfect for all seasons. Whether you're looking to keep your child warm in the winter or just want to add a playful accessory to their wardrobe, a crochet bunny hat is a fun and functional choice.
MATERIALS NEEDED:
Crochet Hook – I/5.5mm
Scissors
Yarn Needle
Stitch Markers for helping place the ears before attaching
Worsted (4) Yarn
Faux Fur or Blanket yarn for trim on ears (either works or you can choose not to trim the ears)
ABBREVIATIONS:
CH – CHAIN
SC – SINGLE CROCHET
SCBLO – SINGLE CROCHET BACK LOOP ONLY
DC – DOUBLE CROCHET
DC2TOG – DOUBLE CROCHET 2 TOGETHER
SC2TOG – SINGLE CROCHET 2 TOGETHER
SL ST – SLIP STITCH
ST – STITCH
NOTES:
This is a beginner friendly to intermediate pattern. Only 2 different stitches are used, the SC and the DC. The SC in the back loop is easy to learn and there are many videos out there to show you how to do this as well at the DC 2 Together, this will help you decrease your stitches as your work your way up the hat, as well as when you’re making the ears. To all the beginners out there, don’t let these techniques scare you, they are a great addition to your crochet skills tool box <3Pattern
ADULT BUNNY HAT PATTERN:
*working from the bottom up*
BRIM
CH 6 and turn
ROW 1 SC in the 2nd stitch from your hook and in every stitch to the end (5 SC)
CH 1 and Turn
ROWS 2-68 SCBLO in the 2nd stitch from your hook and in every stitch
to the end (5 SC) CH 1 and Turn
*You will want to lay your piece flat at this point, without stretching it out and measure
It should measure 17-18” long (it will stretch for up to 22” for around the head.
Then, bring both ends together and SL ST together to make the piece a circle. This is going to be the brim of your hat.
Now you’re going to work on top of the circle (the sides of your stitches).
BODY OF HAT
ROW 1 CH 1 and SC evenly around the circle, about 68-70 SC. Your stitch number may vary depending on the size of your circle, it’s ok! It will still decrease fine
Join to the beginning of this row with a SL ST
ROW 2 – 7 CH 2 and DC in every stitch around (about 68)
ROW 8 CH2 *DC in the first 5 ST, DC2TOG in the next 2 ST* Repeat this all the way around, DC2TOG after every 5 DC, SL ST to the first stitch from the this row then CH 2 to start the next row
ROW 9 *DC in the first 4 ST, DC2TOG in the next 2 ST* Repeat this all the way around, DC2TOG after every 4 DC, SL ST to the first stitch from the this row then CH 2 to start the next row
ROW 10 *DC in the first 3 ST, DC2TOG in the next 2 ST* Repeat this all the way around, DC2TOG after every 3 DC, SL ST to the first stitch from the this row then CH 2 to start the next row
ROW 11 *DC in the first 2 ST, DC2TOG in the next 2 ST* Repeat this all the way around, DC2TOG after every 2 DC, SL ST to the first stitch from the this row then CH 2 to start the next row
ROW 12 *DC in the first ST then DC2TOG the next 2 ST* Repeat this all the way around, DC2TOG every other ST with DC in between, SL ST to the first stitch from the this row then CH 2 to start the next row
ROW 13 SC2TOG all the way around.
At this point, you should only have a few stitches left for the top of the hat, if there’s more than 6 stitches, SC2TOG one more row. Once you’re down to about 6-8 stitches for the top, cut and pull your yarn through and weave around the remaining stitches to close up the top. Weave in your ends.
- Recipes
-
 Pasta with Pea Sauce
-
 Creamy Bacon Ranch Pasta Salad
-
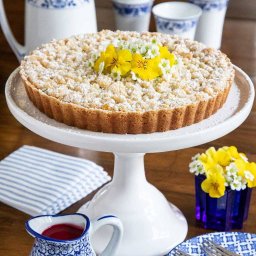 Lemon Curd Shortbread Tart
- Funny Pictures
-
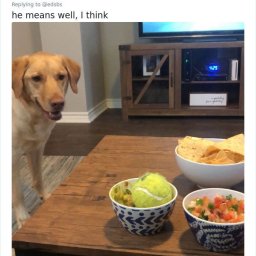 A Pack of Funny Memes for Today
-
 Funny Pics for Some Rest
-
 Some Cool Animal Pics for the First Day of the Year
- Crochet Ideas
-
 Crochet Slanting Cross Puff Stitch
-
 Crochet Spiral Post Stitch
-
 Crochet Beautiful Headband
- Lifehacks
-
 Diagonal Stripes Crochet Stitch Tutorial
-
 How to Crochet the Bobblet Stitch Photo Tutorial
-
 Pretty Pebbles Stitch Photo Tutorial
- DIY
-
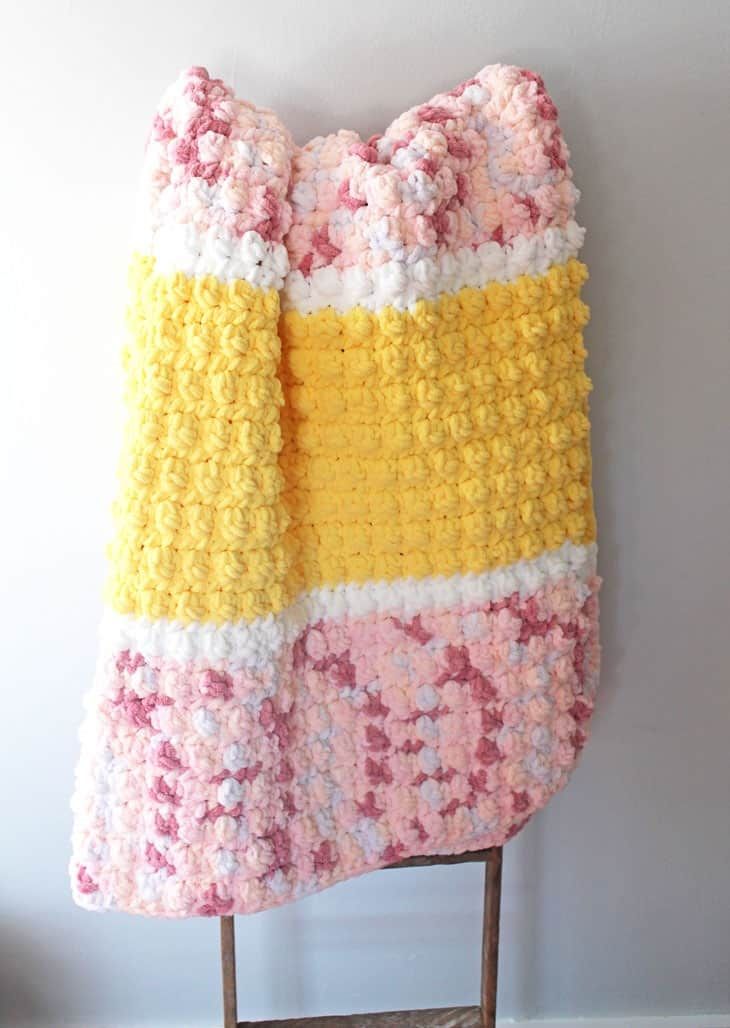 Crochet Pink Lemonade Blanket
-
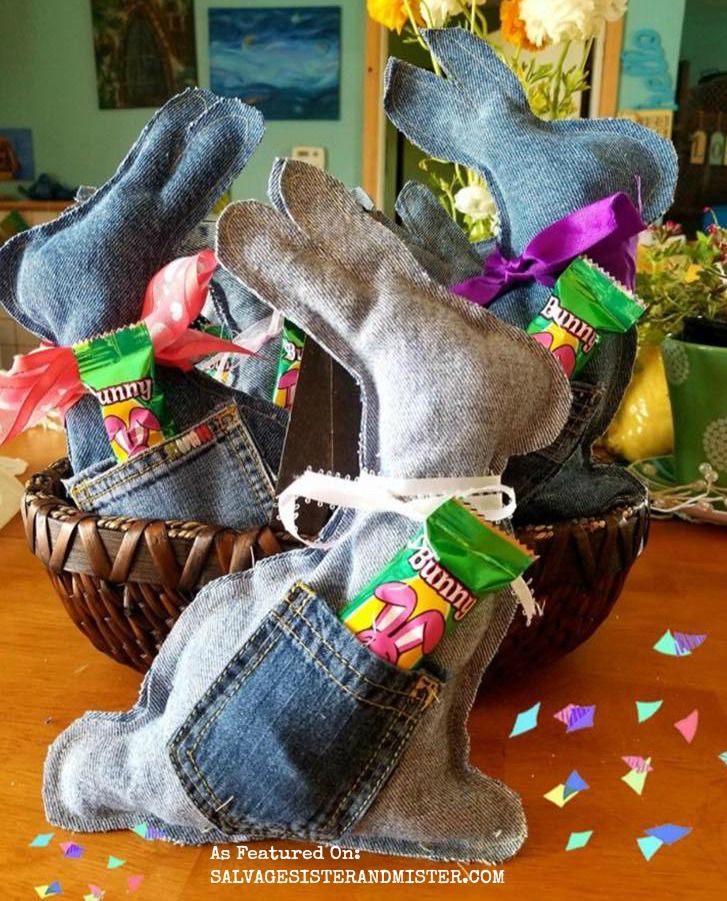 DIY Denim Bunny
-
 Crochet Up and Down Stripe Cotton Washcloth
- Knitting Ideas
-
 Knitted Throw Square
-
 Knitted Kids Dinosaur Cardigan
-
 Knitted Decimal Cardigan