Crochet Amigurumi Bunny Pumpkin


The Crochet Amigurumi Bunny Pumpkin is an adorable and whimsical addition to your fall decor or a perfect handmade gift that is sure to bring a smile to anyone's face. The combination of a cute bunny shape and a pumpkin theme creates a unique and charming design that is both festive and endearing. With its soft yarn and intricate crochet work, this little bunny pumpkin is not just a decoration but also a labor of love that shows the craftsmanship and creativity of the person who made it.
For this DIY you will need:
♥ Yarn, in Orange and Light Brown or Green.
♥ Crochet hook.
♥ Stitch marker.
♥ Yarn Needle.
♥ Sewing Pins. (optional)
♥ Fiber fill.
♥ Felt in Black.
♥ Scissors.
♥ Glue.
Stitches used (US):
CH = Chain.
SC = Single Crochet.
ST = Stitch.
Inc = Increase.
Dec = Decrease.
Slst = Slip Stitch.
(…) = Repeat the space in brackets the given number of times.
[…] = Total number of stitches.
Pattern
Pumpkin
In Orange.
1: 8SC in Magic Ring. [8]
2: 2SC in each st around. [16]
3: (1SC, inc) 8 times. [24]
4: (2SC, inc) 8 times. [32]
5: (3SC, inc) 8 times. [40]
6: 40SC. [40]
|
13: 40SC. [40]
14: (3SC, dec) 8 times. [32]
15: (2SC, dec) 8 times. [24]
16: (1SC, dec) 8 times. [16]
17: dec around. [6]
Fasten off and leave a very long tail. Use this tail to go through the middle and around, and pull tight to get those parts of the typical Pumpkin look. you can do this as many times as you want, I did about 8 times.
Ears (2)
In orange.
1: 6SC in Magic Ring. [6]
2: (1SC, inc) 3 times. [9]
3: 9SC. [9]
6: 9SC. [9]
Fasten off and leave a long tail for sewing.
Stem
In Light Brown or Green.
1: 5SC in Magic Ring. [5]
2: 5SC. [5]
3: 5SC. [5]
4: inc, 4SC. [6]
Fasten off and leave a long tail for sewing.
Assembling
Sew the stem to the pumpkin, in the middle. Now position the ears with some sewing pins, place them slightly to the front, and when you are happy, sew them on.
Now cut out some eyes and a cute mouth out of felt and glue those on!
- Recipes
-
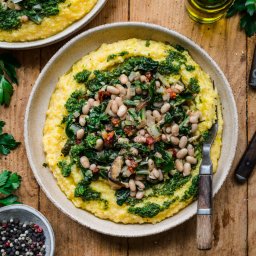 Polenta with Vegetables and White Beans
-
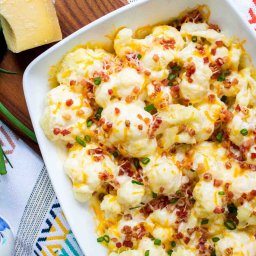 Baked Cauliflower With Cheese
-
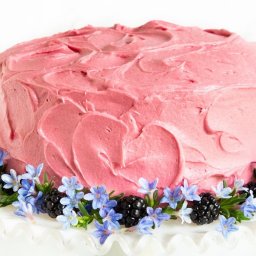 Vanilla Bean Cake with Blackberry Buttercream
- Funny Pictures
-
 Funny Science Memes for Your Entertainment
-
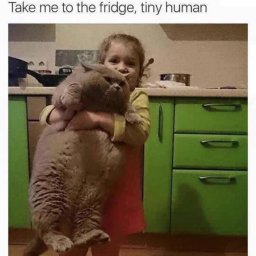 Wonderful and Cute Cat Pics
-
 Some Memes for a Good Time
- Crochet Ideas
-
 Crochet Beautiful Headband
-
 Crochet Summer Hat
-
 Crochet Zigzag Hat
- Lifehacks
-
 How To Patch Jeans With Crochet Lace
-
 Crochet Sunburst (Sunflower) Granny Square Pattern
-
 How to Crochet the Plaid Stitch Photo Tutorial
- DIY
-
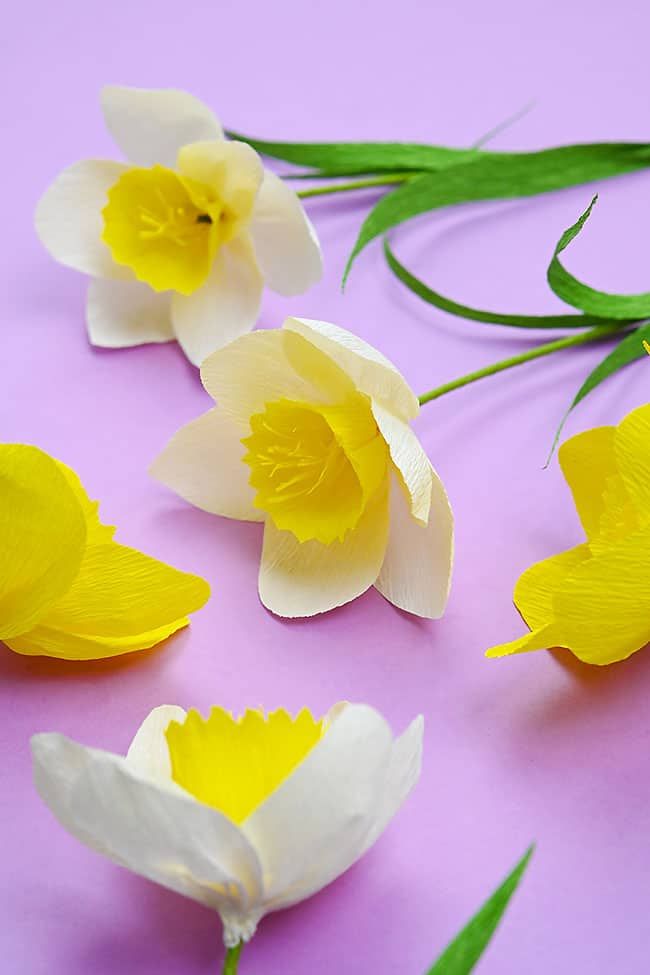 Crepe Paper Daffodils
-
 DIY Seashell Hair Pins
-
 Crochet Unique Scarf
- Knitting Ideas
-
 Knitted Lake Diamond Tank Top
-
 Knitted Beautiful Sweater
-
 Knitted Summer Sweater