Knitting Patterns for Garment Creation


You'll Need
600; 650; 700; 750; 850; 900g of mixed content yarn;
Straight knitting needles 5;
Knitting needles with fishing line 40 cm and 66 cm;
Markers;
6; 6; 6; 7; 7; 7 buttons.
Size
S; M; L; XL; XXL; XXXL.
Used Patterns
Garter Stitch: straight and reversed rows - all knit sts, circle rows - 1 row of knit sts, 1 row of purls by turn;
Stockinette Stitch: all knit sts;
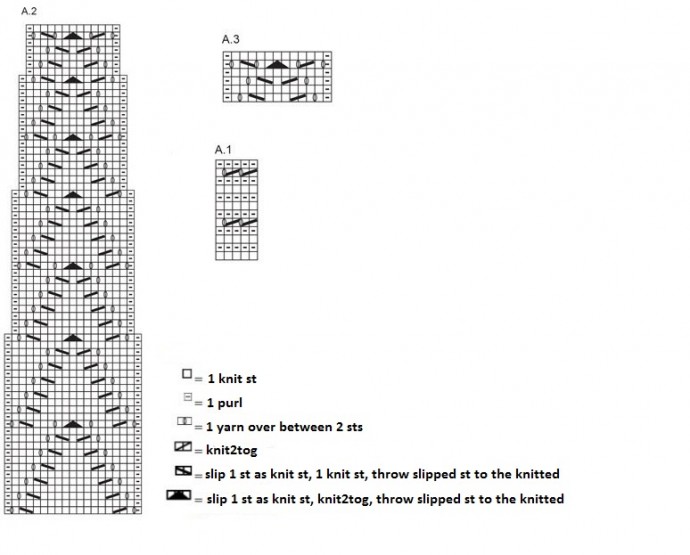
Relief Pattern: due to the scheme.
Stitches Control on Stockinette Stitch
17 sts x 22 rows = 10 x 10 cm.
Note
Raglan: make decreases along raglan line from the right side of the jacket. Before 3 sts to the marker, knit2tog, 1 knit st, marker, 1 knit st, slip 1 st as knit st, 1 knit st, throw the 1st st to the 2nd st;
Increases on Sleeves: along raglan lines - 1 yarn over, 1 knit st, marker, 1 knit st, 1 yarn over. Knit yarn overs as cross knit st in the next row.
Instructions
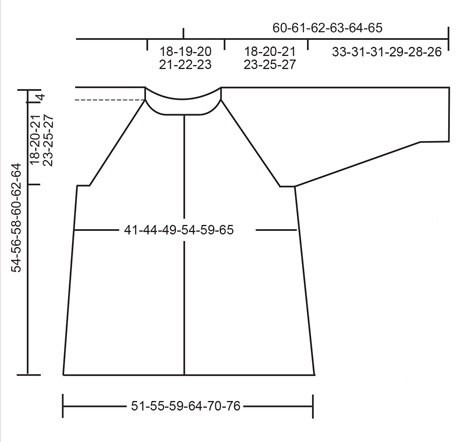
Common Detail - Back and Half Front
This part is knitted as one-piece work with straight/reversed rows. Cast on 183; 195; 211; 227; 247; 267 sts with knitting needles 5. Include 5 sts for each placket in this quantity of sts. Make 1 row of garter stitch pattern (it'll be the wrong side). From the next row knit according to the following scheme: 5 sts - pattern A.1 (placket), 19 sts - A.2, 1 purl, 22; 25; 29; 33; 38; 43 knit sts, marker, 14; 17; 21; 25; 38; 35; 1 purl, 57 sts - A.2 (3 pattern repeats), 1 purl, 14; 17; 21; 25; 30; 35 knit sts, marker, 22; 25; 29; 33; 38; 43 knit sts, 1 purl, 19 sts - A.2, 1 purl, 5 sts - A.1 (placket).
Continue knitting using these instructions to 8 cm. After that, decrease 1 st from each side in the next row. For this, knit2tog to the 1st and after the 2nd markers. Make the same decreases 3 times every 10 cm. After knitting the vertical pattern repeat of A.2 ornament, turn to the scheme A.3 on these 13 sts. Knit the remaining sts according to the previous description.
After all the decreases, there are 147; 159; 175; 191; 211; 231 sts left. At 32; 32; 33; 33; 33; 33 cm from the lower row bind off 6; 6; 8; 8; 10; 12 sts from each side: 3; 3; 4; 4; 5; 6 from both sides of the marker, leaving 63; 69; 75; 83; 91; 99 sts left for the back and 36; 39; 42; 46; 50; 54 sts for each half of the front. Leave your work and start knitting the sleeves.
Sleeves
Make with circle rows from bottom to up.
Cast on 38; 38; 40; 42; 44; 46 with double-pointed knitting needles and knit 1 circle row with garter stitch. Then, turn to stockinette stitch. Place a marker at the beginning of the row - this will be the center of the back part. Increase 1 st from each side of the marker with an interval of 6; 6; 6; 6; 4; 6 cm. Repeat increases 8; 12; 14; 15; 15; 16 times every 3; 2; 1.5; 1.5; 1.5; 1 cm. You should end up with 54; 62; 68; 72; 74; 78 sts. At 33; 31; 31; 29; 28; 26 cm bind off the central 6; 6; 8; 8; 10; 12 sts from the back side of the detail. There are 48; 56; 60; 64; 64; 66 sts left. Make the second sleeve in the same way.
Yoke
Transfer all the knitted detail to the knitting needles with long fishing line. Totally, there are 231; 259; 279; 303; 319; 339 sts. Place markers at the connections of the sleeves with the main part, marking the raglan lines. Knit your work up following the previous scheme, making decreases along raglan.
Raglan on Sleeves: make decreases, using the description above 4; 2; 2; 2; 4; 5 times in 3 rows, i.e., in every 4th row, then 13; 19; 21; 23; 21; 21 times in every 2nd row.
Raglan of the Main Part: decrease 8; 9; 9; 8; 8; 7 times in every 4th row, then 8; 9; 9; 8; 8; 7 times in every 2nd row.
After decreases, there are 111; 119; 123; 127; 135; 139 sts left. Knit 2 rows with garter stitch, decrease 12; 16; 16; 16; 18; 20 sts in the 1st row. There are 99; 103; 107; 111; 117; 119 sts left. Bind off the sts.
Assembly
Sew buttons to the left front. The buttonholes will be the holes of the pattern on the right front.
- Recipes
-
 Tofu Quesadilla
-
 Easy Egg Curry
-
 Chocolate Strawberry Cake
- Funny Pictures
-
 Extremely Hilarious Memes to Numb the Boredom
-
 Cat Memes Will Bright up Your Weekend Updated
-
 The Best Memes of Your Week are Right There
- Crochet Ideas
-
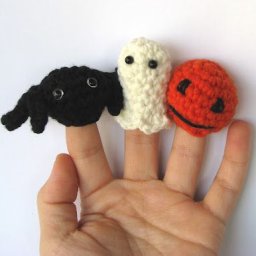 Crochet Halloween Finger Puppets
-
 Crochet Glorious Gray Pineapple Doily
-
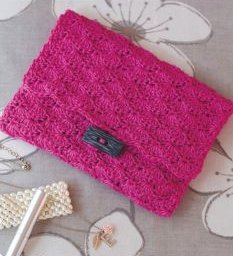 Crochet Clutch Bag
- Lifehacks
-
 Striped Mesh Crochet Stitch Photo Tutorial
-
 Stacked Triangles and Eyelet Crochet Stitch Photo Tutorial
-
 Double Crochet Net Stitch Photo Tutorial
- DIY
-
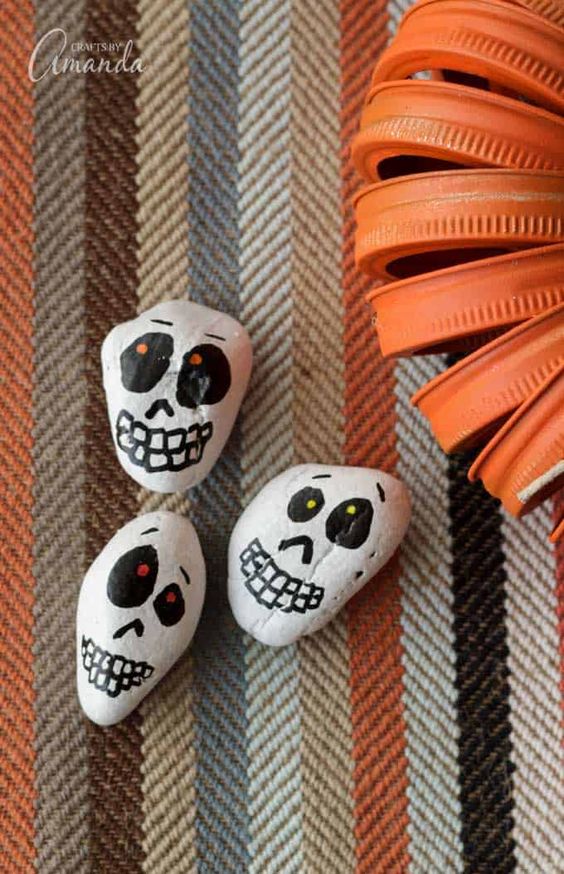 Cute Skull Rocks
-
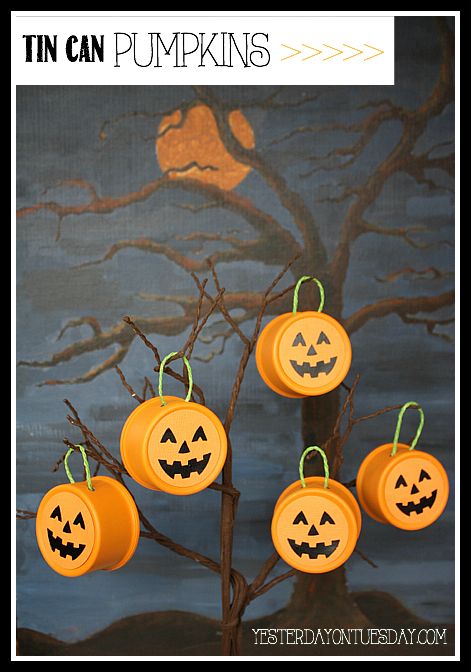 Tin Can Pumpkins
-
 Mason Jar Candle Holders
- Knitting Ideas
-
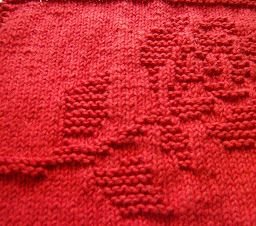 Knitted Rose Dishcloth
-
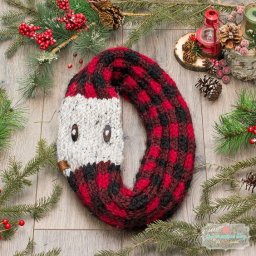 Knitted Woodland Infinity Scarf
-
 Cute Kitty Change Purse
this looks like a sweater I would love to make! Is there pattern support if I getstuck?
Sandy W
You can always write comments and our users or I will help you.