Crochet Handmade Mouse


Isn't a Crochet Handmade Mouse just the cutest addition to any home? These little creations are not only adorable but also unique and full of charm. With their tiny whiskers and button eyes, they bring a whimsical touch to any space. Whether you place one on your desk for a touch of handmade charm or gift it to a friend, a Crochet Handmade Mouse is sure to bring smiles and warmth wherever it goes.
Materials Needed:
- Yarn – Loopara 5ply combed cotton (Red 24, Orange 34, Grey 56, Black 59, and Pink 62)
- Hook – 3.0mm
- Scissors
- Stitch Marker
- Tweezers
- Positioning Beads
- Yarn Needle
- Fiber Fill
- Eyeball
- Buttons
- Molding Strip
- Hot Melt Adhesive
How to Crochet the Head
- R1: Magic ring, ch, 8 sc, sl
- R2: Ch, 8 sc inc, sl
- R3: Ch, (sc, sc inc) 8 times, sl
- R4: Ch, (sc, sc inc, sc) 8 times, sl
- R5: Ch, (4 sc, sc inc) twice, 5 sc, sc inc, (4 sc, sc inc) twice, 5 sc, sc inc, sl
- R6-R9: Ch, 38 sc, sl
- R10: Ch, 9 sc, 6 sc inc, 8 sc, 6 sc inc, 9 sc, sl
- R11-R14: Ch, 50 sc, sl
- R15: Ch, 9 sc, 6 sc2tog, 8 sc, 6 sc2tog, 9 sc, sl
- R16: Ch, (3 sc, sc2tog) 3 times, 2 sc, sc2tog, (3 sc, sc2tog) 3 times, 2 sc, sc2tog, sl
- R17: Ch, (3 sc, sc2tog) 6 times, sl
- R18: Ch, (sc, sc2tog, sc) 6 times, sl
- Stuff with fiberfill before finishing. Leave long tail.
How to Crochet the Arm (Make 2)
- R1: Ch, 6 sc in magic ring, sl
- R2: Ch, (2 sc, sc inc) 3 times, sl
- R3-R8: Ch 1, 8 sc, sl
- Fasten off, stuff with fiberfill.
How to Crochet the Ear (Make 2)
- R1: Ch, with pink color: 6 sc in magic ring, sl
- R2: Ch, 6 sc inc (change to gray in last st), sl
- R3: Ch, (2 sc, sc inc) 4 times, sl
How to Crochet the Legs and Body
- R1: Ch, 6 sc in magic ring, sl
- R2: Ch, 6 sc inc (change to orange in last st), sl
- R3-R4: Ch, 12 sc, sl. Make 2 legs, fasten off first leg. For second leg: ch 3, join to first leg with sl st, continue pattern
- R5: Ch, 12 sc, 3 sc, 12 sc, 3 sc, sl
- R6: Ch, (2 sc, sc inc, 2 sc) 6 times, sl
- R7-R9: Ch, 36 sc, sl. Change to gray in last st of R9
- R10: Ch, 11 sc, (FLO 10 sc), 15 sc, sl
- R11: Ch, 6 sc, sc2tog, 16 sc, sc2tog, 10 sc, sl
- R12: Ch, 4 sc, 2 sc2tog, 14 sc, 2 sc2tog, 8 sc, sl
- R13: Ch, (2 sc, sc2tog, 2 sc) 5 times, sl
- R14: Ch, 10 sc, sc2tog, 13 sc, sl
- R15: Ch, (2 sc, sc2tog) 6 times, sl,stuff with fiberfill
- R16: Ch, 2 sc, flatten arms and join with 4 sc, 5 sc, flatten arms and join with 4 sc, 3 sc
How to Crochet the Front Pouch
- R1: Ch,10 sc in ring
- R2-R4: Ch, turn, 10 sc
- R5: Ch 12
How to Crochet the Tail
- R1: Ch,6 sc in ring, sl
- R2-R5: Ch, 6 sc, sl (add molding strip at end of R5, stuff lightly with fiberfill)
- R6-R18: Ch, 6 sc, sl
Crochet Mouse Assembly
- Take out the head and body pieces. Thread the reserved tail from the head through a yarn needle. Align the stitches between head and body, and sew them together carefully one stitch at a time. When you're almost done with the seam, add a small amount of fiberfill, then continue sewing until complete.
- Place eyeballs between rounds 10-11, with 5 stitches space between the eyes. Then take black yarn, split it into 2 strands and thread your needle. Tie a knot at the end.
- For the eyebrows, insert your needle at any point, come up 2 rounds above the eye, then go down diagonally across 2 stitches width. Repeat the same process for the other eyebrow. After completing the eyebrows, embroider the whiskers below the eyes. Make sure the whiskers are symmetrical on both sides.
- Take red yarn and split into 2 strands. Embroider the mouth in an inverted triangle shape in the round below the eyes, filling it in completely. Then use black yarn to embroider small teeth.
- Use positioning Beads to pin the ears and then sew them to the head.
- Sew the overall straps to the back of the body, then attach the button at the center of the front pocket.
Crochet Tips:
- When working with the magic ring, pull it tight before starting your first round to avoid any holes in the center of your work.
- Work your stitches fairly tight to prevent stuffing from showing through. However, be careful not to make them so tight that you struggle to insert your hook into the previous round.
- When adding the strip, make sure the ends are well-covered to prevent poking through. Keep your stitches tight around the strip to prevent it from showing through.
Assembly Tips:
- Before sewing the head to the body, pin it in place first. This helps ensure your mouse will have its head positioned correctly.
- When attaching the overall straps, make sure they're the same length and tension on both sides. Uneven straps can make the overalls sit crooked.
- After sewing on the button, give it a few extra securing stitches.
No comments
Write a comment
- Recipes
-
 Healthy Pizza Stuffed Zucchini Boats
-
 Easy Parmesan Chicken Burgers
-
 Chicken Kiev
- Funny Pictures
-
 Some of The Best Food-Related Memes
-
 Mood Lifting Dog Memes for a Better Day
-
 Happy New Year Memes!
- Crochet Ideas
-
 Crochet Slanting Cross Puff Stitch
-
 Crochet Primrose Dishcloth
-
 Crochet Peep Hole Doily
- Lifehacks
-
 How to Make the Triple Treble Crochet Stitch Photo Tutorial
-
 Thick Marguerite Stitch Crochet Tutorial
-
 Diagonal Stripes Crochet Stitch Tutorial
- DIY
-
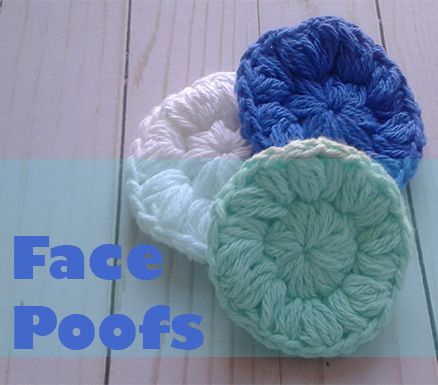 Crochet Face Washcloth
-
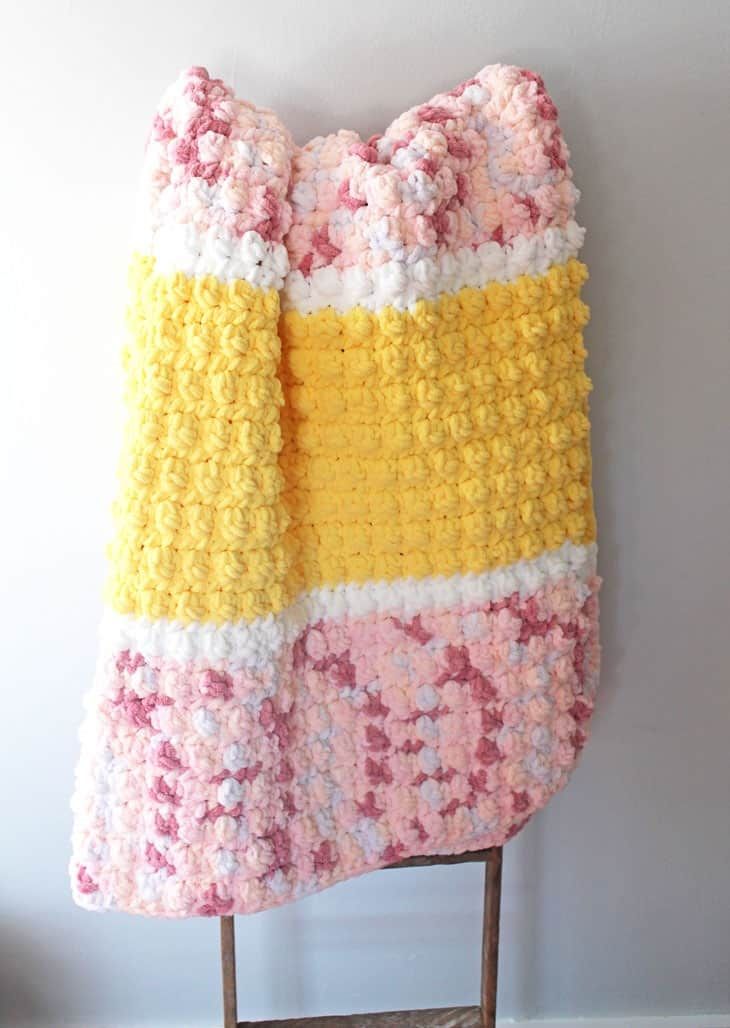 Crochet Pink Lemonade Blanket
-
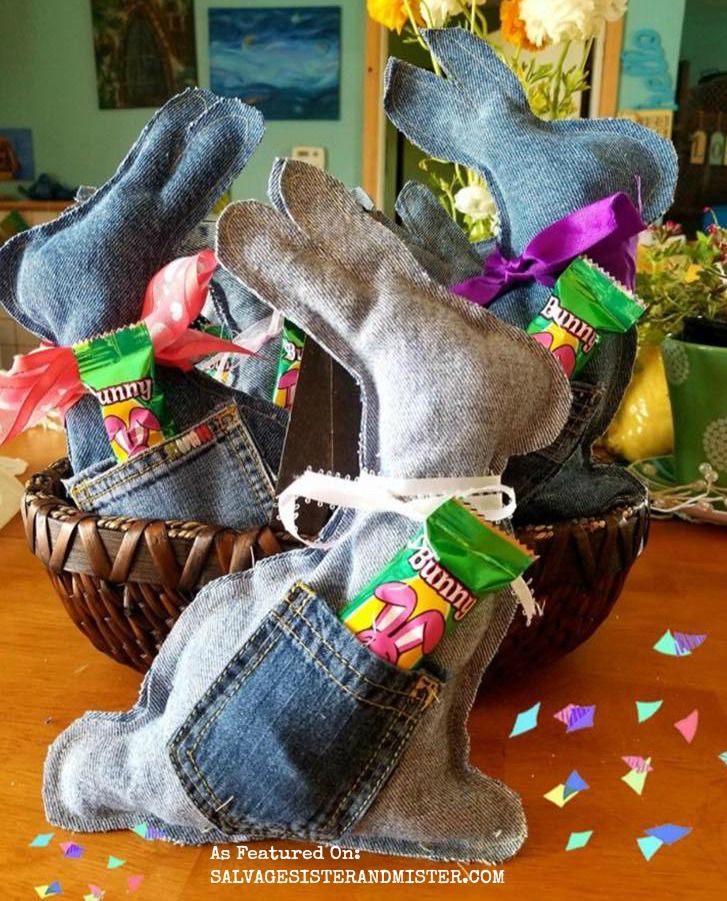 DIY Denim Bunny
- Knitting Ideas
-
 Knitted Baby Romper
-
 Knitted Broken Rib Stitch
-
 Knitted Adorable Cardigan