Crochet Mouse Amigurumi: A Charming Craft Project

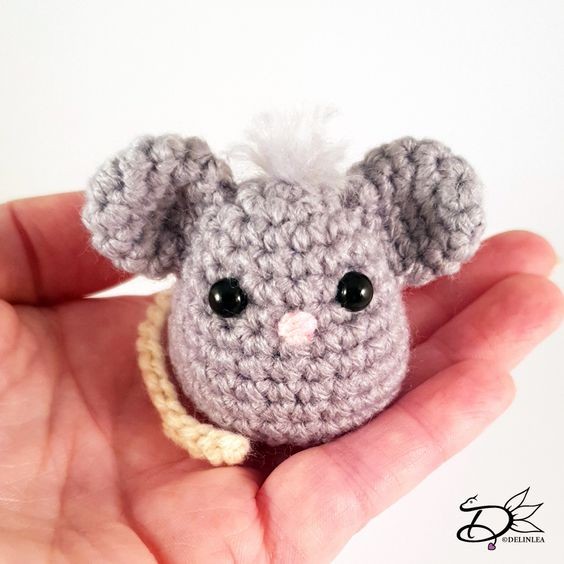
Crochet Mouse Amigurumi is a delightful and charming craft project that allows you to create your own adorable little mouse character. These tiny crochet creatures are perfect for adding a touch of whimsy to your home decor or for giving as unique handmade gifts to friends and family. With just a few basic crochet stitches and some colorful yarn, you can bring these cute mice to life in no time. Whether you're a seasoned crocheter or just starting out, making a Crochet Mouse Amigurumi is a fun and relaxing way to unleash your creativity and add a dose of cuteness to your day. So grab your crochet hook and get ready to craft some magic!
Materials Needed
For this DIY you’ll need:
- ♥ DK Yarn in the colors; Beige and Grey. (I used BudgetYarn.com)
- ♥ Some extra Pink yarn for the nose.
- ♥ Crochet Hook (I used a 2.5mm hook).
- ♥ Safety Eyes, 5mm.
- ♥ Stuffing.
- ♥ Scissors.
- ♥ Sewing Pins.
- ♥ Yarn Needle.
Stitches Used (US Terms)
- Magic Ring.
- CH = Chain.
- SLST = Slip Stitch.
- SC = Single Crochet.
- ST = Stitch.
- Inc = Increase.
- Dec = Decrease.
- (…) = Repeat the space in brackets the given number of times.
- […] = Total number of stitches.
Pattern Mouse
Work in continuous rounds, use a stitch marker to mark your first stitch of every row. This is for every part unless stated otherwise.
Body
Use Grey yarn.
Before you start, prepare 3 strands of yarn, about 6cm. Tie them together with a knot and put them aside. This will be for his hair.
- 6SC in a Magic Yarn. [6] Before closing the magic ring, put in the 3 strands you prepared earlier, with the knot on the inside. Now close the magic ring.
- 2SC in each st around. [12]
- (3SC, inc) 3 times. [15]
- (4SC, inc) 3 times. [18]
- 18SC. [18]
- (5SC, inc) 3 times. [21]
- 21SC. [21]
- (6SC, inc) 3 times. [24]
- 24SC. [24]
- 24SC. [24]
- (2SC, dec) 6 times. [18]
- (1SC, dec) 6 times. [12] Place the eyes between row 5 and 6, about 1cm apart. Stuff the body firmly.
- Dec all around. [6]
Fasten off and weave in tail.
Ears (Make 2)
Use Grey yarn.
- 6SC in a Magic Ring. [6]
- 2SC in each st around. [12]
- 12SC. [12]
- 12SC. [12]
- (2SC, dec) 3 times. [9]
Fasten off and leave a long tail for sewing. You don’t stuff, just flatten the ears.
Tail
Use the Beige yarn.
Chain 18 and leave a long tail for sewing.
Assembling the Crochet Mouse
Whenever I start assembling Amigurumi’s I use sewing pins to put all things together first. This way I can move them around until I am happy with how it looks.
For the hairs you added when you started with the body, those 3 strands of grey yarn, unraffle those, so they get fluffy. When you have done that, trim it to the size you like!
Make a little nose with pink yarn. After that, position the ears and sew them on. Do the same for the tail. And you are already done. This is a real quick one!
- Recipes
-
 Spicy Chili Recipe with Three Meats and Beans
-
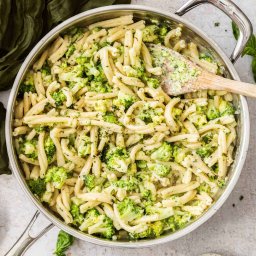 Creamy Broccoli Pasta
-
 30 Minute Bang Bang Shrimp
- Funny Pictures
-
 Too Cute to Be Real
-
 Cooking Memes We All Need
-
 Funny Tweets With a Bit of Truth of Life
- Crochet Ideas
-
 Crochet Beautiful Mouse
-
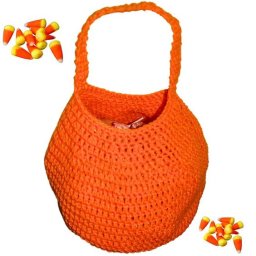 Crochet Fun Pumpkin Bag
-
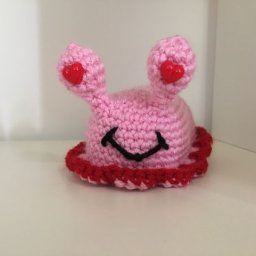 Crochet The Love Slug
- Lifehacks
-
 Wedged In: Wedge Crochet Stitch and Granny Square Photo Tutorial
-
 Diagonal Knit Look Crochet Stitch Photo Tutorial
-
 Braided Beans Table Runner Crochet Pattern
- DIY
-
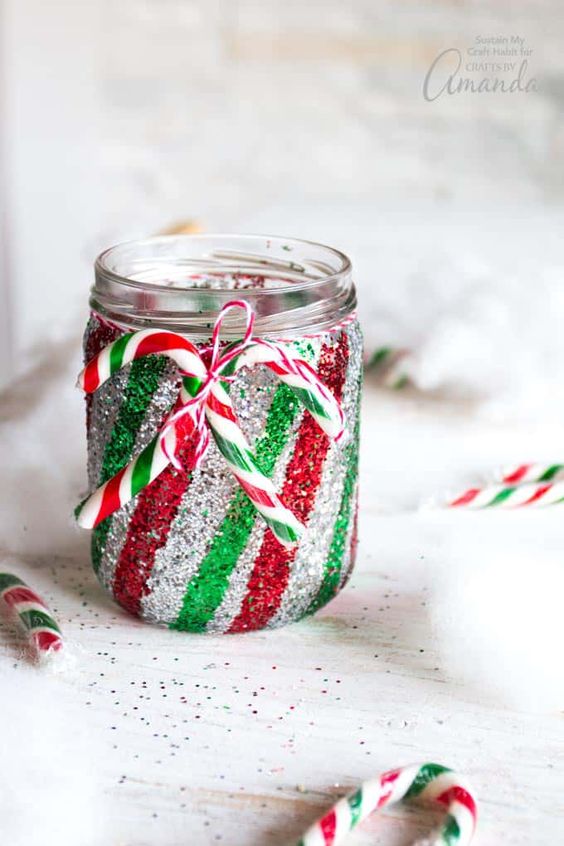 Candy Cane Mason Jar Luminary
-
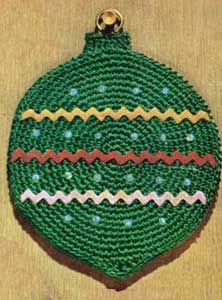 Crochet Christmas Ball Pot Holder
-
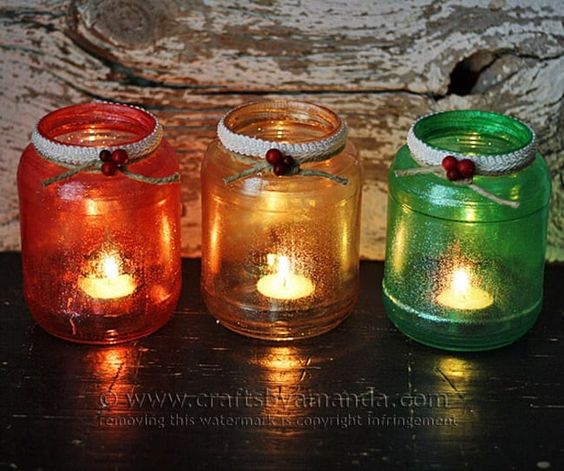 Glitter Christmas Luminaries
- Knitting Ideas
-
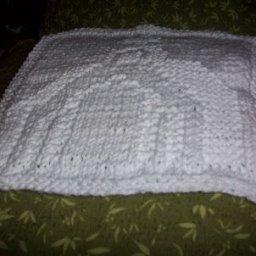 Knitted Church Dishcloth
-
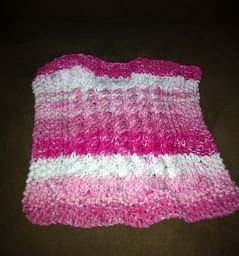 Knitted Twist and Scrub Dishcloth
-
 Knitted Waves Of Grain Dishcloth