
Crochet Easter Egg Covers: A Creative Guide for Your Holiday Decorations

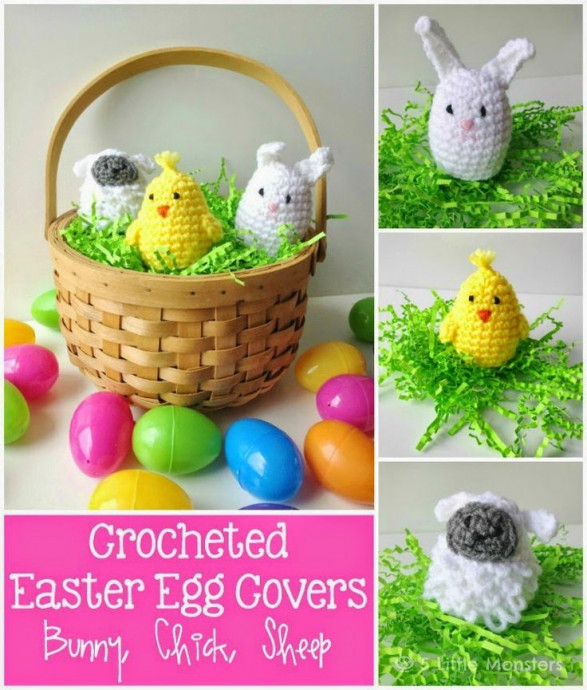
Crochet Easter egg covers are such a delightful and creative way to add a touch of charm to your Easter decorations! These little covers not only bring an extra dose of cuteness to your holiday eggs but also allow for endless customization with different colors and patterns. Whether you're a crochet pro or looking to try out a new crafting project, making these egg covers can be a fun and rewarding activity for the Easter season. Imagine the joy on your friends' and family's faces when they see these adorable handmade covers adorning their eggs – truly egg-ceptional!
How to Crochet Easter Egg Covers
- Medium weight yarn - Red Heart Super Saver or something similar in weight (I used Red Heart Super Saver in white, bright yellow, and heather gray)
- G crochet hook
- Embroidery floss - black and orange for the chick, pink and black for the bunny, black for the sheep
- Yarn needle for weaving in ends and sewing together
- Embroidery needle for stitching faces
- For the sheep: a pencil to make loops
Instructions for Basic Easter Egg Cover:
All of the bodies use the same basic pattern; the only difference is the loops on the sheep. The number of stitches is the same, you are just making loops too. The bodies are crocheted in a spiral; you do not need to join after each round.
*For the loops on the sheep, rounds 7-11 make a loop every other stitch by wrapping the yarn around the pencil and then working the sc. Wrap the yarn around the pencil and work the sc, sc in the next stitch, wrap yarn and work sc, sc in next stitch... Round 12 is worked in regular sc.
Crochet Easter Egg Chick Pattern
Wings (Make 2)
ch 6, dc in 4th ch from hook, dc in next ch, hdc in next ch, ch 1, slip stitch to starting ch (same ch that hdc is worked in), stitch to each side of chick about halfway down.
For the tuft of feathers, cut 2 pieces of yarn about 4 inches long, fold in half both pieces together, pull folded end through the top of the head to create a loop then pull the other end through that loop to create a knot. You should have 4 little pieces of yarn sticking up; trim them to the size you want. Embroider the face using satin stitch, a triangle for the beak, and a few stitches together for the eyes.
Crochet Easter Egg Bunny Pattern
Ears (Make 2)
ch 7, slip stitch in 2nd ch from hook, sc in next 2 ch, hdc in last 3 ch, stitch to the top of the head.
For the tail, make a pom pom by wrapping the yarn several times around 2 fingers, and when it seems full enough, slip it off and tie it tightly in the middle. Cut the ends and fluff. Trim until it is the size and shape you want, and sew or glue to the back of the bunny; I just attached mine with hot glue. Embroider face.
Crochet Easter Egg Sheep Pattern
Work loops on body as explained above.
Ears (Make 2)
ch 5, slip stitch to first ch, sew to sides of head.
Face
Embroider face.
- Recipes
-
 Marry Me Pork Chops
-
 Butterflied prawns with cherry and lime leaf sambal
-
 2 Ingredient No Bake Healthier Cottage Cheese Chocolate Cake
- Funny Pictures
-
 Cute and Astonishing Pics of Capybara You Have to See
-
 Don’t Worry it’s Monday, Friday is Coming Soon!
-
 Hilarious Memes Most People Will Relate To
- Crochet Ideas
-
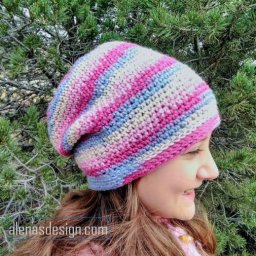 Crochet Variegated Slouchy Hat
-
 Crochet Valentine Doily
-
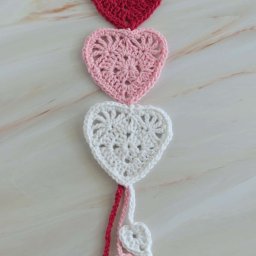 Crochet Triple Heart Bookmark
- Lifehacks
-
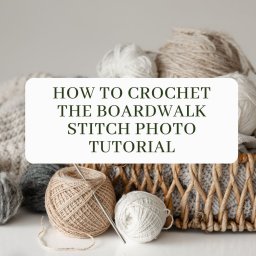 How to Crochet the Boardwalk Stitch Photo Tutorial
-
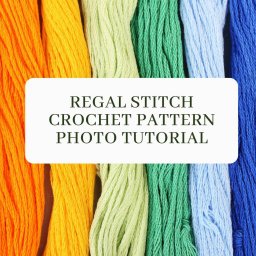 Regal Stitch Crochet Pattern Photo Tutorial
-
 How to Crochet the Modified Moss Stitch Photo Tutorial
- DIY
-
 Crochet Summertime Scarf
-
 Crochet Mini Snowman Christmas Ornament
-
 Crochet Spring Scarf
- Knitting Ideas
-
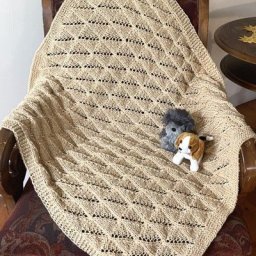 Knitted Pleated Lace Blanket
-
 Knitted Meerkat Dishcloth
-
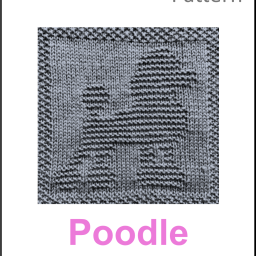 Knitted Poodle Dog Dishcloth