How to Create Your Own Crochet Easter Egg Hanger

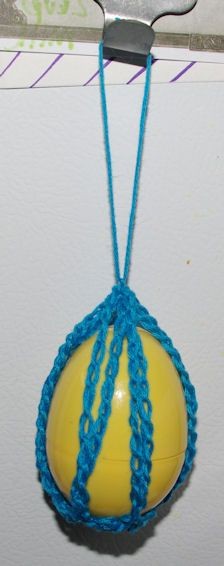
Create your very own Easter egg hanger using the art of crochet. This fun and creative project allows you to customize the colors and patterns of your eggs, making them unique and special. By following a simple crochet pattern, you can create a beautiful hanger that can be displayed in your home during the Easter season. Whether you're a beginner or an experienced crocheter, this project is a great way to add a personal touch to your Easter decorations.
With just a few basic crochet stitches, you can bring your Easter eggs to life in a charming and whimsical way. Choose pastel colors for a traditional Easter look, or go bold with bright hues for a modern twist. Hang your crochet Easter egg hanger on a door knob, hook, or even a branch to create a festive and eye-catching display. This DIY project is not only fun to make, but it also adds a handmade touch to your Easter decor that will impress your family and friends.
Measurements
Measures 4-1/2" x 4-1/2"
Materials Needed
- Embroidery Floss - one skein
- Steel Hook Size 0/3.25MM
- Plastic Egg
Stitches Used
- ch (chain)
- dc (double crochet)
- sc (single crochet)
- sl st (slip stitch)
Difficulty Level
Difficulty: EASY
Crochet Instructions
Round 1
Ch4, 11dc in the 4th ch from the hook. Join with a sl st in the top of the beg Ch4.
Round 2
Do not turn. Ch1, sc in same st. (Ch3, sc in the next st) around.
Round 3
Do not turn. Do not fasten off. Sc in the next ch sp. (Ch24, sk next ch sp. Sc in next ch sp.) 5 times. Ch24, sl st in the first sc made.
Fasten off.
Finishing Touches
Use a piece of the floss (about 6" long) to join the loops at the top. Bring two loops together that are opposite each other and tie the floss around them. Bring up two more opposite loops and tie those with the same piece of floss. Join the last two loops the same way. Now make a knot at the end of the two pieces to form the loop used to hang the egg. Insert the egg.
- Recipes
-
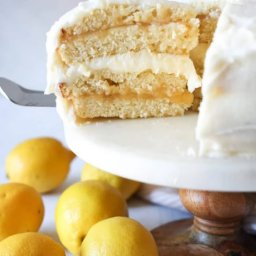 Lemon Cloud Cake with Lemon Filling and Lemon Buttercream
-
 Bacon Wrapped Chicken Teriyaki Bites
-
 Lemony Ricotta Pasta Sauce with Shrimp
- Funny Pictures
-
 If you Don’t Know What to Do Right Now Then Just Look at These Memes
-
 Cat Memes for the Purpose of Pure Entertainment
-
 A Friendly Reminder That Not Everything is Terrible
- Crochet Ideas
-
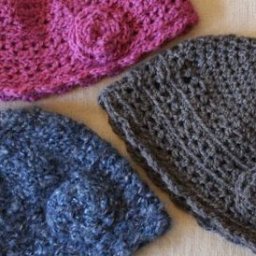 Crochet The Lace Hat
-
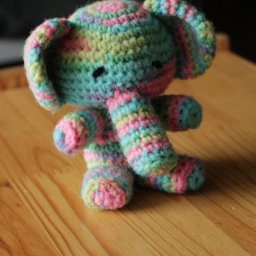 Crochet Rainbow Elephant
-
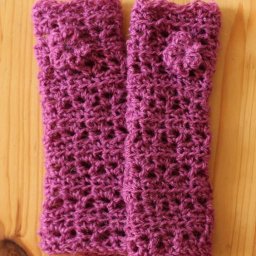 Crochet The Lace Fingerless Gloves
- Lifehacks
-
 Budding Leaves Crochet Pattern Photo Tutorial
-
 Seaweed Crochet Stitch Photo Tutorial
-
 Pearls and Oysters Crochet Stitch Photo Tutorial
- DIY
-
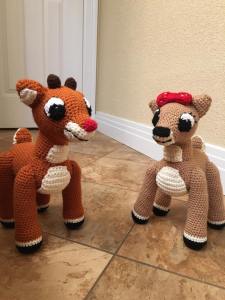 Crochet Rudolph the Red-Nosed Reindeer
-
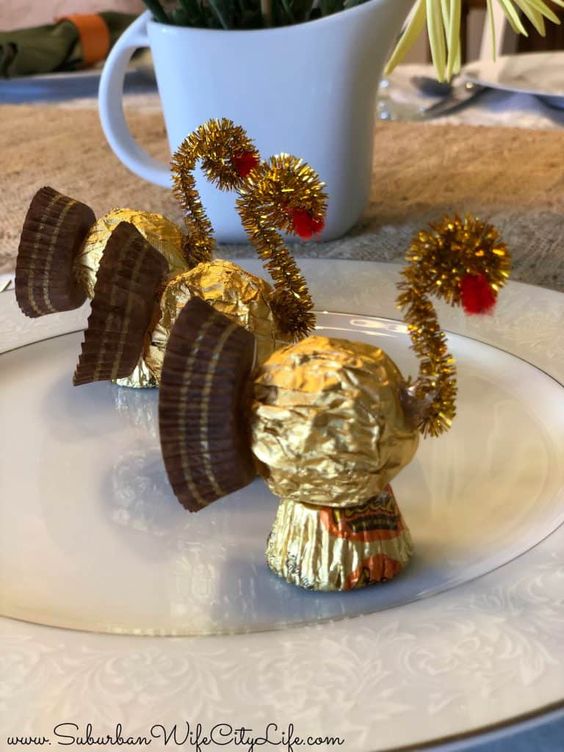 Thanksgiving Candy Turkeys
-
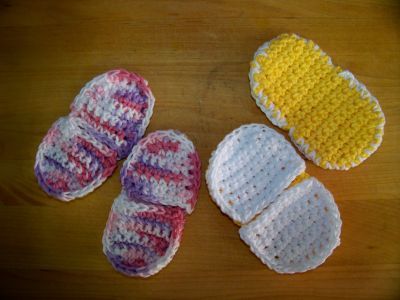 Crochet Pot and Plate Pinchers
- Knitting Ideas
-
 Knitted Beautiful Pizza
-
 Knitted Cat Hand Puppet
-
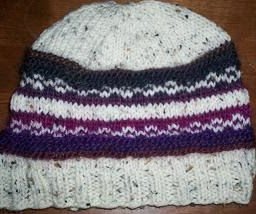 Knitted Adorable Baby Hat