Topics
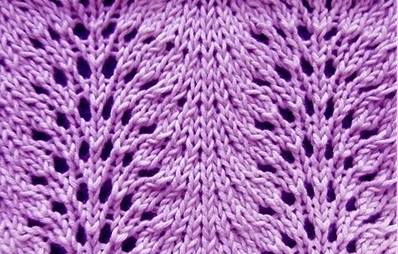
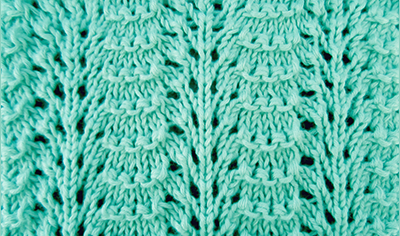
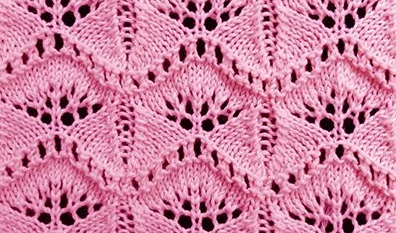
Old Shale Knit Stitch
Knitted in a multiple of 18 sts and a 4-row repeat. Row 1 - right side: Knit. Row 2: Purl. Row 3: * (K2tog) 3 times, (yo, k1) 6 times, (k2tog) 3 times; repeat from * to end. Row 4: Purl. Abbreviations K - knit P - purl Yo - yarn over K2tog - knit 2 sts together
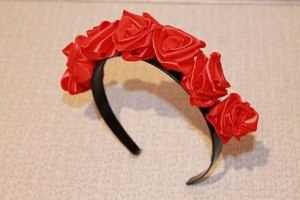
Hairband With Satin Roses
You'll need: Satin ribbons (width 2,5 cm, 45 cm long); Thread; Scissors; Hairband. Instructions Bend the ribbon for the first time, forming an angle of 90 degrees. Then we bend the ribbon one by one. As soon as the short edge of the ribbon ends, connect the ends together and release the structure. Then, holding a short edge near the main one, pull the structure up to form rosebuds. Trim the excess, singe the edge on fire. Sew a thread so that the structure holds and does n...
Criss-Cross Cast On Stitches
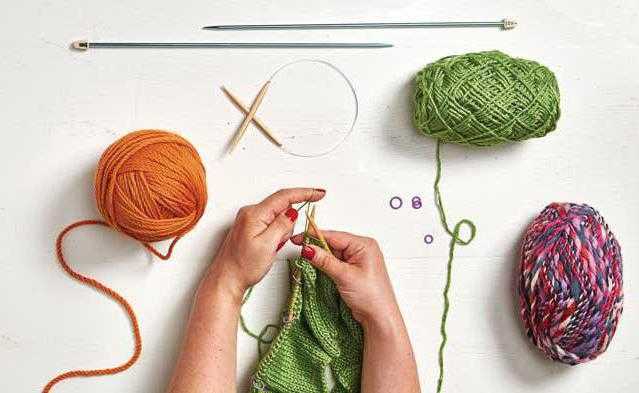
There are a lot of ways how to cast on stitches in knitting. Today I want to share with you one of the method, which is called criss-cross. It is used when it is necessary to start knitting your work with an ornate pattern, and not traditionally with rib. Such a criss-cross cast on stitches will give the finished work a denser structure, making the edge neat and almost perfectly even. In addition, your product will look more voluminous due to such an original decor. Another plus of the criss-cross cast on ...
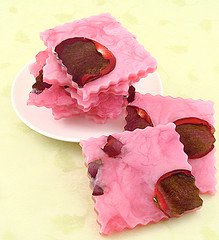
Home-Made Soap With Roses
You'll need: Pyrex 16 ounces Melt and Pour Base (clear or white) Roses (dried or fresh) Rosehip Jasmine Fragrance Oil Optional: Red Coloring (food coloring is fine) Soap Mold (plastic Tupperware works great) Instructions Melt 8 of opaque ounces of soap in the microwave on 30 second bursts. Scent soap with approximately 1/8 ounce of fragrance or essential oil. Stir in well. Pour half way into molds. Melt another 8 ounces (clear soap for a contrasting look) of soap in ...
Ridged Feather Knit Stitch
Knitted in a multiple of 11 sts and a 4-row repeat. Row 1 - right side: Knit. Row 2: Purl. Row 3: * (P2tog) twice, (yo, k1) 3 times, yo (p2tog) twice; repeat from * to end. Row 4: Purl. Abbreviations K - knit P - purl Yo - yarn over P2tog - purl 2 sts together
How did you cope with these problems?
Hello everyone! I wish you a good day and nice mood! What was the most difficult for you when start knitting or crochetting? How did you cope with these problems? Your advice may help beginners with the same problem.
Looking for pattern
looking for a ladies knitted small scarf pattern it looks a bit like a tie but no idea what its called be great if someone can help or know what its called its from.the 1930's or 40's I think originally
Childrens Cloche hat
Hello all. I JUST signed up! I was looking for a pattern for a child cloche hat that I found on Pinterest. Now I can't find the pattern that was indicated on Pinterest. Has anyone else had this frustrating experience?
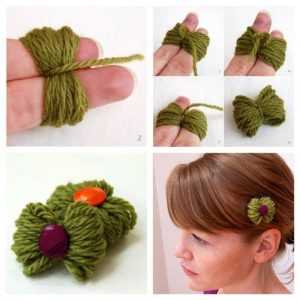
Simple and Fast Hair Accessory
You'll need: Yarn of any colour; Button; Hair bobble or hair slide; Glue. Instructions Straighten two fingers - first and second fingers, then wind the yarn on them. When you finish doing this, start reeling this skein on the middle several times, as it's shown in the photo below. As a result, you should get a small bow. Using glue, fasten your button to the centre of your bow and fix it to the hair bobble or hair slide. You can also decorate it with beads.
How to Read Crochet Schemes
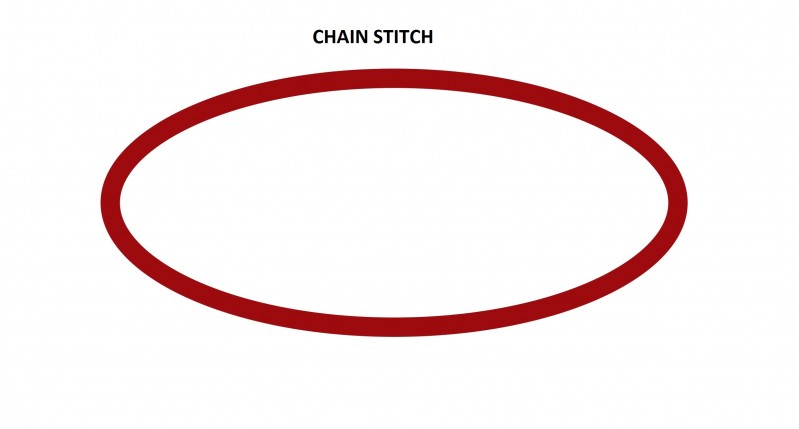
1. Chain stitches, which are mainly used for making the first row and beginning of work. 2. Single crochet is marked with cross, it increases the density of crochet work. 3. Half double crochet is marked with "T" letter, the row, made of half double crochets, isn't so densed. 4. Double crochet is marked with sroken out "T" letter. 5. Treble crochet is marked with "T" letter with 2 dashes accordingly. 6. Double treble crochet is marked with "T" letter with 3 dashes. 7. Slip stitch wi...
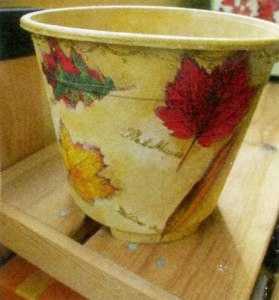
Decoupage Flowerpot
You'll need: Flowerpot; Primer; Light acyrlic paint; Decoupage tissues; Decoupage glue or acrylic varnish; Glitter with glass-paper; Brush and foam bast whisp. Instructions First of all, sand-paper the flowerpot with white paint, and then, remove the dust. The primer is applied both from the outside and from the inside. Leave the pot to dry completely. Meanwhile, tear out with your own hands, from the selected decoupage tissues, a suitable motive, separating the upper tier from it. ...
Ginkgo Leaf Knit Stitch
Knitted in a multiple of 18 sts + 1 and a 14-row repeat. Row 1 - right side: P1, * k17, p1; repeat from * to end. Row 2: K1, * p17, k1; repeat from * to end. Row 3: P1, * k2tog, k6, yo, k6, ssk, p1; repeat from * to end. Row 4: K1, * ssp, p13, p2tog, k1; repeat from * to end. Row 5: P1, * k2tog, k4, (yo, k1) 3 times, yo, k4, ssk, p1; repeat from * to end. Row 6: K1, * ssp, p13, p2tog, k1; repeat from * to end. Row 7: P1, * k2tog, k2,* (yo, k1) 7 times, yo, k2, ssk, p1; repeat from * to end. ...
Butterfly From Glass
You'll need: 9" Butterfly Mold Large Butterfly Precut Stained Glass Chips (Purple) Outdoor Cement Pen Scissors Contact Paper Petroleum Jelly Paper Towel Measuring Cup Mixing Bowl and Spoon Instructions: Trace an outline of the mold onto contact paper. Trim to the size of the mold. Note, the contact paper should be smooth and free of creases. Contact paper should fit closely inside the mold. To achieve a good fit, place the trimmed contact paper...
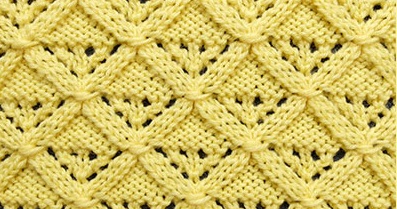
Diamond Lattice Knit Stitch
Wrap 5: K2, p1, k2, transfer this 5 sts to a third needle, wrap the yarn 3 times around all the sts, transfer them to the right needle again. Knitted in a multiple of 12 sts + 1 and a 16-row repeat. Row 1: K4, * wrap 5, k7; repeat from * , ending last repeat with k4 (instead of k7). Row2: K4, * p5, k7; repeat from * , ending last repeat with k4 (instead of k7). Row 3: P3, * k2tog, (k1, yo) twice, k1, ssk, p5; repeat from *, ending last repeat with p3 (instead of p5). Row 4: K3, * p7, k5...
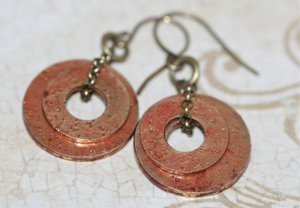
Metal Round Earrings
You'll need: Round brass washers Gilders paste Craft glaze Antiqued brass chain Jump rings Earring wires Instructions: Hammer the brass washings to give them texture. Apply Gilder's Paste to brass washings. Simply rub the paste onto both sides of the washer using a soft cloth - a cotton T-shirt works very well, or use an old washcloth. Let the paste dry about 10 minutes. Rub again with the cloth to remove excess. Sand the surface and sides of the washer with either fine sandpaper...

