Crochet Linen Stitch Scarf


Crochet Linen Stitch Scarves are a cozy and stylish accessory that you'll love creating. With their delicate yet intricate pattern, they make a perfect addition to any outfit, whether you're going for a casual look or dressing up for a special occasion. The linen stitch creates a lovely woven texture that is both visually appealing and soft to the touch, making it a joy to wear.
- Scheepjes Whirl Fine Art 215 – 225g 460m Impressionism
- Scheepjes Merino Soft 50g 105m – 1 x Chagall & 1 x Bellini
- OR 650 – 700m of any dk weight yarn
- Hook: 4.5mm & 5mm
- Other items: Scissors, darning needle, stitch marker
- This pattern includes instructions for the colour order I chose – I like colour to flow in an “order” usually and so are included for reference but using your own colour placement with this stitch pattern will also work
- Ch1 at the start of a row does NOT count as a stitch
- I used a smaller hook to make my chain as i find it keeps it tighter/neater – again this is not essential, if you prefer to stick to one hook as long as you maintain an even gauge you will be successful
Colour Key
Fringe:
Cut the 10g of each colour A & C into 12 inch strips. Also include any remaining yarn from the body of the scarf.
I used 3 strands per fringe section, using both colours. To create the colour effect with the fringe I used an additional strand of the colour that was opposite the end that I attached the fringe to.
On the Chagall side this is 2 strands Bellini and 1 Chagall, on the Bellini side I did the reverse.
I used ALL the yarn from the skeins listed to complete this pattern.
Tips
Use the markers as a visual guide as to WHICH row of the repeat you are completing to ensure you keep straight sides and are in the right place. I use different coloured markers for each side, and mark the pattern with the colour to aid this also.
- Recipes
-
 Leek and Celery Soup
-
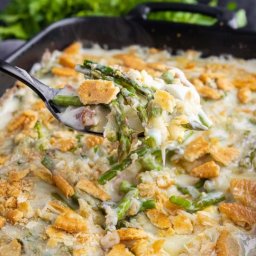 Classic Asparagus Casserole
-
 Lazy Daisy Cake aka Drømmekage - Danish Dream Cake
- Funny Pictures
-
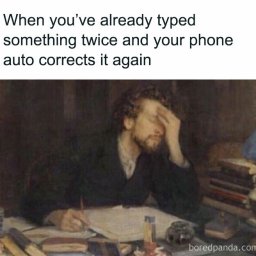 Hilariously Relatable Classical Art Memes That Prove Nothing Has Changed Years Later
-
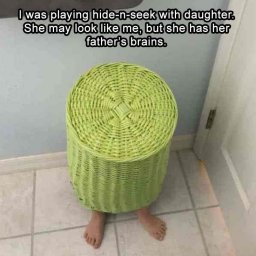 Saturday Pics for a Great Weekend
-
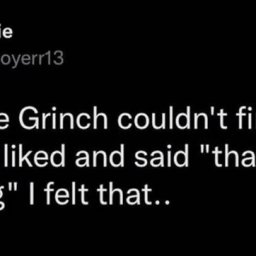 Funny Tweets to Get You Through the Day
- Crochet Ideas
-
 Crochet Slanting Cross Puff Stitch
-
 Crochet Beautiful Headband
-
 Crochet Summer Hat
- Lifehacks
-
 How to Crochet the Bobblet Stitch Photo Tutorial
-
 Pretty Pebbles Stitch Photo Tutorial
-
 How to Crochet The Lotus Stitch Photo Tutorial
- Knitting Ideas
-
 Knitted Lake Diamond Tank Top
-
 Knitted Adorable Washcloth
-
 Knitted Skye Song Shawl
- DIY
-
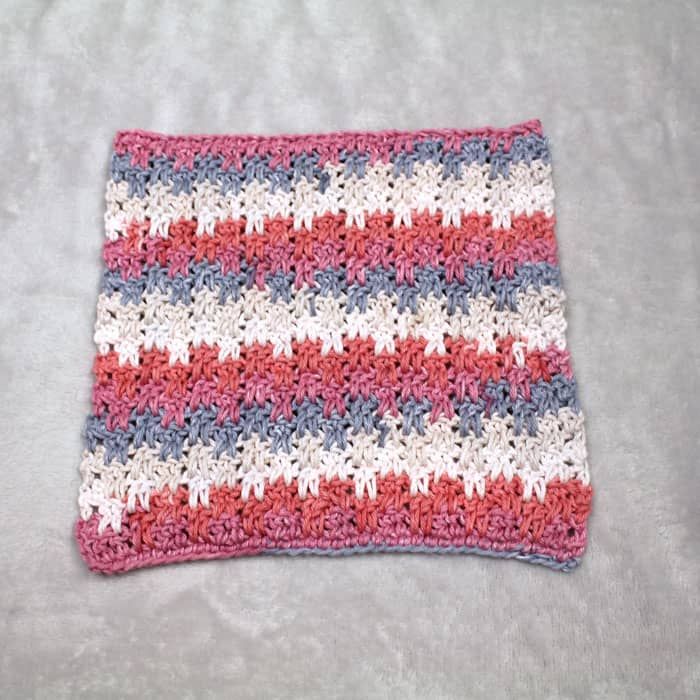 Crochet Up and Down Stripe Cotton Washcloth
-
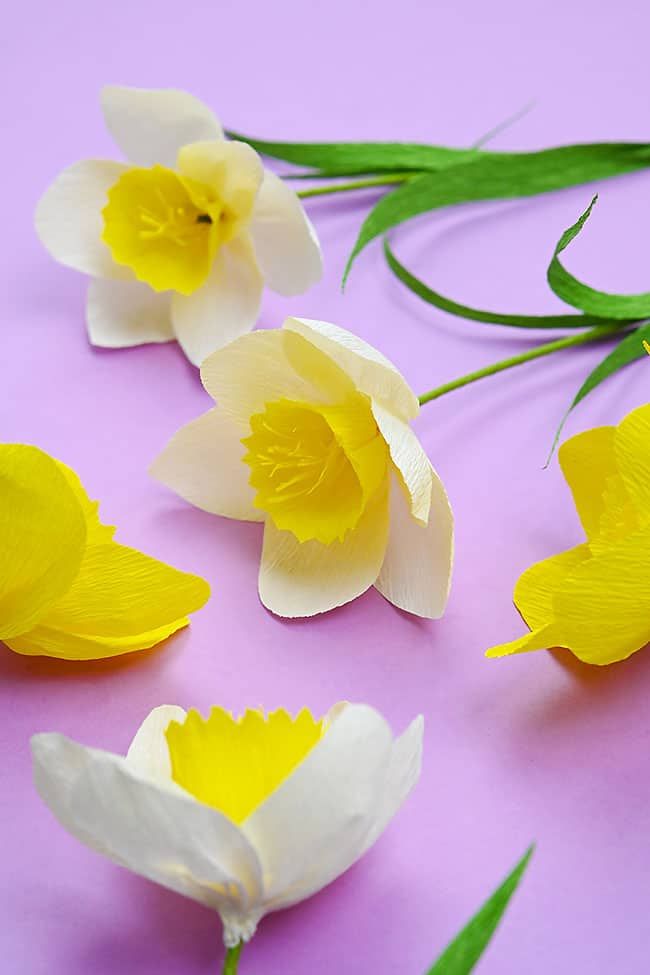 Crepe Paper Daffodils
-
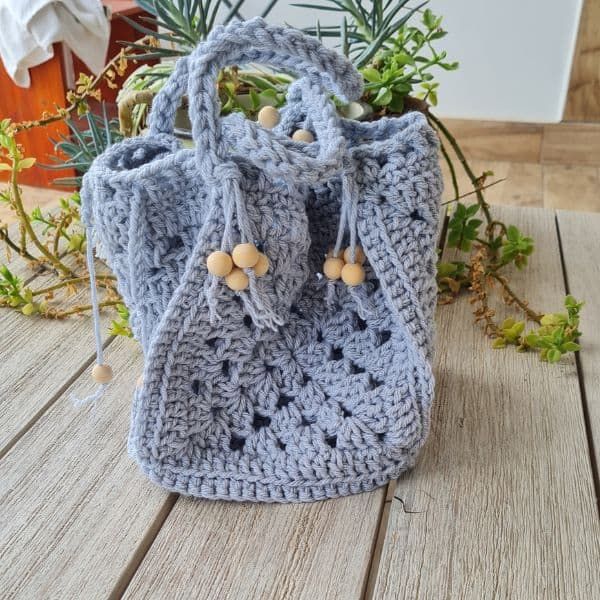 Crochet Square Granny Beach Bag