Crochet Wubber Duck Amigurumi


If you're looking to add a touch of charm and cuteness to your crochet collection, consider crafting a Crochet Rubber Duck Amigurumi! These adorable little ducks are the perfect companion for bringing smiles and joy to your day. With their squishy bodies and sweet expressions, they make for a delightful handmade gift or a fun addition to your décor.
You will need:
Yarn of your choice and a hook to match
(I used RICO Creative Cotton, main colour 63 [light yellow] and bill colour 74 [orange] and a 4mm hook)
Stitch Marker
Toy stuffing
Embroidery thread (to coordinate with face and bill colours) and needle
Tapestry (blunt needle)
Felt (for face, optional)
2x 9mm black safety eyes
1x 12mm safety eye if you want a moving head (optional)
Stitches and Abbreviations:
I use US terms, so single crochet is the same as UK double crochet here.
Chain (ch)
Single crochet (sc)
Stitches (sts)
Single Crochet 2 Together (sc2tog)
To single crochet 2 together:
Insert hook into next stitch.
Yarn over, pull up a loop. (2 loops on hook)
Insert hook into next stitch.
Yarn over, pull up a loop (3 loops on hook)
Yarn over and pull through all 3 loops.
PATTERN
Head (beginning with neck and working up)
1. 5sc in magic ring OR
ch2, 5sc in 2nd chain from hook.
2. 2sc in each sc (10)
3. 2sc in each sc (20)
4. Sc 20
5. (3sc, 2sc in next sc) repeat around (25)
6. Sc 25
7. (4sc, 2sc in next sc) repeat around (30)
8-9. Sc 30
10. (4sc, sc2tog) repeat around (25)
11. (3sc, sc2tog) repeat around (20)
12. Sc 20
Measure 2 arm lengths of yarn and cut. You'll finish the head in a bit...
Body (neck down)
1. 5sc in magic ring OR
ch2, 5sc in 2nd chain from hook.
2. 2sc in each sc (10)
3. 2sc in each sc (20)
4. Sc 20
5. (1sc, 2sc in next sc) repeat around (30)
6. Sc 30
7. (5sc, 2sc in next sc) repeat around (35)
8-11. Sc 35
12. Sc 10, 2sc in each of next 5 stitches, sc10, sc2tog over next 10 stitches (35 sts)
13. Sc 35
14. (3sc, sc2tog) repeat around (28)
15. Sc2tog around (14)
Attach the body to the head (if using safety eye): push the eye shank into the bottom of the head and into the neck of the body and attach the collar tightly.
Stuff firmly.
16. Sc2tog around (7)
Sew closed.
Bill:
1. 6sc
2. (2scs in each of next 2 sts, Sc, 2scs in each of next 2scs, Sc) (10sts)
3. Sc 10
4. Sc 10
Fasten off
Finish Head:
Make small slits in the felt 'face' and push safety eyes through. Push eye shanks into crochet face and attach collars behind.
Sew on felt face
Attach beak
Stuff firmly
13. Sc2tog around (10)
14. Sc2tog around (5)
Sew closed.
And that should be it!
Enjoy making
- Recipes
-
 Cilantro Lime Rice
-
 Sweet Potato Soup with Roasted Cauliflower Crumbles
-
 Americano Cocktail
- Funny Pictures
-
 Incredible Animal Pics to Have Some Good Time
-
 Totally Wholesome Doggo Memes
-
 Cute and Adorable Animals for You
- Crochet Ideas
-
 Crochet Crop Top
-
 Crochet Easter Sheep and Duck Egg Bags
-
 Crochet Summer Top
- Lifehacks
-
 How to Crochet the Plaid Stitch Photo Tutorial
-
 How To Crochet The 3-Colored Crosshatch Stitch Tutorial
-
 Flower With Stem Stitch Photo Tutorial
- DIY
-
 Crochet Smiling Flowers
-
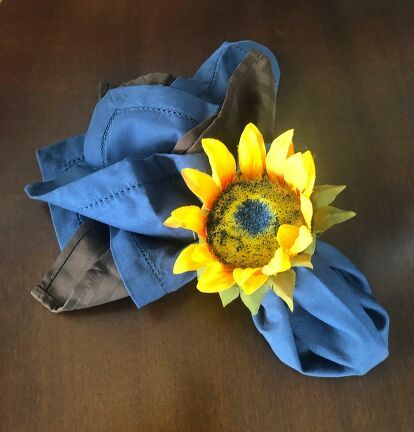 Use Shower Curtain Rings to Make Your Table Prettier
-
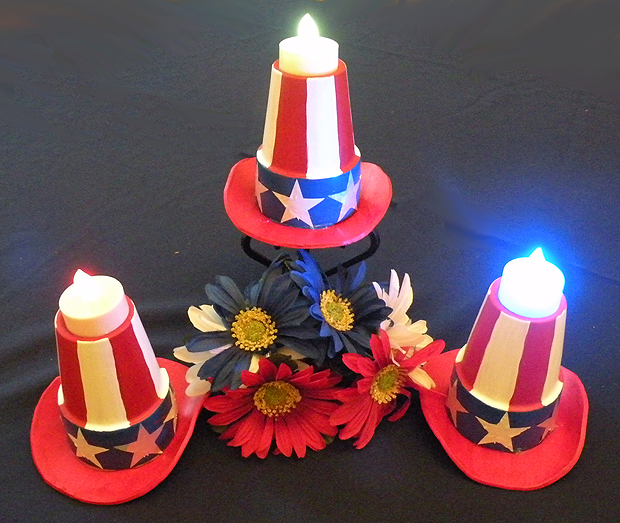 Uncle Sam Hat Candle Holders
- Knitting Ideas
-
 Knitted Tank Top
-
 Knitted Pom-Pom Booties
-
 Knitted Rabbit Dolls