How to Crochet an Adorable Duck - Step-by-Step Guide for Crafters


Crocheting an adorable duck is such a delightful and heartwarming experience! The soft yarn, the rhythmic movements of the crochet hook, and the joy of seeing the pieces come together to form a cute little duck are truly magical. Whether you're creating it as a gift for a loved one or simply indulging in some fun crafting time, this project is bound to bring a smile to your face.
Materials Needed
- Yarn – Loopara 5ply combed cotton (Green 01, Pink 16, Orange 34, Blue 40, and White 61)
- Hook – 3.0mm
- Scissors
- Tweezers
- Yarn Needle
- Glue stick
- Stitch marker
- Fiberfill
- Positioning needle
- Eyes
- Pearl
Crochet Instructions
How to Crochet the Head and Body (Make 1)
- R1: Magic ring, 6 sc, sl
- R2: Ch 1, 6 sc inc, sl
- R3: Ch 1, (sc, sc inc) 6 times, sl
- R4: Ch 1, (sc, sc inc, sc) 6 times, sl
- R5: Ch 1, (3 sc, sc inc) 6 times, sl
- R6: Ch 1, (2 sc, sc inc, 2 sc) 6 times, sl
- R7-10: Ch 1, 36 sc, sl
- R11: Ch 1, (4 sc, sc2tog) 6 times, sl
- R12-13: Ch 1, 30 sc, sl
- R14: Ch 1, (3 sc, sc2tog) 6 times, sl
- R15: Ch 1, 24 sc, sl
- R16: Ch 1, (2 sc, sc2tog) 5 times, 2 sc2tog, sl
- R17: Ch 1, 2 sc, 5 hdc, 4 sc, 2 sc2tog, 2 sc, sl
- R18: Ch 1, 2 sc, 5 hdc, 4 sc, sc2tog, 2 sc, sl
- R19: Ch 1, 2 sc, 2 hdc inc, 3 hdc, 2 sc, 2 sc inc, 3 sc, sl
- R20: Ch 1, 2 sc, (sc, sc inc) twice, 5 sc, (sc, sc inc) twice, 3 sc, sl
- R21: Ch 1, 2 sc, (2 sc, sc inc) twice, 5 sc, (2 sc, sc inc) twice, 3 sc, sl
- R22: Ch 1, (4 sc, sc2tog) 4 times, 2 sc, sl
- R23: Ch 1, (3 sc, sc2tog) 4 times, 2 sc, sl
- R24: Ch 1, (sc, sc2tog) 6 times, stuff with fiberfill, sl
- R25: 6 sc2tog, fasten off, stuff with fiberfill
How to Crochet the Wings (Make 2)
- Ch 6, sc in 2nd ch from hook, 2 hdc, dc, (5 dc), dc, 2 (hdc, sc), leave long tail, fasten off
How to Crochet the Feet (Make 2)
- R1: Magic ring, 6 sc, sl
- R2: Ch 1, (sc, sc inc) 3 times, sl
- R3: Ch 1, sc, ch 2, sk 2, 6 sc, sl
- R4: Ch 1, (2 sc, sc inc) 3 times (work 2nd and 3rd st in FLO), sl
- R5: Fold and work: (ch, hdc), (hdc, ch, sl, ch 2), dc, (dc, ch 2, sl, ch), hdc, (hdc, ch, sl), sl
- R6: 6 sc in sk sts from R3, sl
- R7: Ch 1, 6 sc, sl
- R8: Ch 1, 6 sc, leave long tail for sewing, sl
How to Crochet the Hat (Make 1)
- R1: Magic ring, 6 sc, sl
- R2: Ch 1, 6 sc inc, sl
- R3: Ch 1, (sc, sc inc) 6 times, sl
- R4: Ch 1, (sc, sc inc, sc) 6 times, sl
- R5-7: Ch 1, 24 sc, sl
How to Crochet the Hat Horns (Make 2)
- R1: Magic ring, ch, 6 sc in ring, sl
- R2: Ch, (sc, sc inc) 3 times, sl
- R3: Ch, 4 sc2tog, sc, sl
- R4: Ch, 5 hdc inc, leave long tail for sewing, sl
How to Crochet the Mouth (Make 1)
- Magic ring, 2(ch 2, 2 hdc, ch 2, sl), leave long tail for sewing
How to Crochet the Flower (Make 4)
- Magic ring, ch 3, 5 dc popcorn, fasten off, pull tight and knot
How to Crochet the Stems (Make 4)
- Ch 14, 13 sl in 2nd ch from hook, sl
How to Crochet the Small Leaf (Make 1)
- R1: Ch 8, sl in 2nd ch from hook, sc, 3 hdc, sc, sl, fasten off, knot
How to Crochet the Large Leaf (Make 1)
- Ch 12, 2 sl in 2nd ch from hook, 7 sc, sl, (sl, ch, sl), sl, 7 sc, 2 sl, fasten off, knot, Glue the flowers to fix the stems
Crochet Duck Assembly
- Position and sew the horns to the hat using positioning needles to ensure symmetry.
- Attach eyes to the head.
- Glue the mouth in place between the eyes.
- Using positioning needles, position and sew wings to both sides of the body.
- Secure the hat to the head with glue.
- Position and sew feet to the bottom of the body using positioning needles.
- Attach flowers to the left wing, adjusting for the best placement.
- Add large and small leaves, securing them with glue.
- Tie a light pink bow around the flower stems.
- Secure a pearl bead to the center of the bow. The duck is now complete!
Crochet Tips
- Start with a tight magic ring and maintain even tension throughout. Pay special attention to the neck shaping with half double crochet stitches.
- The duck feet require careful attention to stitch placement for the webbed effect. Keep your chain stitches loose enough to create nice webbing but tight enough to maintain shape.
- For the flowers and leaves, work your stitches tightly to create firm, defined shapes. When attaching flowers to stems, use a tiny amount of glue and hold until secure.
Assembly Tips
- Take time with placement before securing any parts.
- Use positioning needles to ensure symmetry throughout.
- When applying glue, use small amounts and hold pieces until fully set.
- For best results, attach all sewn pieces first before adding decorative elements.
No comments
Write a comment
- Recipes
-
 Polenta with Vegetables and White Beans
-
 Baked Cauliflower With Cheese
-
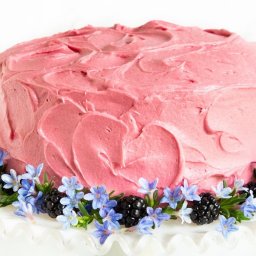 Vanilla Bean Cake with Blackberry Buttercream
- Funny Pictures
-
 Funny Dad Memes to Laugh At
-
 Have Some With These Memes Today
-
 Some Dog Snaps to Enjoy
- Lifehacks
-
 How To Patch Jeans With Crochet Lace
-
 Crochet Sunburst (Sunflower) Granny Square Pattern
-
 How to Crochet the Plaid Stitch Photo Tutorial
- DIY
-
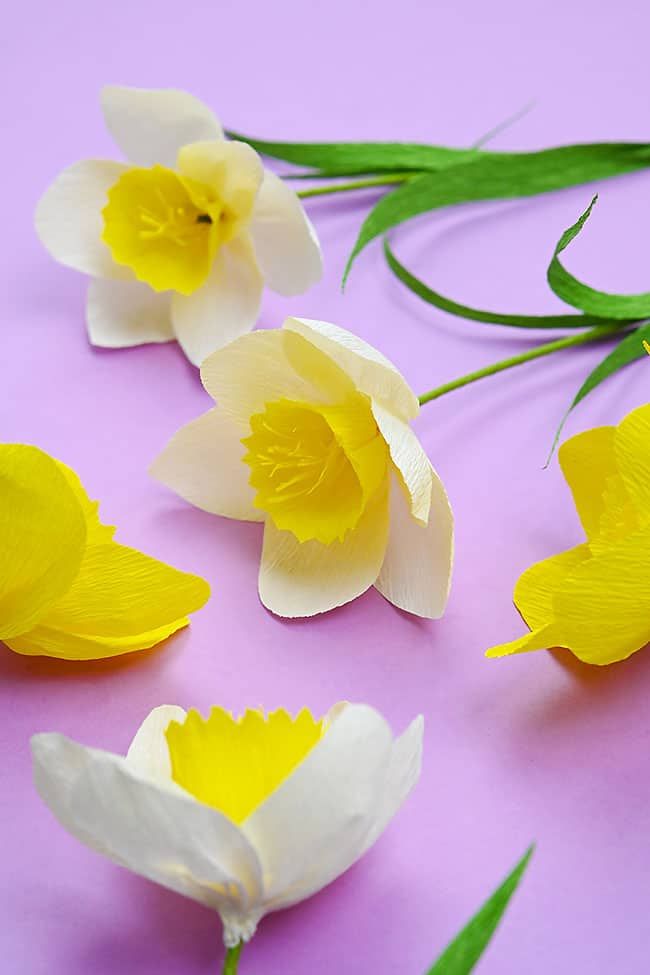 Crepe Paper Daffodils
-
 DIY Seashell Hair Pins
-
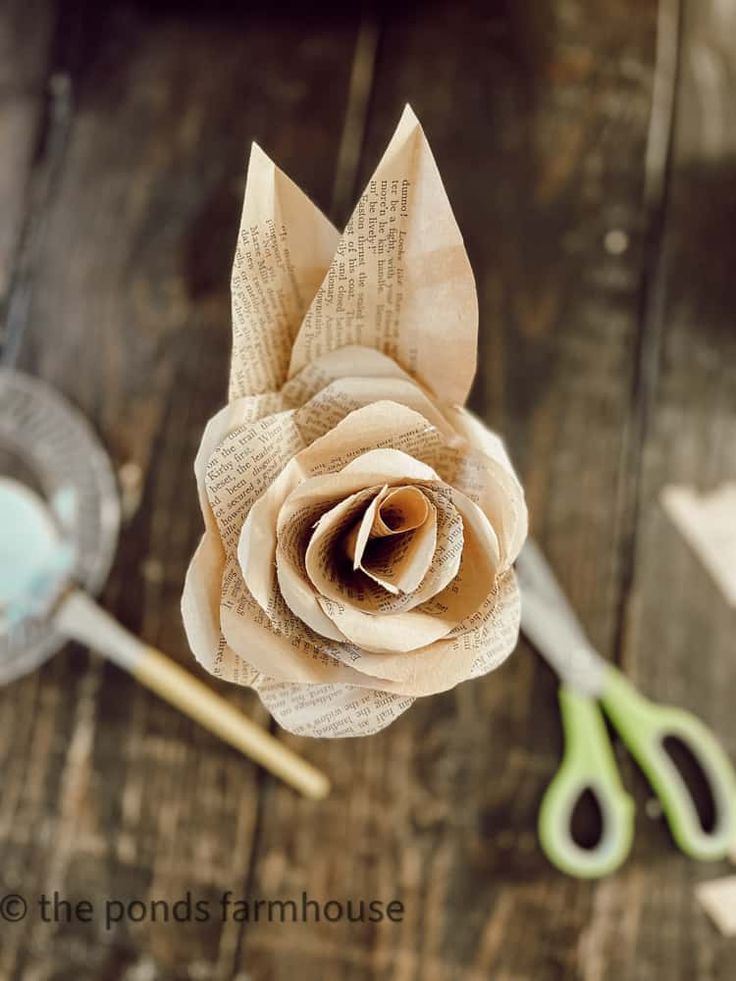 Make Paper Flowers with Recycled Old Book Pages
- Knitting Ideas
-
 Knitted Lake Diamond Tank Top
-
 Knitted Beautiful Scarf
-
 Knitted Twist and Shout Scarf
- Crochet Ideas
-
 Crochet Summer Hat
-
 Crochet Zigzag Hat
-
 Crochet Baby Loafers