How to Crochet a Beautiful Scarf


Crocheting a beautiful scarf is a wonderful way to add a personal touch to your winter wardrobe. Whether you're a seasoned crochet enthusiast or a beginner looking to try out a new hobby, creating a cozy scarf can be a rewarding experience. With a variety of yarn colors and textures to choose from, you can let your creativity shine and design a scarf that matches your style perfectly.
Finished Size
Approx. 6″ wide / 35″ diameter / 70″ around unblocked
Materials
- 400 – 600 yds #4 worsted weight yarn
- I-9 / 5.5mm crochet hook
- Tapestry Needle
- Scissors
- Stitch markers (optional)
Abbreviations (US Terms)
- ch = chain
- sc = single crochet
- dc = double crochet
- slp st(s) = slip stitch(es)
- st(s) = stitch(es)
- ccdc = criss cross double crochet
Definition
Criss Cross Double Crochet (CCDC) – skip 1 stitch, DC in the next stitch, then DC in the skipped stitch
Notes
The chain 3 at the beginning of the double crochet rows counts as 1 DC. I recommend using a stitch marker to mark the first and last stitches of each row.
Pattern
Ch. 221 or any even number +1
Row Instructions
ROW 1:
SC in each chain across, chain 3 and turn. (220 sts) (Optional: Place a stitch marker on the 1st SC and on the last chain of the chain 3. The chain 3 counts as the first DC of row 2.)
ROW 2:
DC in the 3rd st from the hook, then DC in the 2nd st from the hook. DC in the 5th st, then DC in the 4th st. This is the CCDC. Continue to CCDC until the 2nd to last stitch. DC in the last stitch. Chain 3 and turn. (220 sts)
ROW 3:
DC in the space between the 1st and 2nd set of CCDC stitches, then DC in the space between the first chain 3 and the 1st set of CCDC stitches. DC in the space between the 3rd and 4th set of CCDC sts, then DC in the space between the 2nd and 3rd set of CCDC sts. Continue this until the 2nd to last stitch of the row. DC in the last stitch. Ch 1 and turn. (220 sts)
ROW 4:
Starting in the 1st st, SC in each st across. The last SC should be in the top of the chain 3 from the previous row. Ch. 1 and turn. (220 sts)
In the picture, the toothpick indicates where the first SC should be placed. If unsure, count the stitches to make sure the number of SC is 220.
ROW 5:
Starting in the 1st st, SC in each st across. Ch. 3 and turn. (220 sts)
Final Steps
Repeat rows 2 thru 5 four times, or until you reach the desired width of the scarf.
On the last repeat, stop at ROW 4 of the repeat so that the last row is 1 row of SC.
Fasten off and leave a long tail to sew the ends of the scarf together to make a circle. You can also slip stitch the ends together. Flip it so that the seam is on the inside, and enjoy the scarf you just made!!
- Recipes
-
 Quick and Easy Lemon Sardine Pasta
-
 Strawberry Cream Cheese Pie
-
 Lemongrass Chicken
- Funny Pictures
-
 Wholesome Pics That are Nice to Look At
-
 Fresh and Funny Everyday Pics
-
 Your List of Sunday Memes for Today
- Crochet Ideas
-
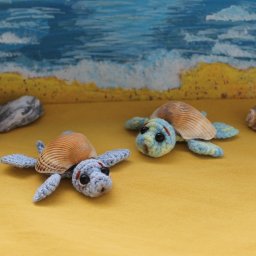 Crochet Sea Turtle
-
 Crochet Sunflower Stemless Wine Glass Cozy
-
 Crochet Flamingo Shawl
- Lifehacks
-
 How to Crochet the Butterfly Stitch Photo Tutorial
-
 How to Crochet the Terrain Stitch Photo Tutorial
-
 How to Crochet the Treads Stitch Photo Tutorial
- DIY
-
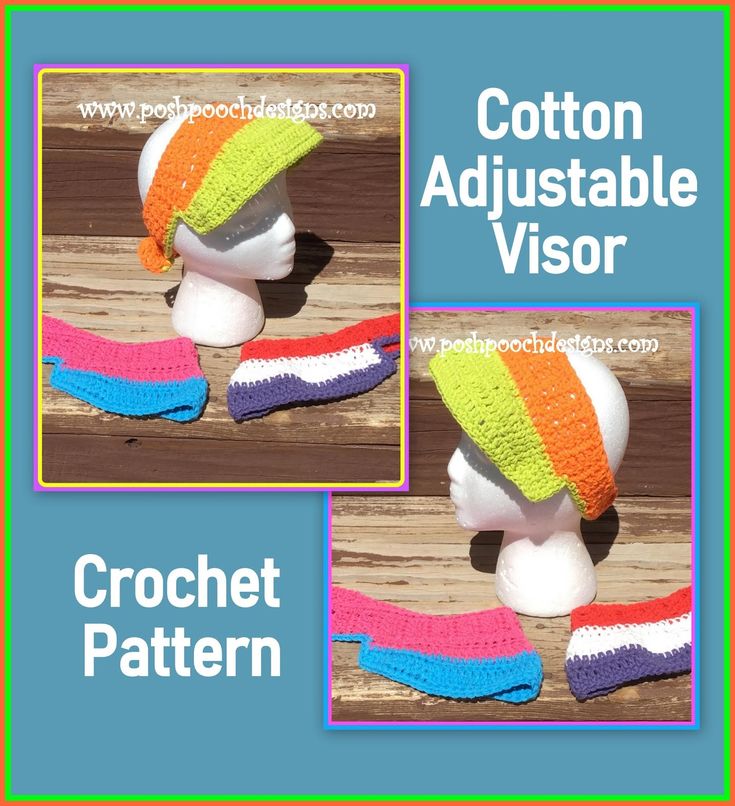 Crochet Cotton Visor
-
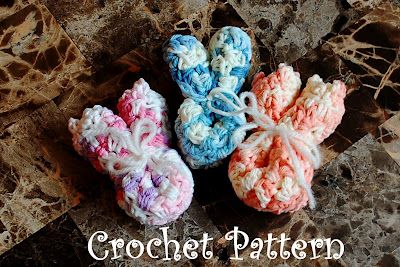 Crochet Baby Bunny Washcloth
-
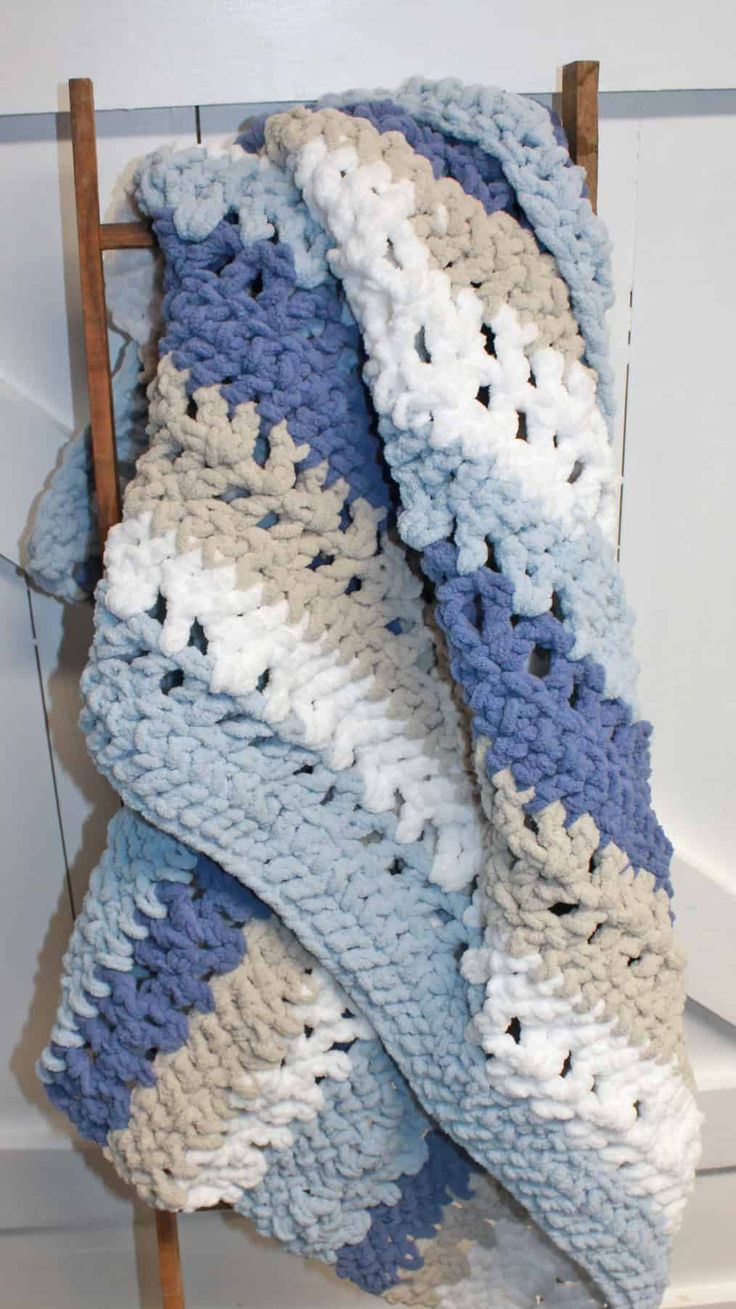 Crochet Stonewash Striped Chunky Baby Blanket
- Knitting Ideas
-
 Knitted Swan Dolls in Love
-
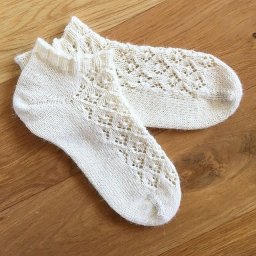 Knitted Lace Sock
-
 Knitted Pink Rose Bow Baby Headband