Crochet Bunny Appliques
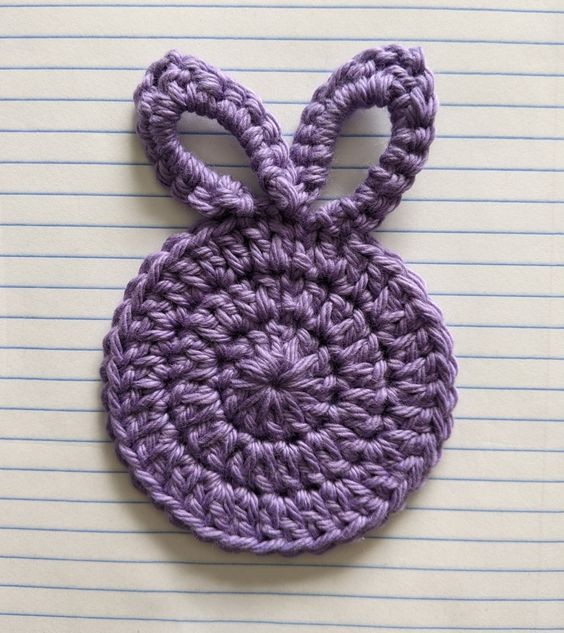
Crochet bunny appliques are an adorable and versatile way to add charm and whimsy to your projects. These cute little bunnies can be easily crocheted using simple stitches and soft yarn. Whether you're embellishing a baby blanket, sprucing up a pillow, or creating unique accessories, these bunny appliques are sure to bring a touch of sweetness to your creations. With their fluffy tails and floppy ears, they make perfect decorations for Easter or any time you want to add a dash of cuteness to your handmade items. Grab your crochet hook and yarn, and let these charming bunny appliques bring a smile to your face!
What You Need:
- Yarn – I used cotton medium 4 weight yarn (Pick whatever yarn you like with a hook that works well with it!)
- Hook – I used an H hook
- Tapestry Needle – For weaving in those pesky ends
What You Need To Know:
- Chain Stitch (ch)
- Single Crochet (sc)
- Half Double Crochet (hdc)
- Double Crochet (dc)
- Slip Stitch (slst)
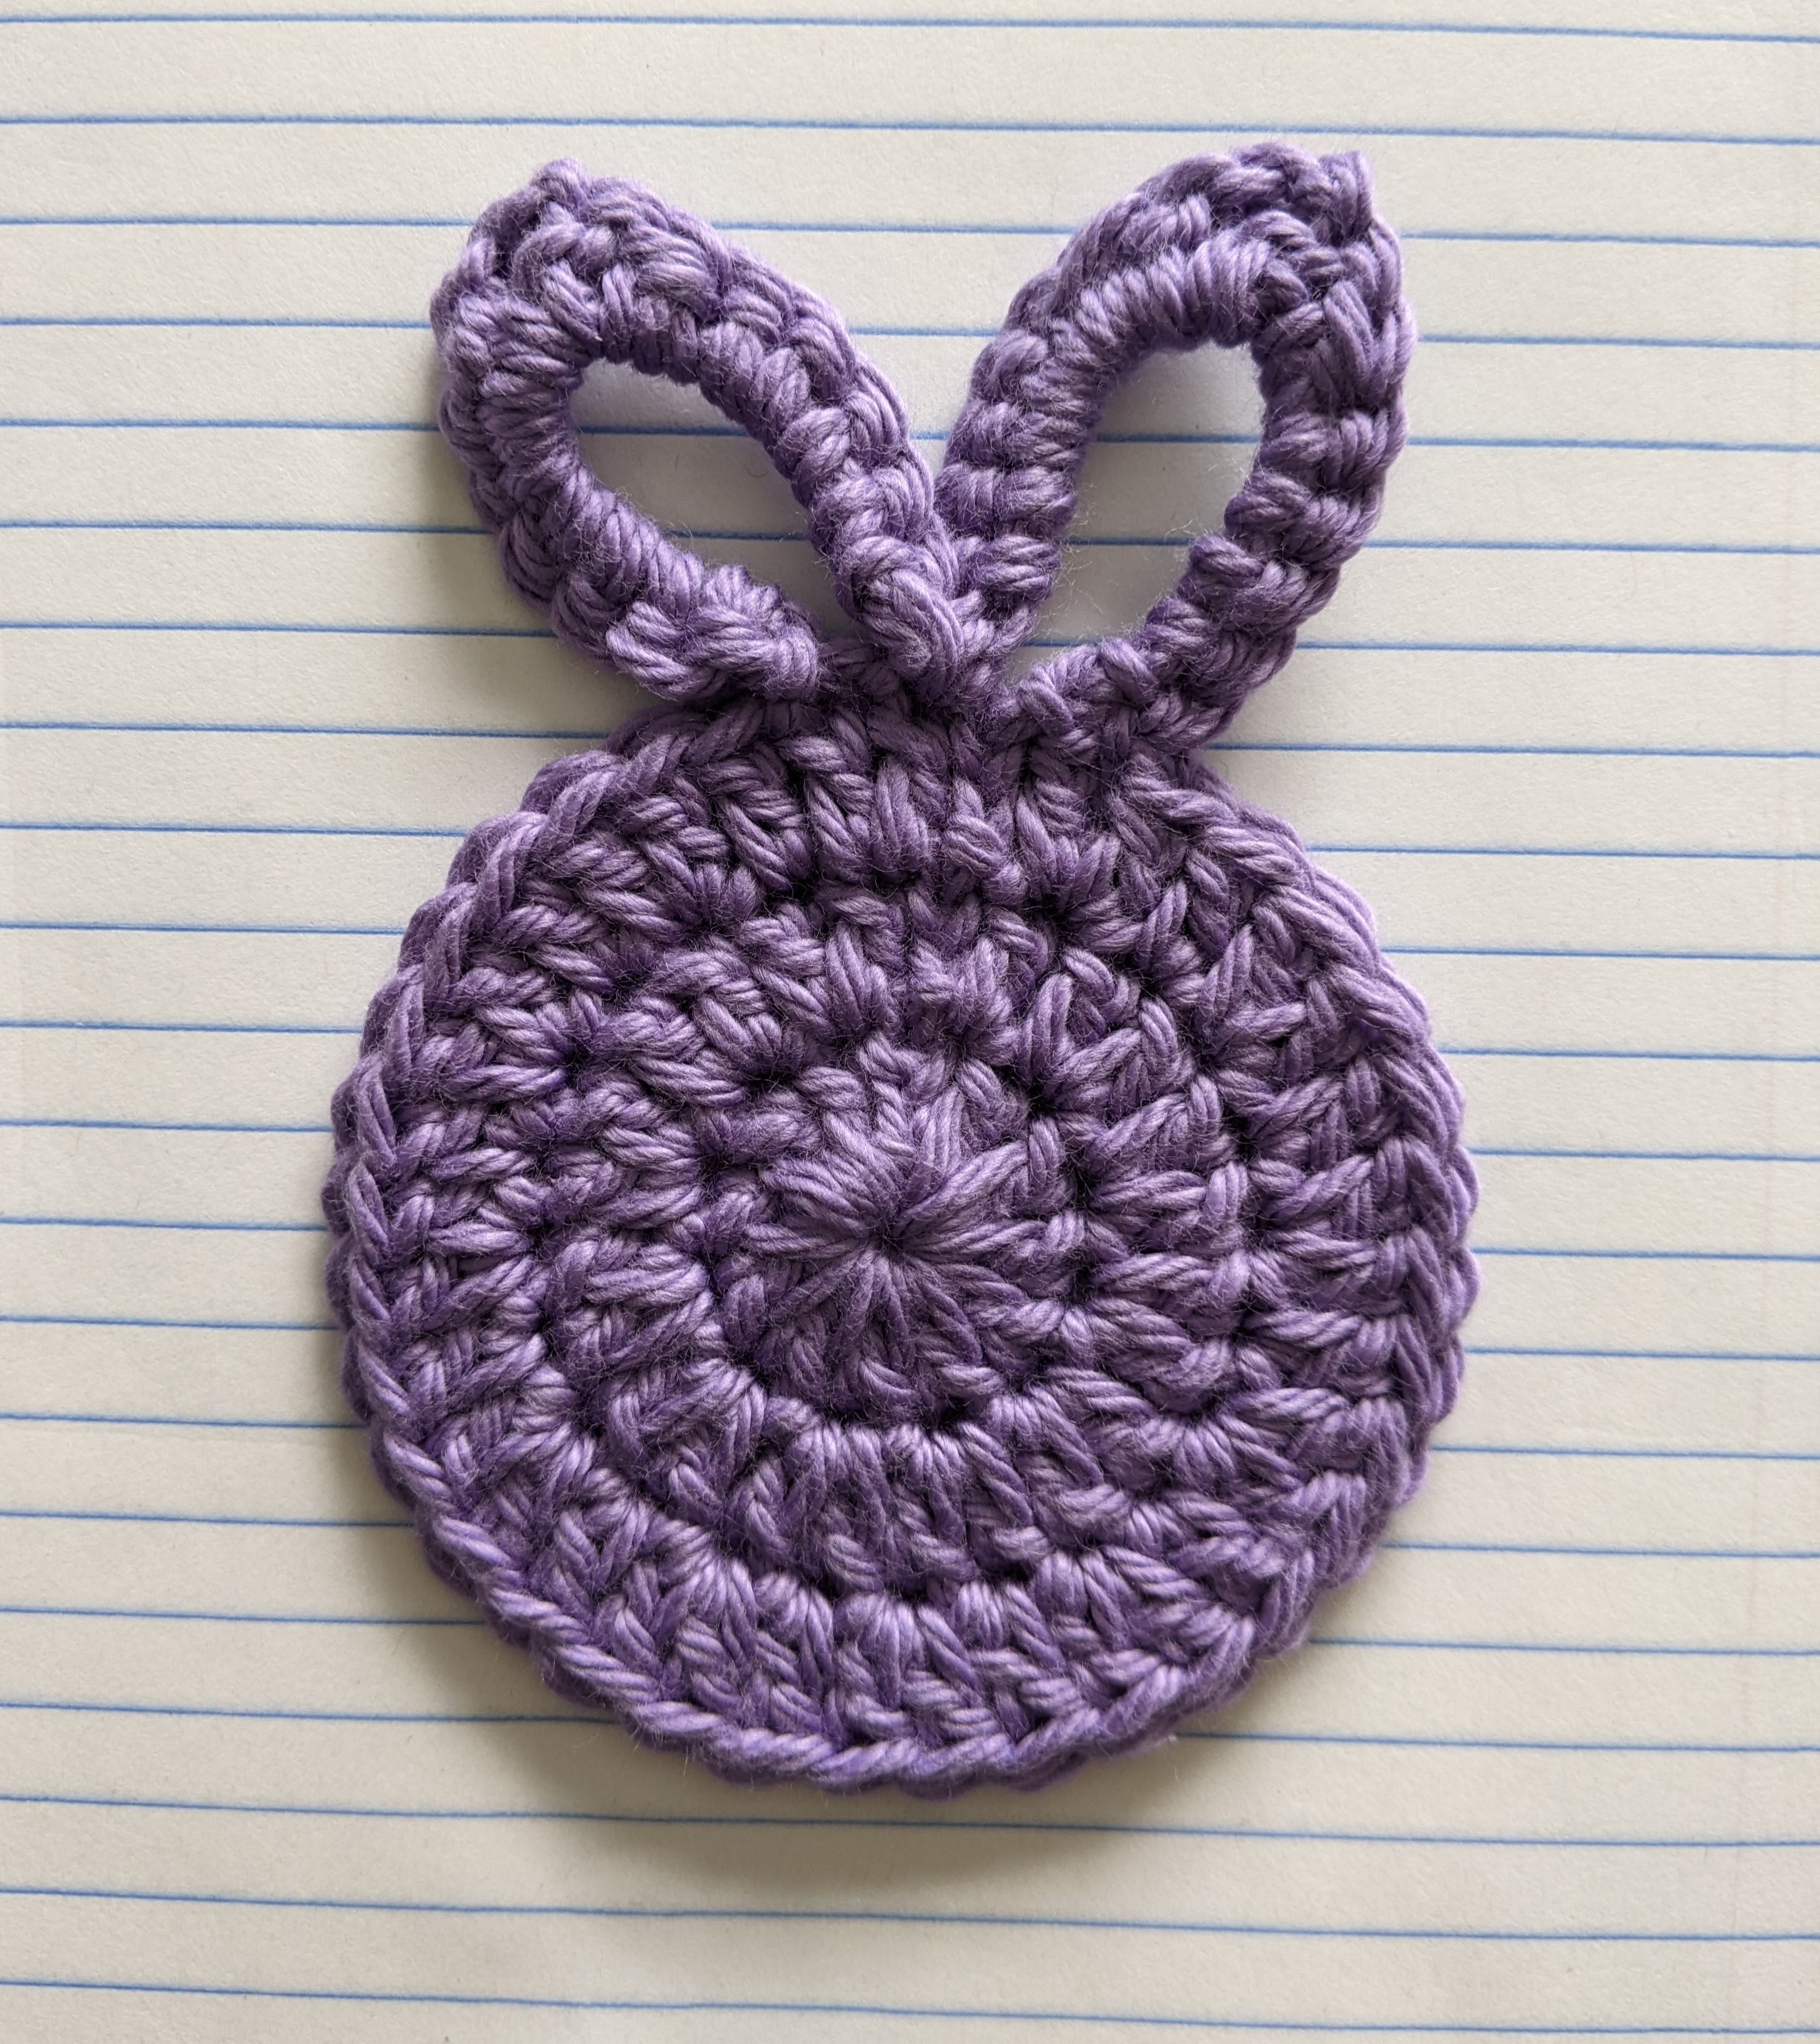
Bunny Booty Pattern:
All chain stitches count as first stitch!
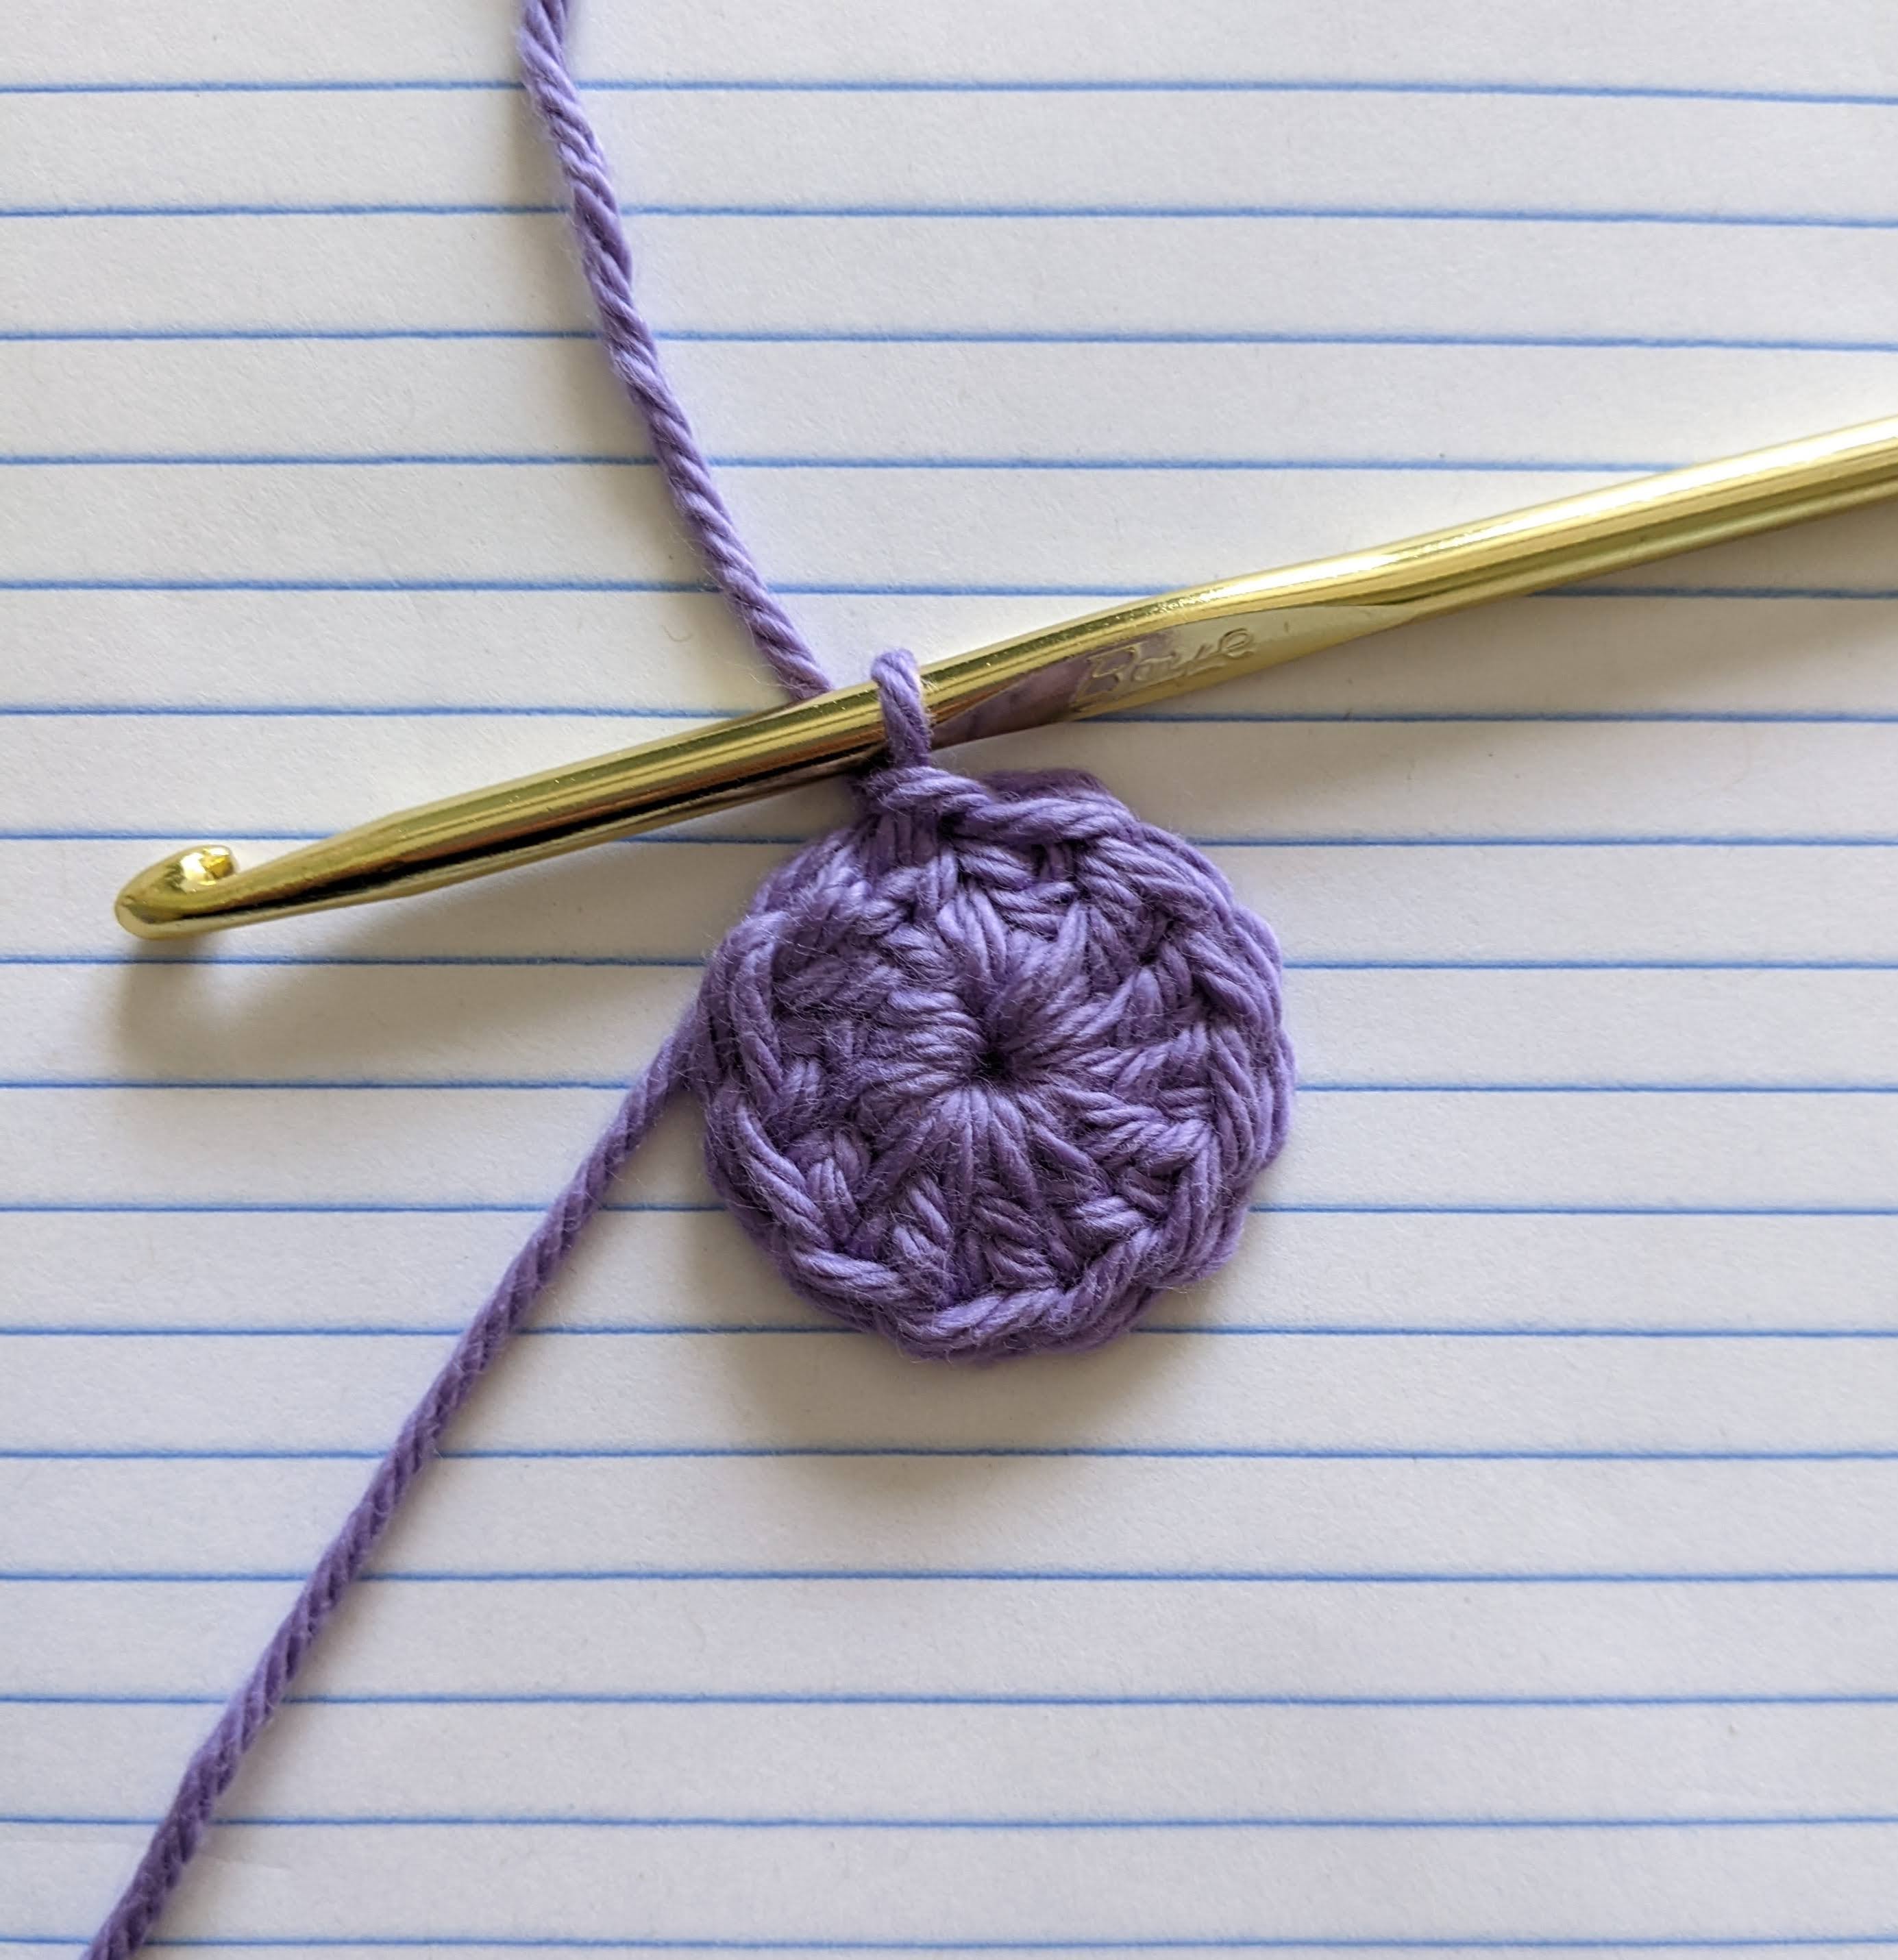
Chain 3, slst into first ch
Row 1 – ch 2, 11 dc into center of chain, slst to join to top of ch 2 space (12)
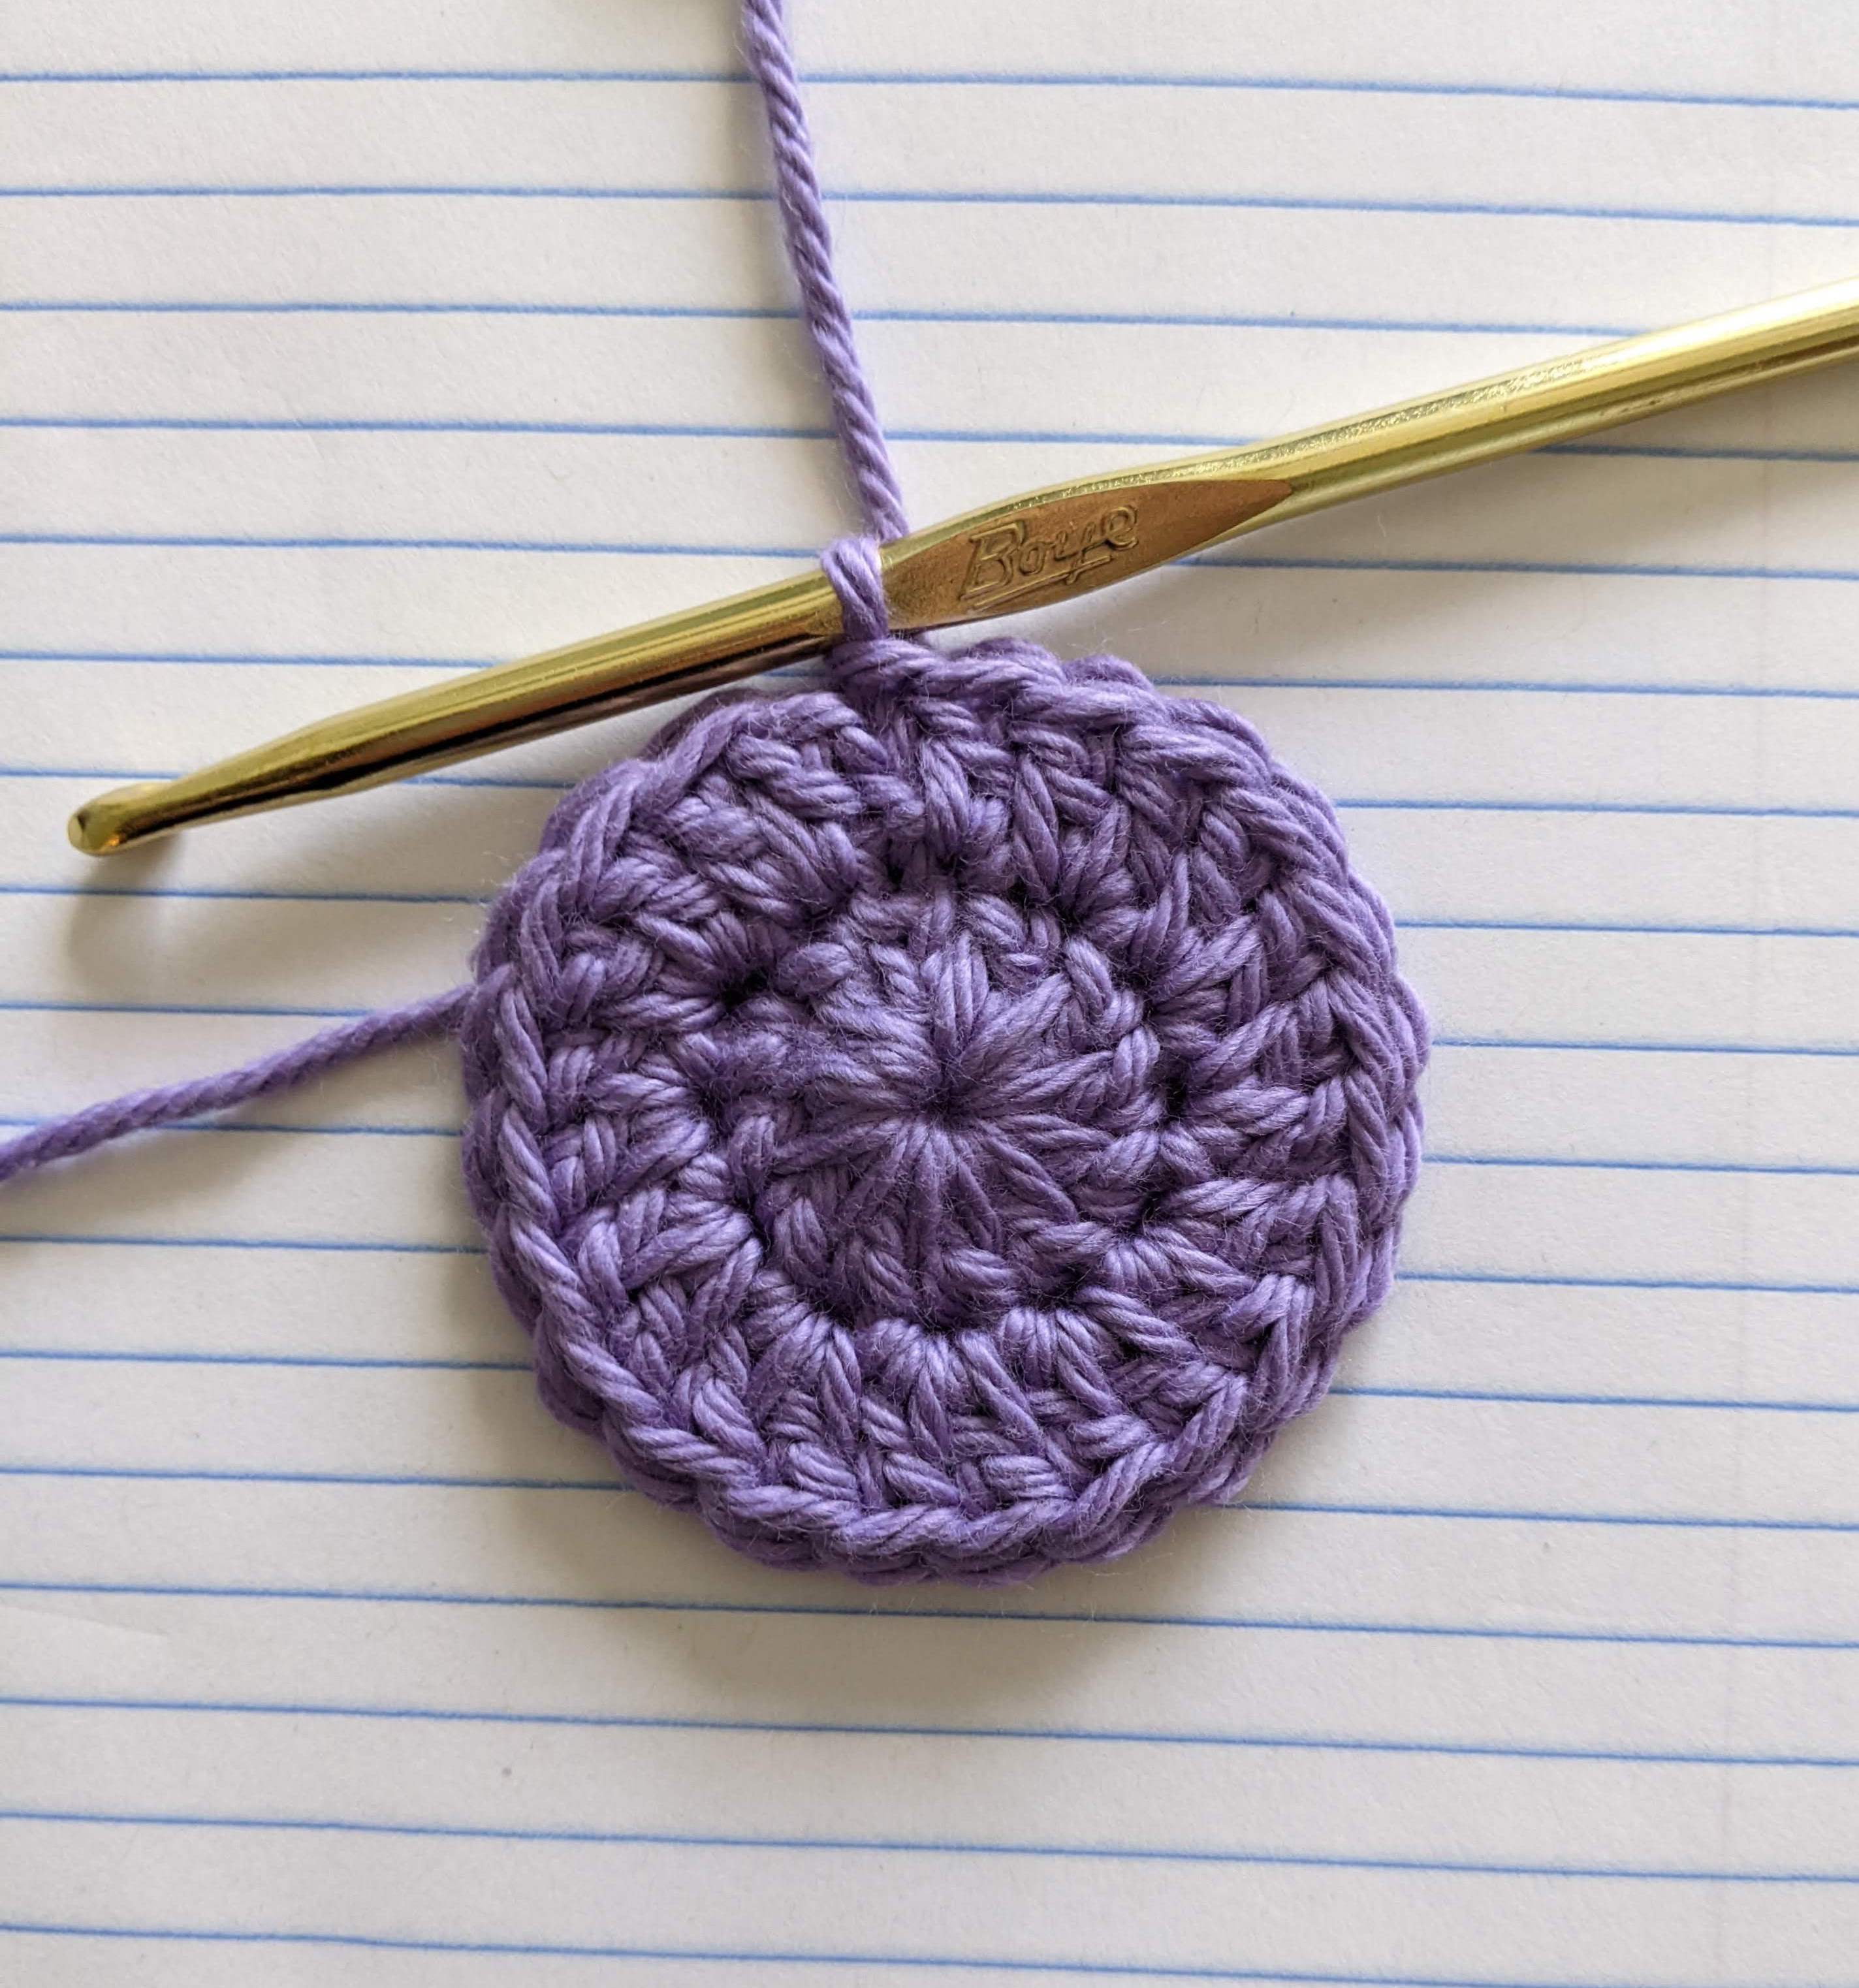
Row 2 – ch 2, 2dc in each st around, dc in same st as ch 2, slst to join to top of ch 2 space (24)
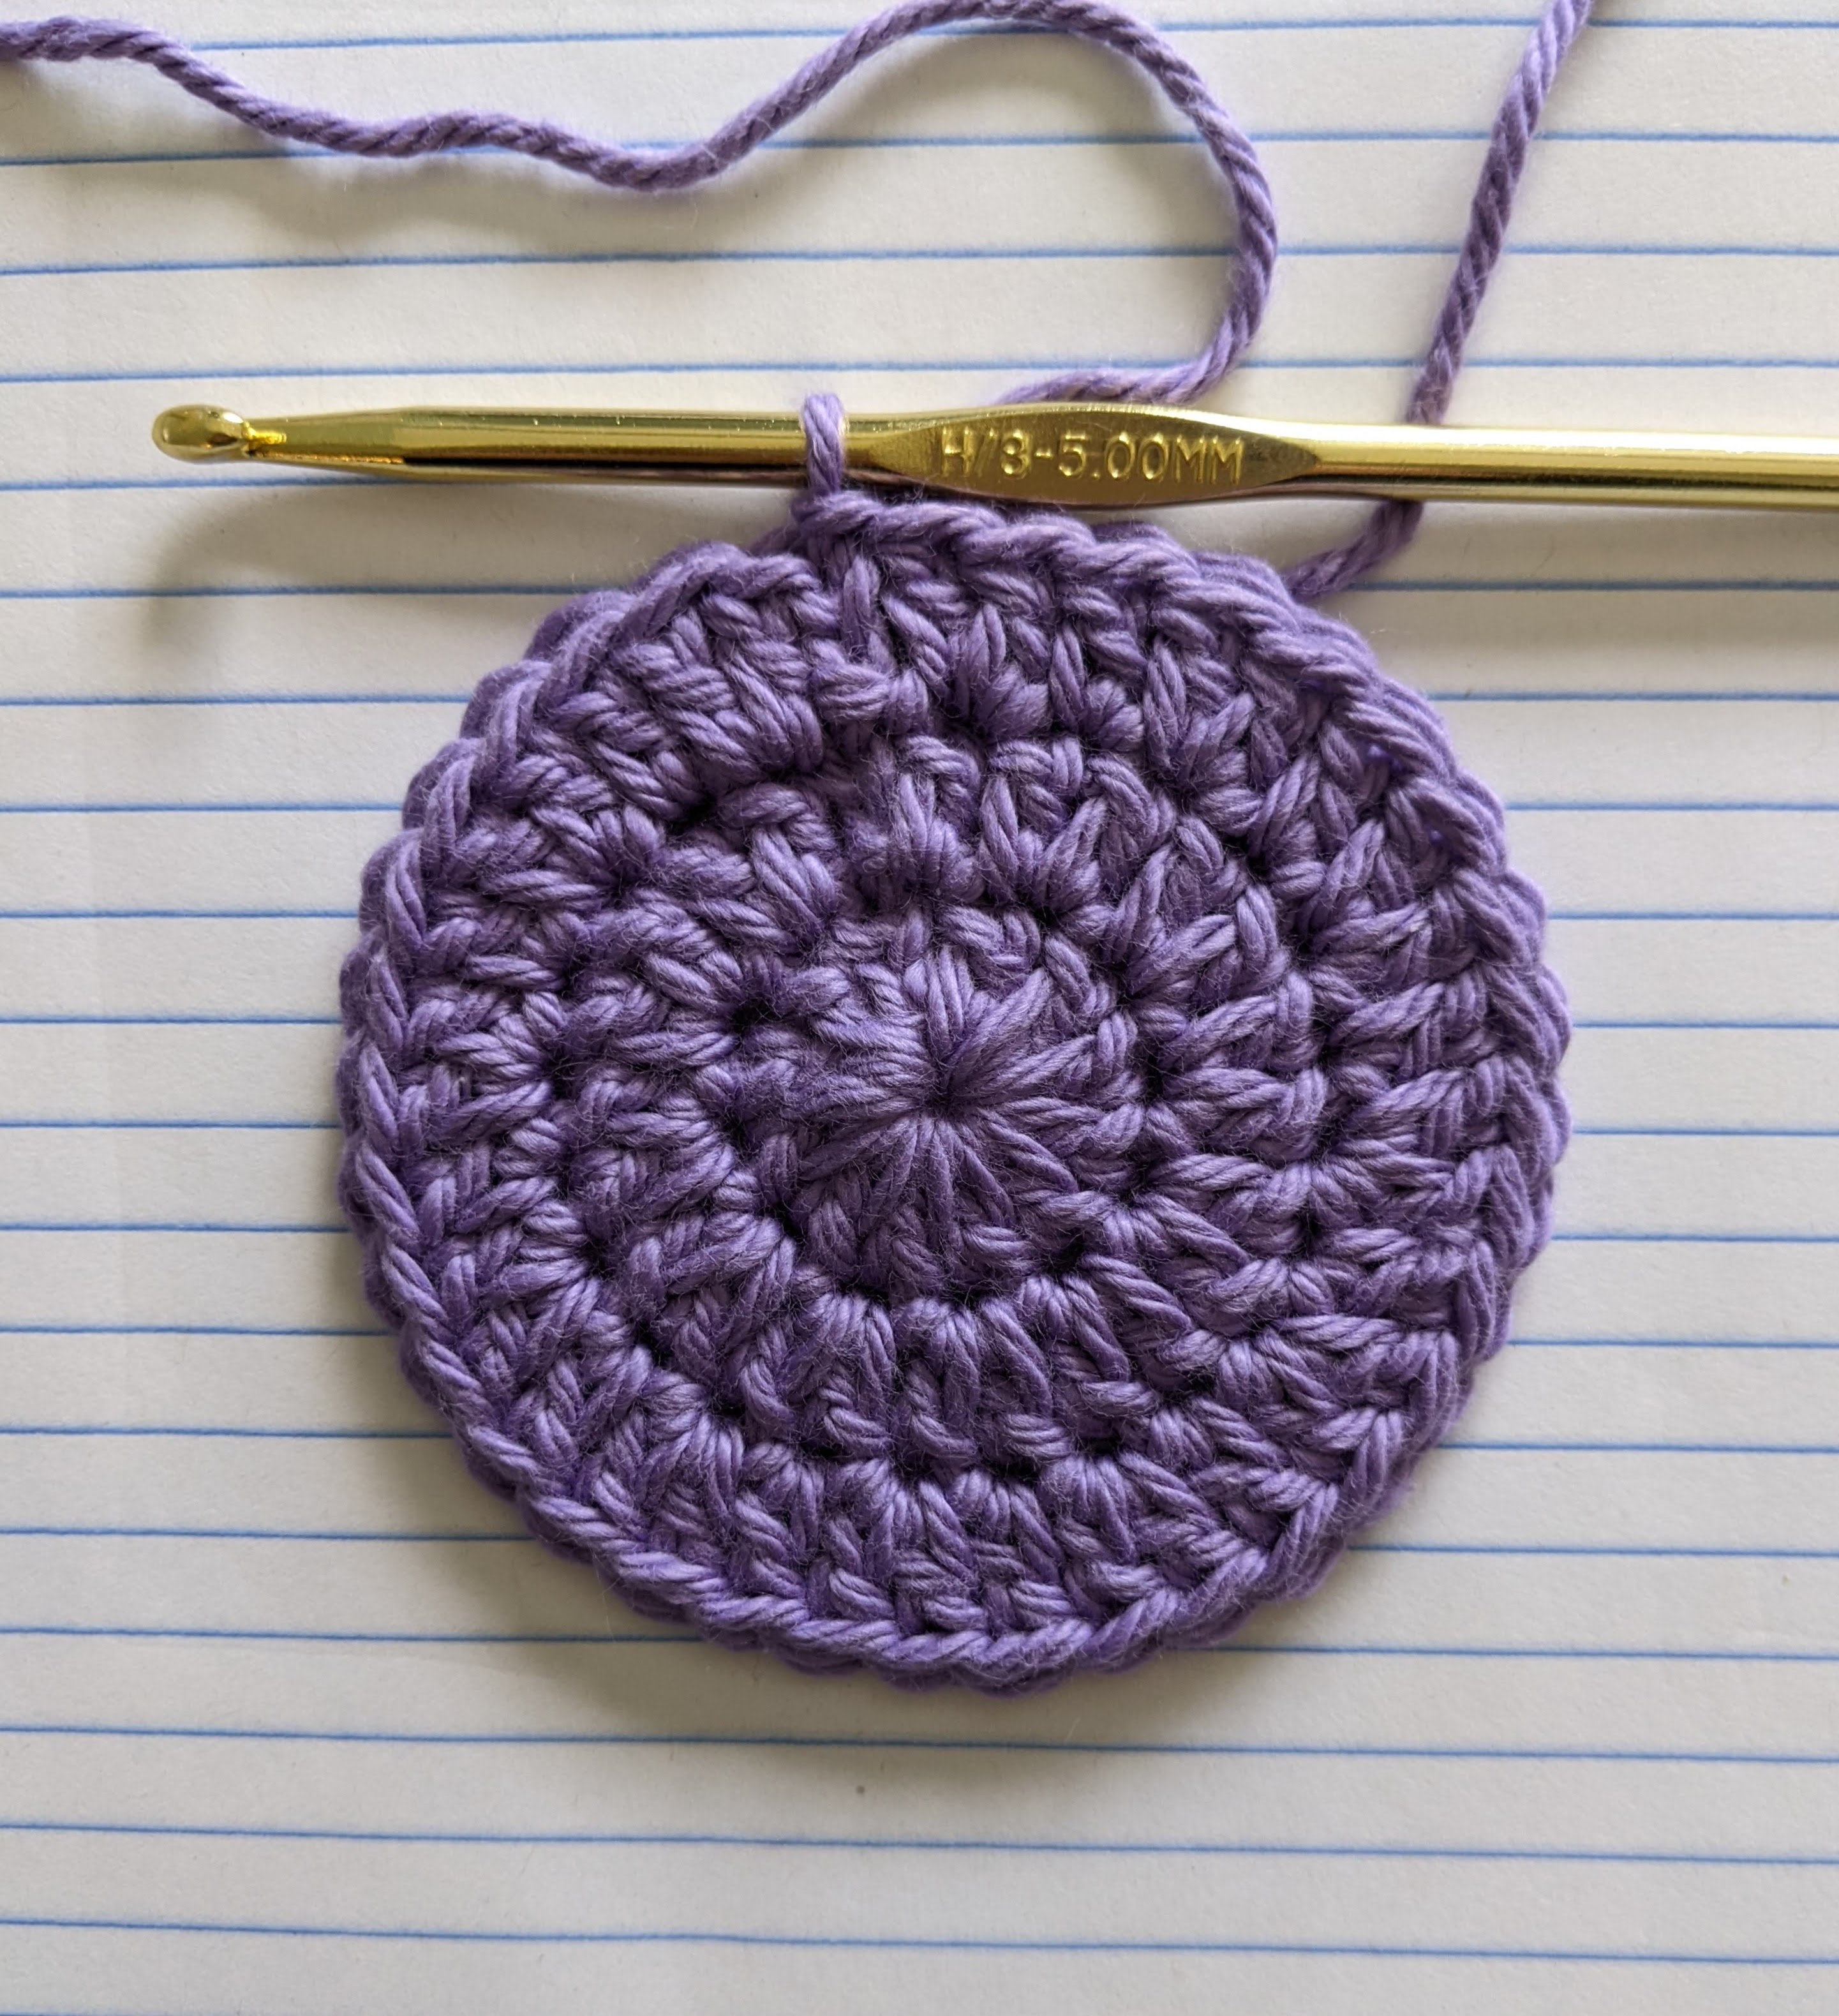
Row 3 – ch 2, 2dc in next st, *dc, 2dc* *Repeat around*, slst to join to top of ch 2 space (36)
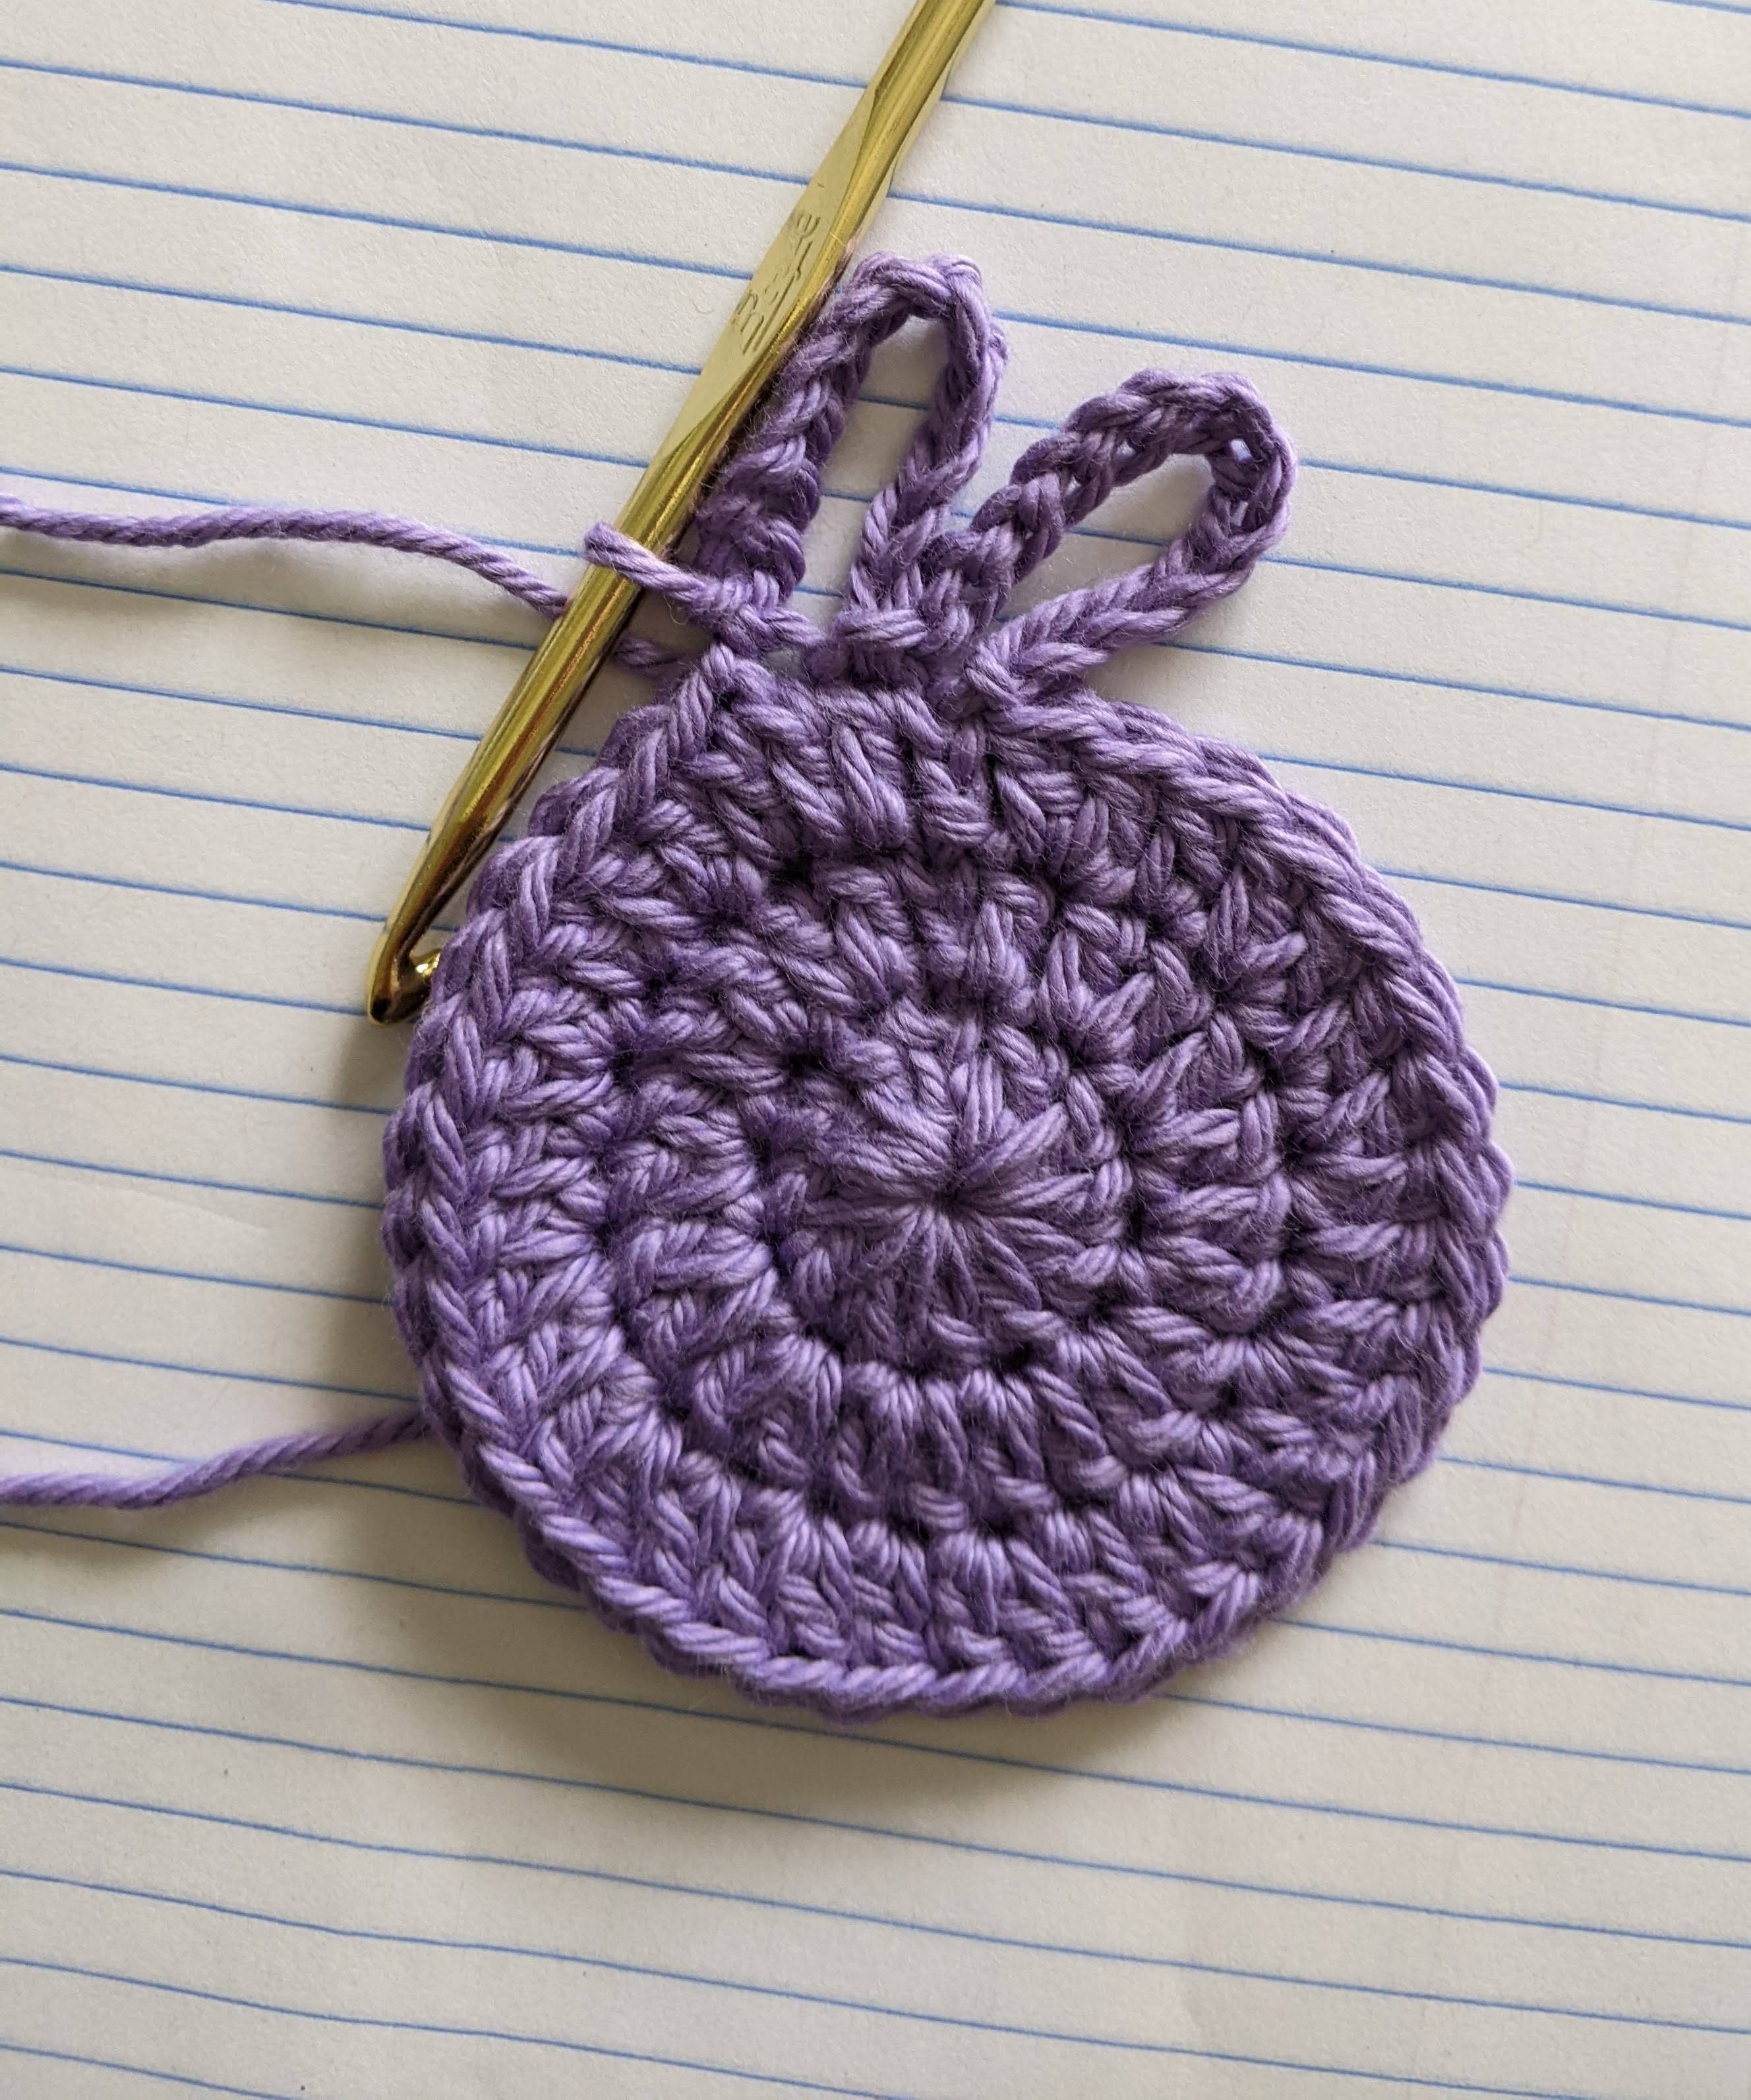
Row 4 – ch 12, slst into next stitch, ch 12, slst into the next st
Row 5 – turn so you can stitch around the long chain. sc5, hdc, dc, ch2, dc, hdc, sc5, slst between the long chains, stitch around the other chain space – sc5, hdc, dc, ch2, dc, hdc, sc5, slst into same st as start of long chain.
Cut yarn and weave in ends
Make a teeny, tiny pompom! I do this by wrapping yarn around my pointer and middle finger 45-50 times. Cut yarn and then weave another piece of yarn tightly around the middle of the wrapped yarn. Slide off your fingers and pull the middle string tight! Use the end of the string used to wrap the middle to attach the pompom to the booty. Using your tapestry needle, attach the pompom to the middle of the booty. After the pompom is securely attached to the bunny, start cutting the wrapped loops. You will need to trim it up to make it look nice and round. You can also do this BEFORE attaching, if you’d rather, but I find it easier to do if the pompom is attached before I start shaping it.


