Crochet Mushroom Lighter Holder: A Whimsical Accessory

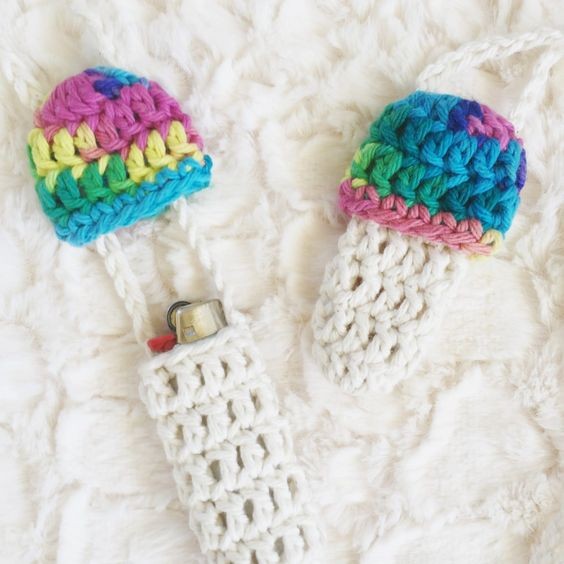
Crochet Mushroom Lighter Holder is a charming and practical accessory for anyone who enjoys a touch of whimsy in their daily life. This adorable creation not only adds a pop of color to your lighter but also keeps it securely in place, preventing it from getting lost in the depths of your bag or pockets. The intricate crochet work gives it a handmade feel, making it a unique and fun addition to your everyday essentials. Whether you're a dedicated crafter looking to showcase your skills or simply someone who appreciates the cozy aesthetic of crochet, this mushroom lighter holder is bound to bring a smile to your face every time you reach for a flame. It's a delightful little touch that adds a dash of personality to your everyday routine.
Materials:
CROCHET HOOK: 5.0mm
YARN: Worsted-weight cotton yarn.
Recommended – Lily Sugar n’ Cream in 2 different colors for cap & stem (less than 1 ball needed for each color)
EXTRAS: Scissors, yarn needle
Gauge:
2” x 2” (5cm x 5cm) dc swatch = 8 sts x 4 rows
Notes:
- This pattern is written in US crochet terms
- Crochet skill level: Easy
- The stitch count at the end of each row is shown in parenthesis ( )
- The ch at the beginning of each round does not count as a stitch
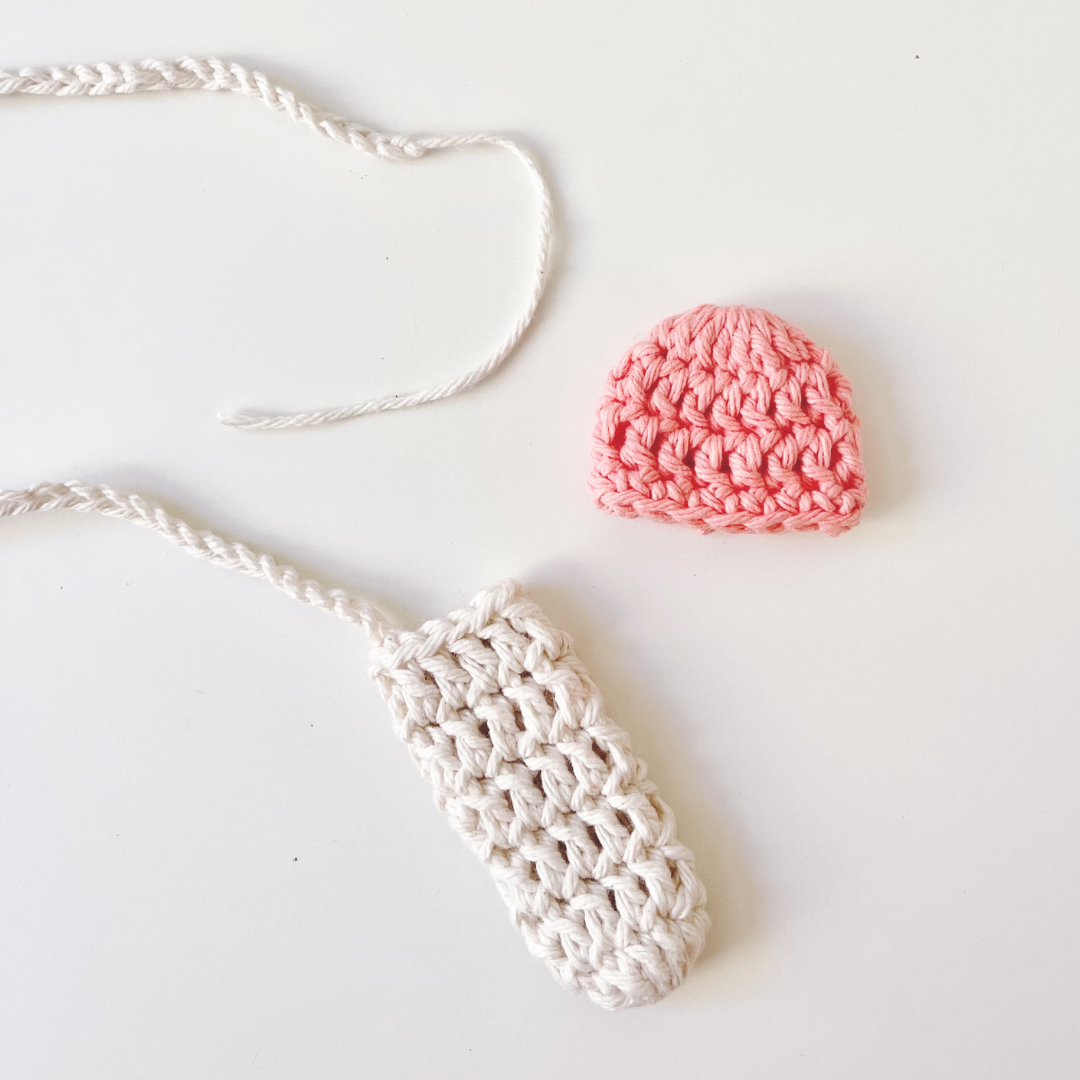
Finished Measurements:
To ensure that a standard lighter fits properly in the stem pocket, your stem should measure approximately 3 inches in length, and 1.5 inches across (7.6cm x 3.8cm) as I have shown in the photo below.
Mushroom Lighter Holder Crochet Pattern:
Stem:
Start with a magic ring
RND 1: CH 3, DC 10 into ring, then SLST into the top of CH 3 to close (10)
RND 2: CH 3, DC around, then SLST into the top of CH 3 to close (10)
RND 3-6: Repeat RND 2 (10)
To make strap: CH into the loop on your hook & continue to CH until the strap reaches your desired length. Then, cut the yarn & fasten off leaving a tail for assembly.
Cap:
Start with a magic ring
RND 1: CH 3, DC 15 into ring, then SLST into the top of CH 3 to close (15)
RND 2: CH 3, DC around, then SLST into the top of CH 3 to close (15)
RND 3: Repeat RND 2 (15)
RND 4: CH 1, SC around, then SLST into the top of CH 1 to close (15)
Cut yarn & fasten off. Weave in yarn tails.
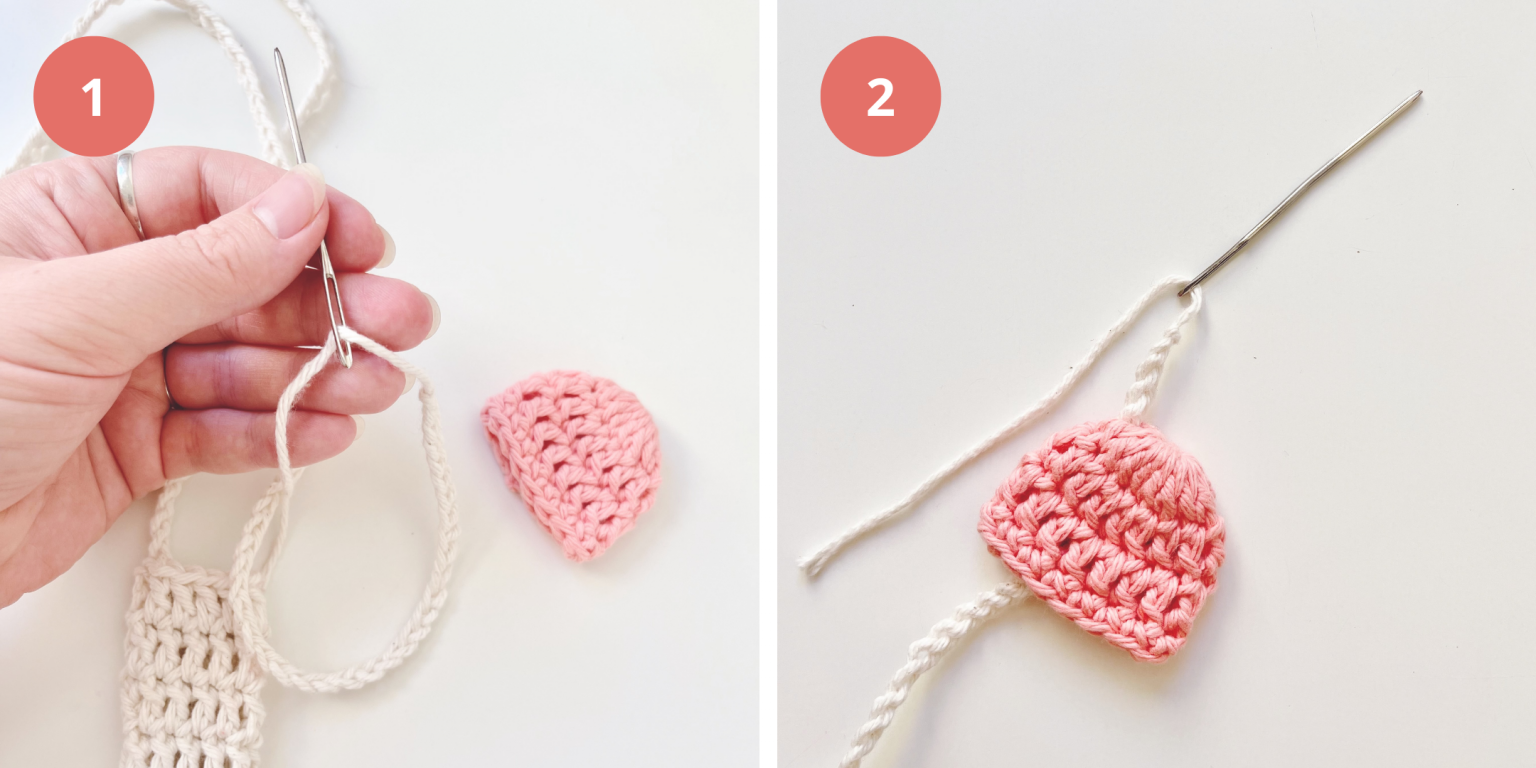
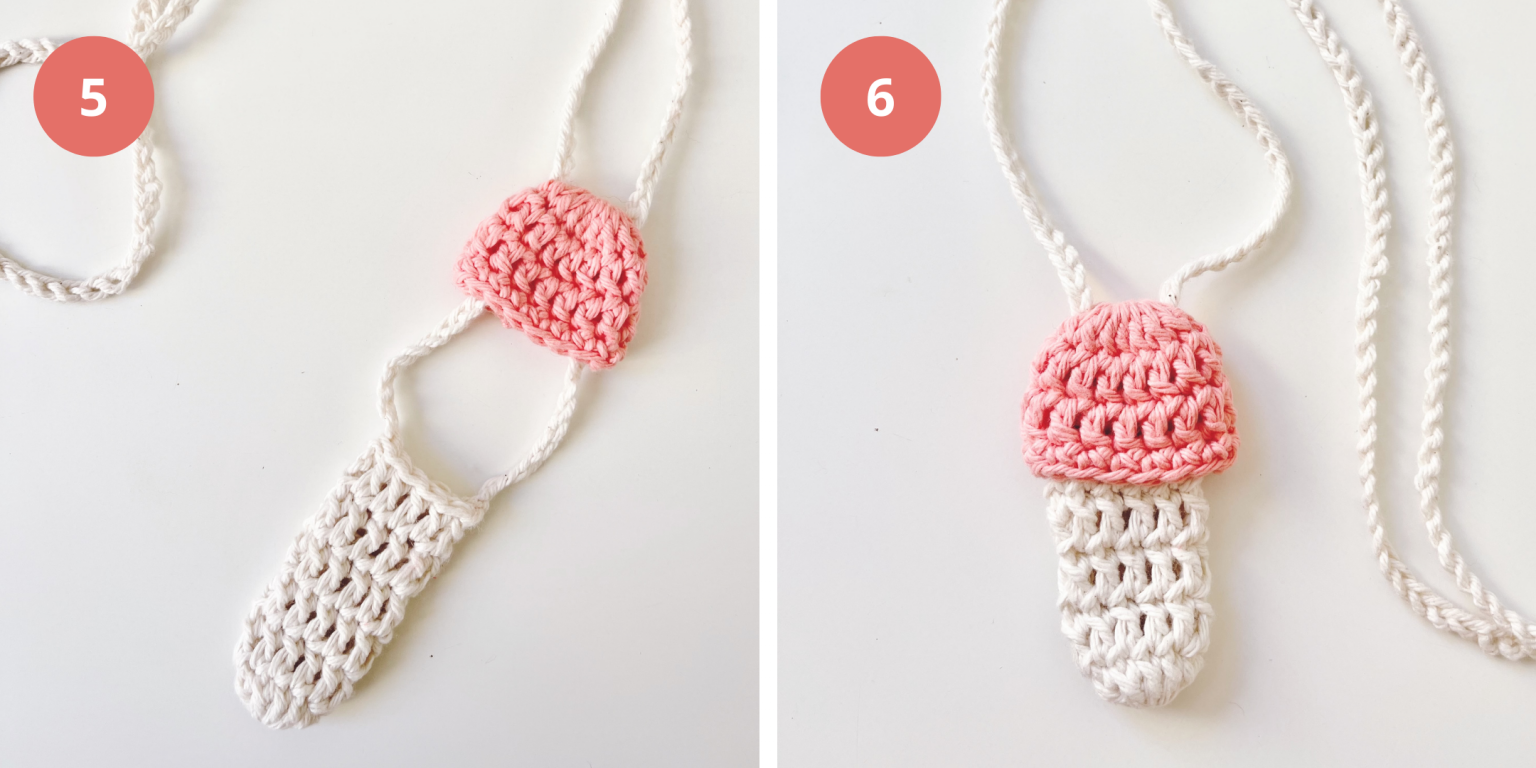
Finishing Instructions:
- Attach your yarn needle to the yarn tail at the end of the strap.
- Going through the inside of the cap, pull the strap between two stitches on RND 1.
- Then, from the outside of the cap, pull the strap between two stitches on the opposite side of RND 1.
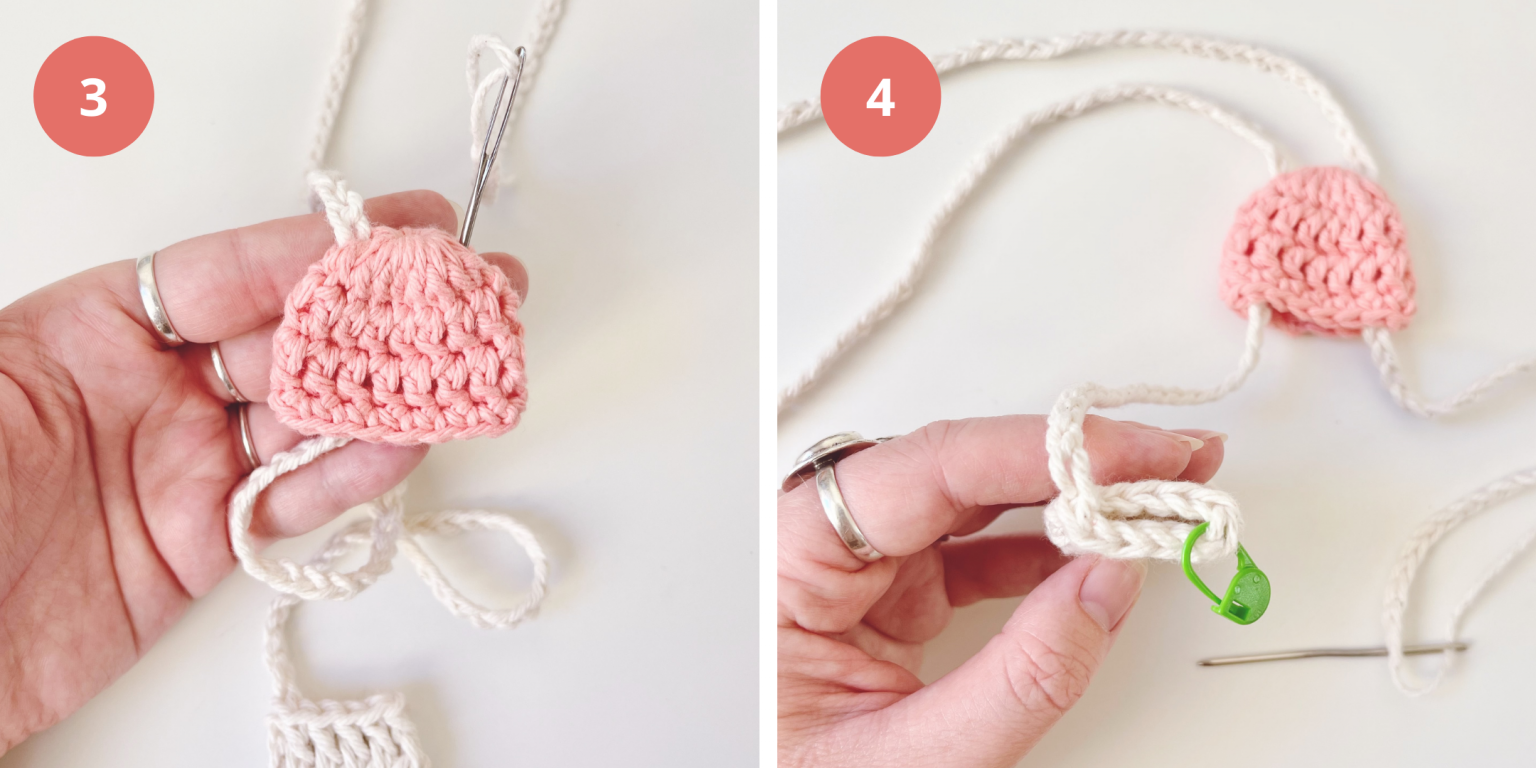
- On the stem, locate the stitch on the opposite side of the strap (you can use a stitch marker if it helps).
- Attach the end of the strap to the top of this stitch with a secure knot (use the yarn tail to create your knot). Then, weave in yarn tail & cut off any excess.
- Finally, adjust the strap as needed & tuck the stem into the cap. You’re all done!
- Funny Pictures
-
 Some Memes That Will Make You Think About Your Age
-
 Hilarious Pics to Enjoy Your Best Saturday
-
 Cool Random Memes to Make You Smile
- Recipes
-
 Foil Wrapped Salmon with Snow Peas & Mushrooms
-
 Homemade Sopapillas
-
 Chocolate Whoopie Pies
- Lifehacks
-
 10 Awesome Everyday Hacks That’ll Make Your Life Easier
-
 8 Surprising Ways to Use WD-40 at Home
-
 Crochet Basics: Crunch Stitch
- Crochet Ideas
-
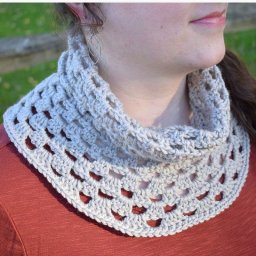 Crochet Double Stitch Cowl
-
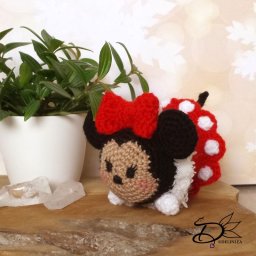 Crochet Minnie Tsum Tsum Amigurumi Toy
-
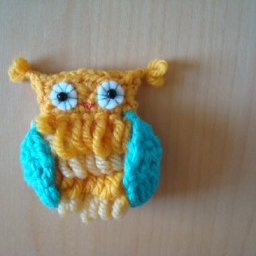 Crochet Beautiful Owl
- DIY
-
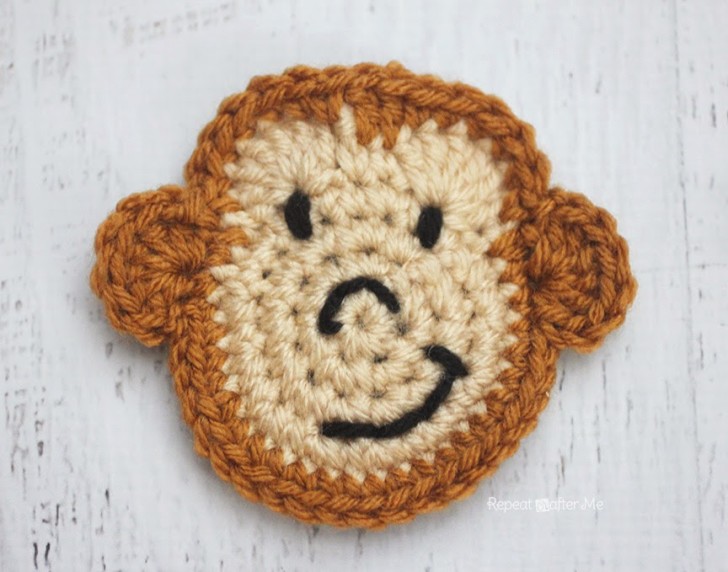 Crochet Monkey Applique
-
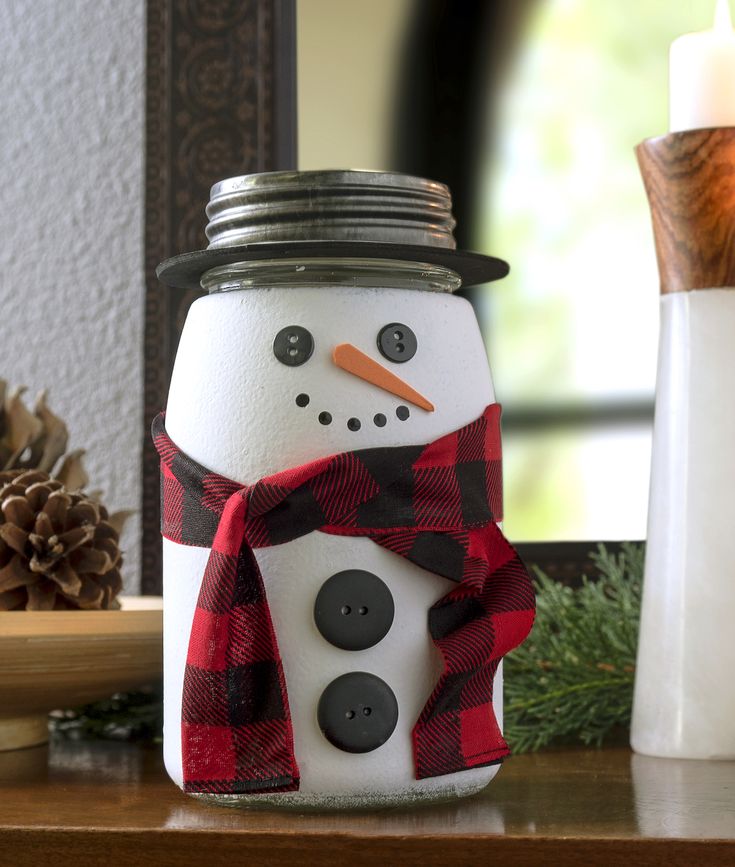 DIY Snowman Mason Jar
-
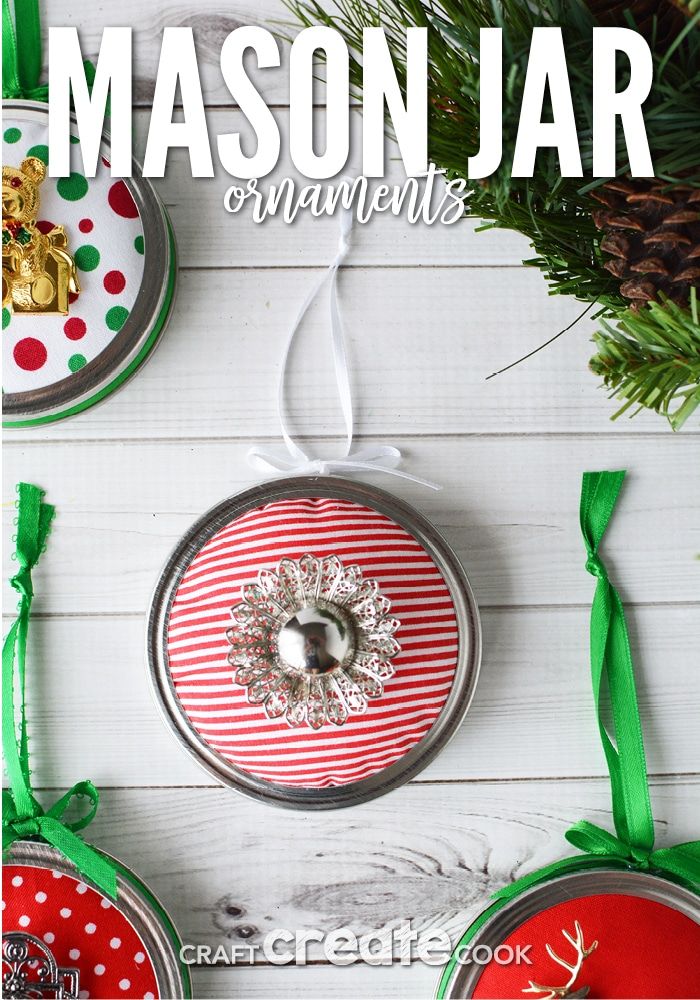 Mason Jar Ornaments
- Knitting Ideas
-
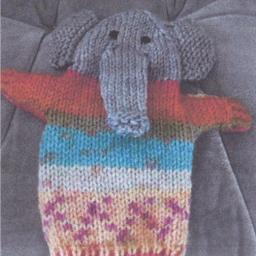 Knitted Elephant Hand Puppet
-
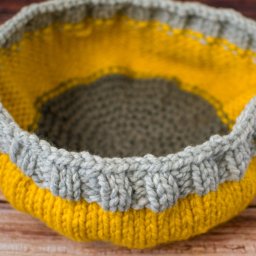 Knitted Cat Bed
-
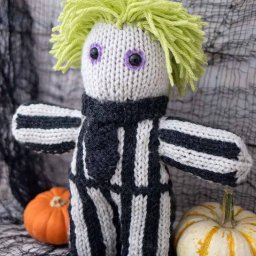 Knitted Plush Beetlejuice