How to Crochet a Mini Angel for Your Christmas Tree

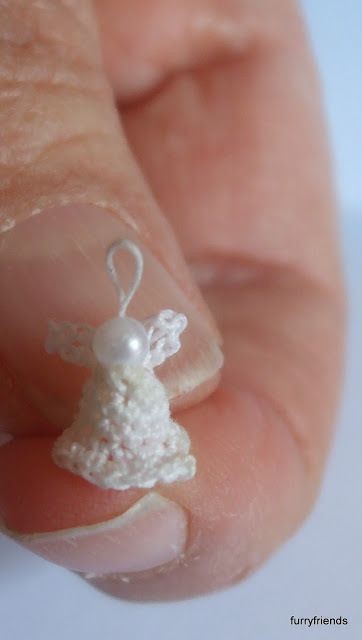
Crocheting a mini angel for your Christmas tree is such a delightful and heartwarming craft project to bring joy and charm to your festive decorations. These tiny angels add a special touch to your holiday decor and can be personalized with different colors and embellishments to match your style. Crafting these cute ornaments is not only a creative endeavor but also a way to spread warmth and love throughout your home during the holiday season. Whether you're an experienced crocheter or a beginner looking for a fun project, making a crochet mini angel is a rewarding way to add a touch of handmade charm to your Christmas tree. So, grab your yarn and hook, put on some festive music, and let's bring some angelic magic to your holiday season!
For this project, you will need:
- Crochet hook 0.60 mm
- DMC tatting thread in white or a similar thread
- Tacky glue
- Needle
- Small pearl bead
- Ultra fine glitter (optional)
- Fabric stiffener of your choice (optional)
Instructions for Crocheting the Angel
The angel is worked in rounds. Rounds are not closed, so please use a marker (like a piece of colored thread) to keep track of your rounds. They are supposed to look like a little bell shape when they are finished. Another comment: I have made tons, and even though I follow the pattern, they all look different just like real angels would!
Starting the Angel
Start with a magic circle and work 6 single crochet (sc) into the circle. Close the circle by pulling the thread and working a slip stitch.
Round 1: Work 2 sc in each stitch. Take your time! And yes, saying bad words is allowed. Don't close the round!
Rows 2-6: This is going to be easier: work 1 sc in each stitch and do not close the rounds.
Row 7: 2 sc in each stitch, finish off, and cut the thread. This will add a ruffle to the skirt.
Customize Your Mini Angel
Feel free to experiment with the number of stitches, the number of rows, and even the type of stitches. This is just a very basic pattern to start with. The possibilities are endless.
Adding Fabric Stiffener
I did use some fabric stiffener on mine because I wanted them to stand up and look a bit crisp, but you can use them as they are. Weave in all loose ends before you add the fabric stiffener. Leave to dry.
Creating the Head
For the head, glue a tiny pearl bead to the top of the bell shape. The hole in the bead can be used to add a loop for hanging your angel. Just thread a piece of yarn through the hole and back to the body and tie together. To camouflage the hole in the head (also when you are not doing a loop), apply some ultra fine glitter to the head for hair. You can also use bunca or yarn for hair.
Making the Wings
To create the wings, chain about 16 chains. Check on your angel if you feel this is the right size for your angel's wings. If you want them smaller, 14 chains will be nice; if you want them bigger, try 18-20 chains.
Make the chain into a circle using a slip stitch. Fasten off and knot the threads together. I always add a little bit of glue to the knot.
Glue the knot to the back of your angel, and then glue the top of the circle to the knot so you end up with two loops, one at each side of the body.
And there is your tiny little angel.
- Recipes
-
 Lemon Cloud Cake with Lemon Filling and Lemon Buttercream
-
 Bacon Wrapped Chicken Teriyaki Bites
-
 Lemony Ricotta Pasta Sauce with Shrimp
- Funny Pictures
-
 If you Don’t Know What to Do Right Now Then Just Look at These Memes
-
 Cat Memes for the Purpose of Pure Entertainment
-
 A Friendly Reminder That Not Everything is Terrible
- Crochet Ideas
-
 Crochet The Lace Hat
-
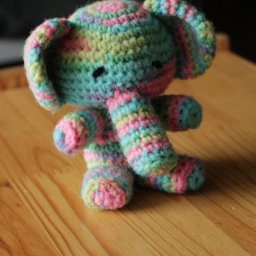 Crochet Rainbow Elephant
-
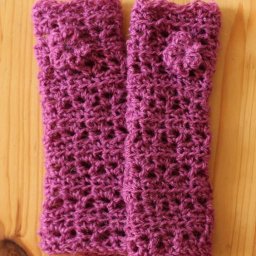 Crochet The Lace Fingerless Gloves
- Lifehacks
-
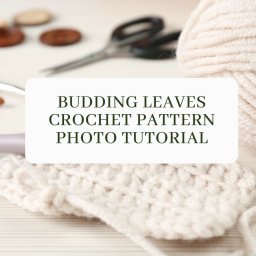 Budding Leaves Crochet Pattern Photo Tutorial
-
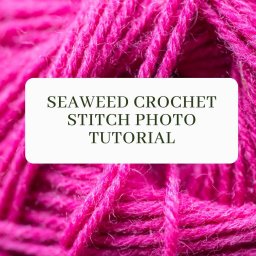 Seaweed Crochet Stitch Photo Tutorial
-
 Pearls and Oysters Crochet Stitch Photo Tutorial
- DIY
-
 Crochet Rudolph the Red-Nosed Reindeer
-
 Thanksgiving Candy Turkeys
-
 Crochet Pot and Plate Pinchers
- Knitting Ideas
-
 Knitted Beautiful Pizza
-
 Knitted Cat Hand Puppet
-
 Knitted Adorable Baby Hat