Crochet Iris Mini Bow – Free Crochet Pattern
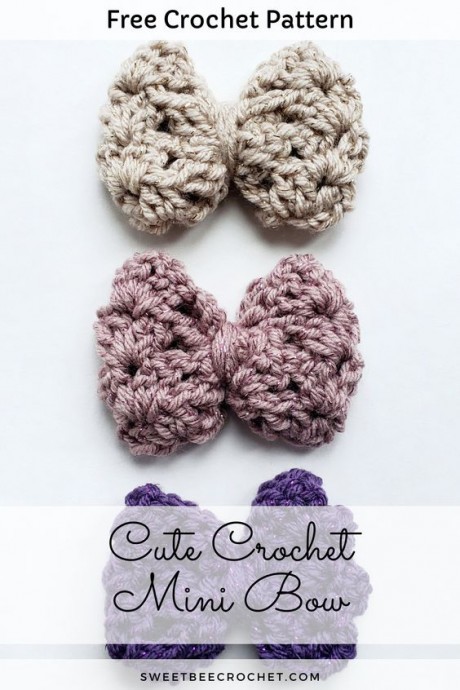
Introducing the Crochet Iris Mini Bow, a delightful accessory that adds a touch of charm and elegance to any outfit. Handcrafted with love and attention to detail, this mini bow is a true work of art. The intricate crochet pattern creates a beautiful texture, giving the bow a unique and eye-catching look.
Notes:
- This pattern is written in US terms
- This bow can be stitched onto other projects as a cute accent
- Gauge is not important for this pattern
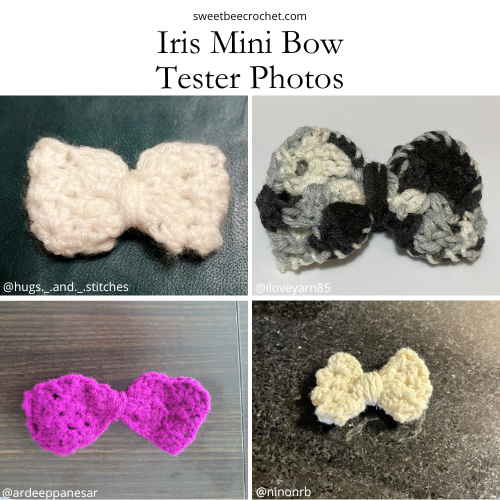
- Finished bow measures approximately 3 ½ inches x 2 ½
- Row 1 might look a little uneven but will straighten out as the pattern progresses
- Turning CH 3 counts as a stitch throughout
- Special stitch tutorial for the iris stitch is included below
- Extra photos can be found on the last page for optional printing
- Ideas for use: attach to hats, headbands, wreaths, scarves, baskets, cozies, bags, hair clips, hair elastics
Materials Needed:
- Approximately 16 yards of worsted weight yarn
- 5mm hook
- Yarn needle
- Scissors
- Measuring Tape
Stitches:
- SK – Skip stitch
- SS – Slip Stitch
- CH – Chain
- DC – Double Crochet
Special Stitch Tutorials:
Iris Stitch – The iris stitch is made up of “2 DC, CH 1, 2 DC” all in one stitch. It is worked into each CH 1 space of the iris stitch from the previous row. When stitch count is mentioned at the end of the rows, it is referred to as an “iris cluster”
Pattern:
CH 23 but leave a few inches of yarn tail at the beginning
Row 1:
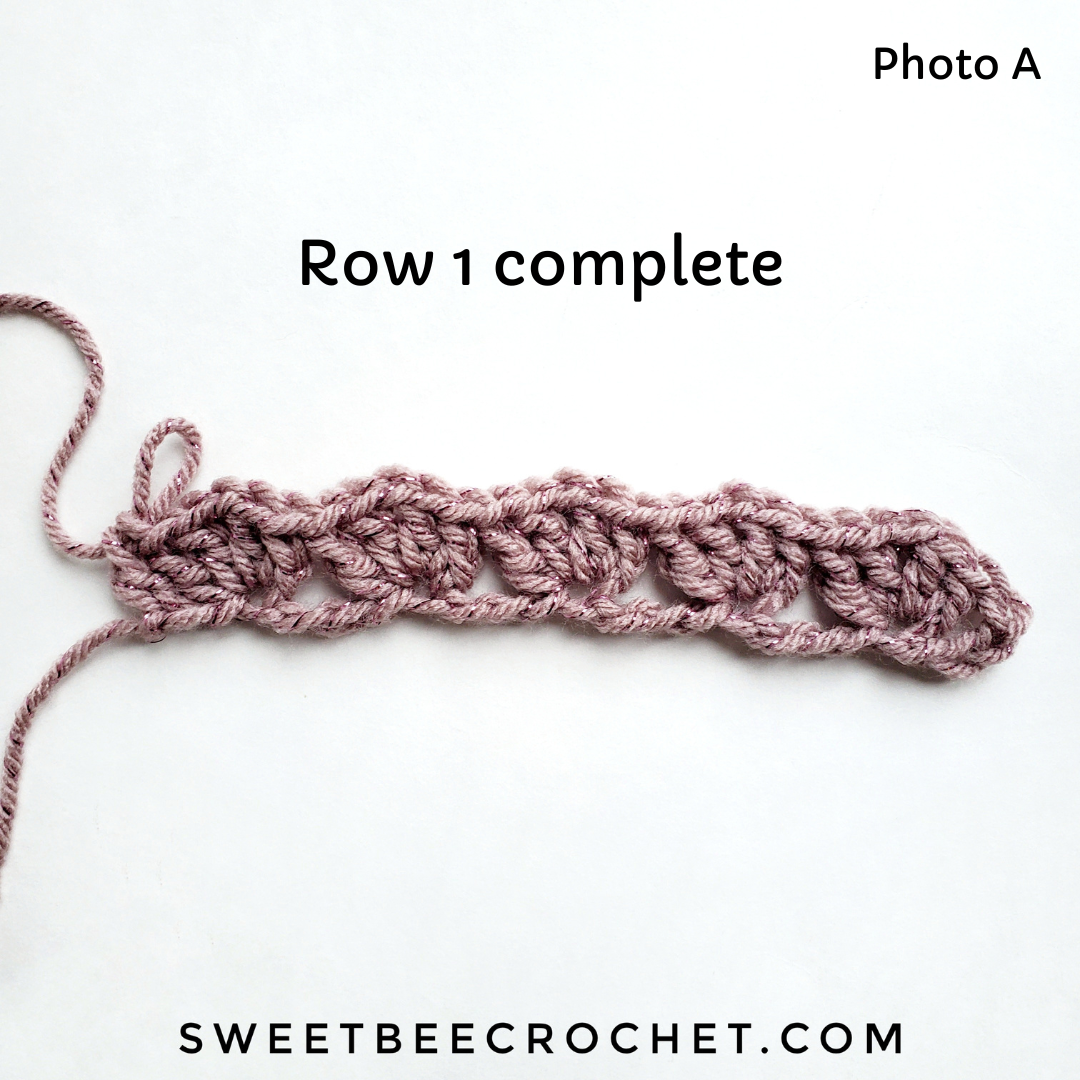
Into the fifth CH from your hook, *place 2 DC, CH 1, 2 DC. SK the next 3 stitches*. Repeat from * to * 3 more times. Place 2 DC, CH 1, 2 DC into the next stitch. With 2 CH stitches remaining, SK 1 stitch and place 1 DC into the last stitch. CH 3 and turn [photo A].
(5 iris clusters each containing 4 DC and 1 CH stitch, one CH 3 [at the beginning], 1 DC stitch [at the end])
Row 2:
For this row and each row after, you will only be working your iris clusters into the CH 1 space of the iris clusters from the previous row.
SK the first 2 DC and place 2 DC, CH 1, 2 DC in the next CH 1 space. *SK the next 4 DC stitches and place 2 DC, CH 1, 2 DC in the next CH 1 space.* Repeat from * to * 3 more times. SK the last 2 DC stitches and place 1 DC into the top of the turning CH 3 from the previous row. CH 3 and turn.
(5 iris clusters each containing 4 DC and 1 CH stitch, one CH 3 [at the beginning], 1 DC stitch [at the end])
Rows 3-4:
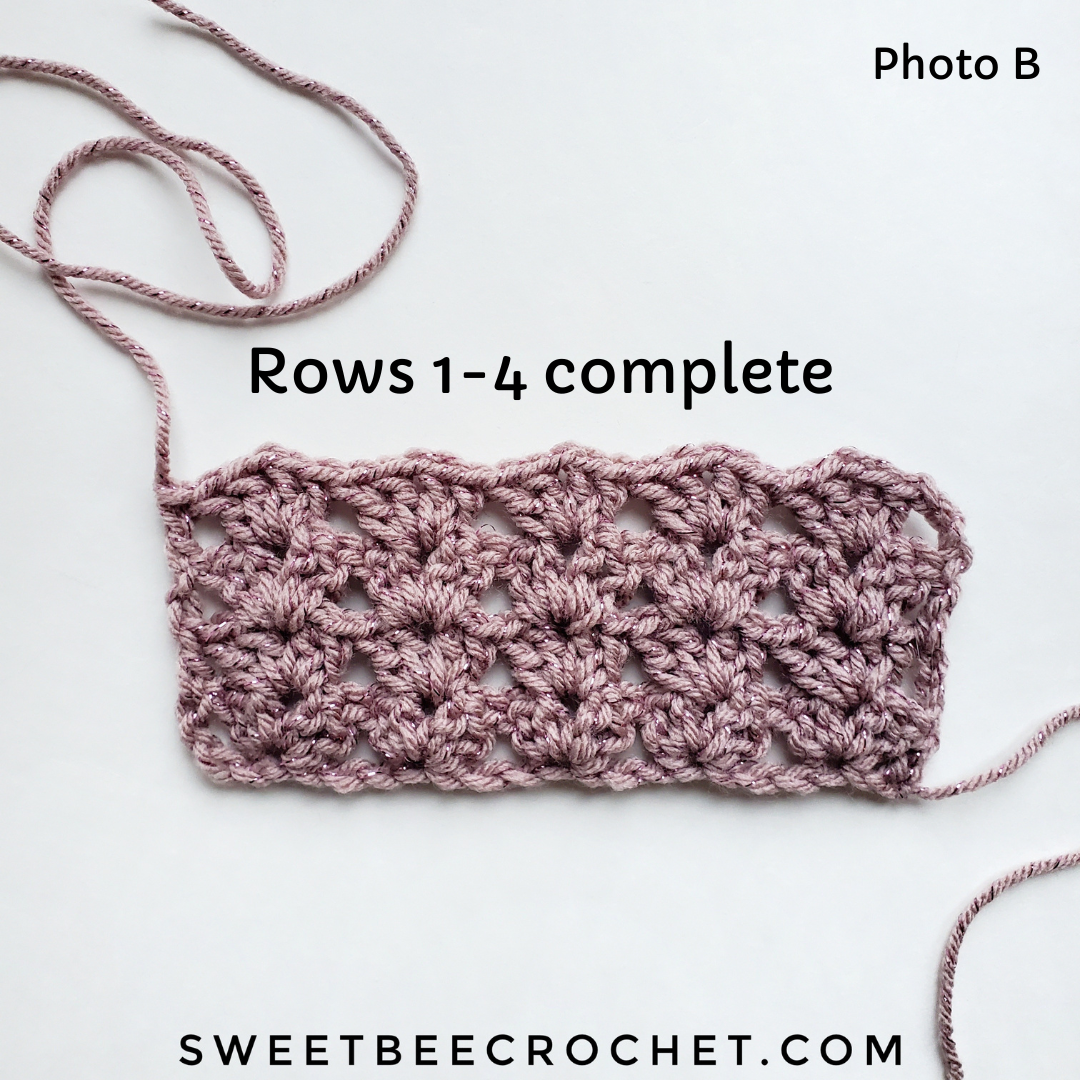
Repeat row 2. After completing row 4, do not CH 3 and turn. Fasten off and leave a long tail (approx. 21 inches) for seaming [photo B].
Seaming:
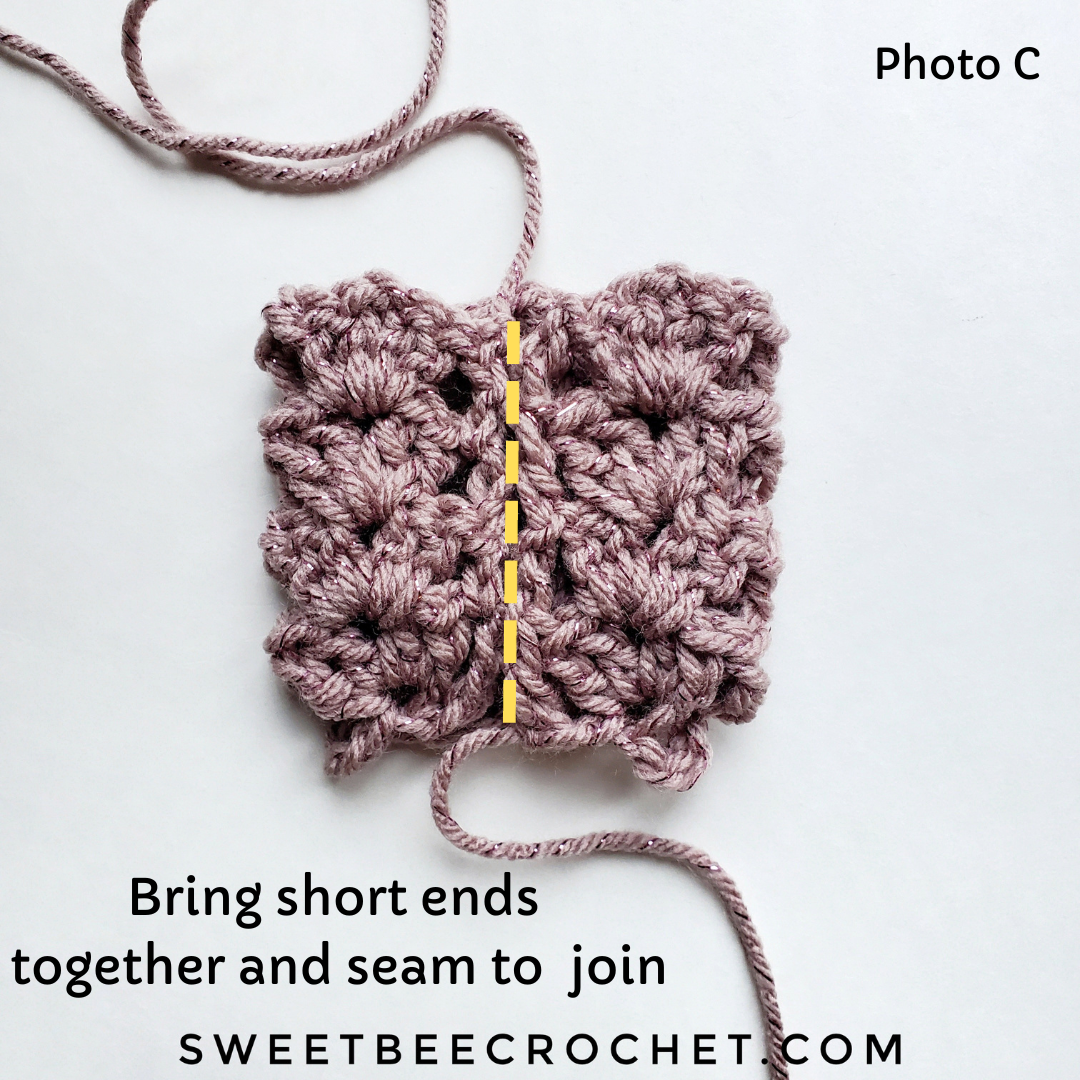
Bring your two short ends together and seam them together using the yarn tail (I used a whip stitch but please use the method of your choosing). You do not need to seam the top and bottom edges of the bow. Do not fasten off. [Photo C]
Bow Shaping:
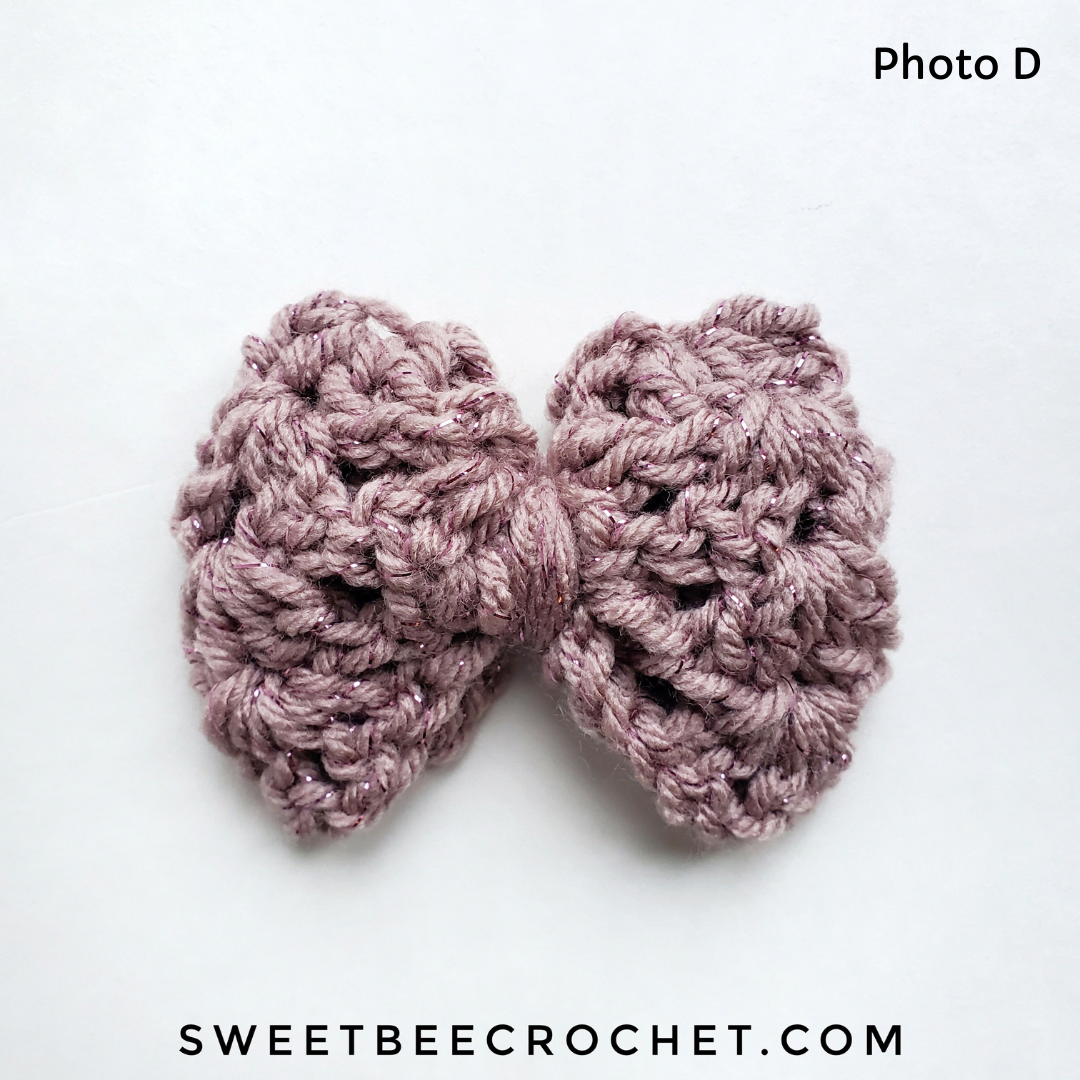
Wrap the beginning CH yarn tail and the seam yarn tail around the centre of your bow, going in opposite directions. As you wrap, gently pull to tighten up the middle of the bow. Secure both yarn tails together at the back with a knot. Trim and weave in ends [photo D].
If you want to stitch your bow onto other projects, you can choose not to trim the ends after knotting and use those tails to attach the bow to your projects.
