Crochet Puffy Heart Keychain
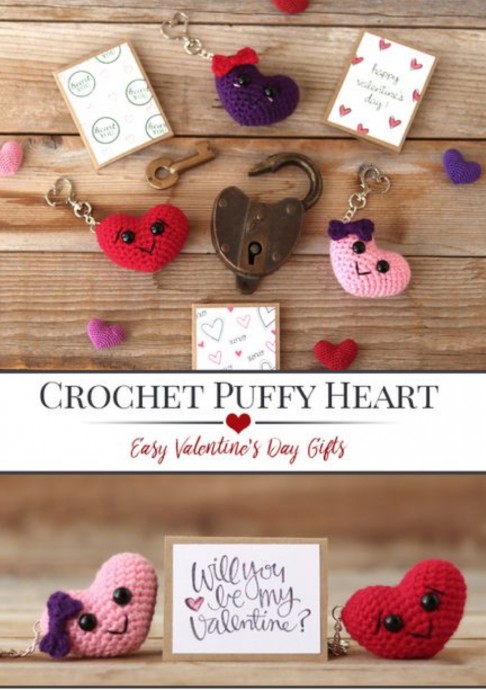
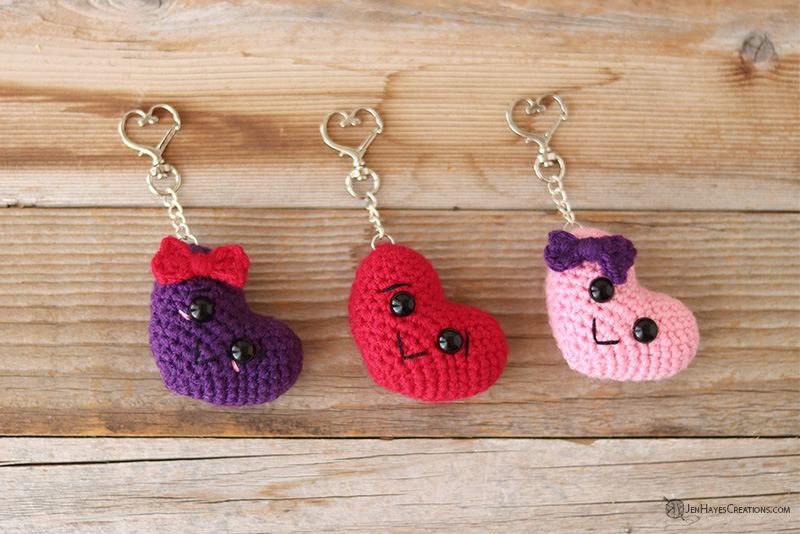
Create your very own adorable crochet puffy heart keychain with this easy-to-follow tutorial! This cute accessory is perfect for adding a touch of charm to your keys, backpack, or even as a gift for someone special. With just a few simple stitches and some colorful yarn, you'll have a delightful heart-shaped keychain in no time.
Materials
- Crochet Hook, Size E/4 (3.5 mm) for worsted, B/1 (2.25 mm) for sport, 1.50 mm (steel) for crochet thread
- Stitch Marker(s)
- Scissors
- Stuffing
- Tapestry Needle
- Safety eyes, (10 mm for worsted, 6 mm for sport)
- Embroidery Floss (optional)
- Embroidery Needle(optional)
- Dritz Disc Needle Pullers(optional)
- Chopstick, dowel, or something similar to help with stuffing small parts
- Keychain (optional) (I’ve purchased plain and decorative options)
- Yarn
Gauge
- Using hook size E/4 (3.5 mm) and worsted yarn, the first 3 rounds of the dome measure approximately ⅞ inch (2.2 cm) in diameter.
- Using hook size B/2 (2.25 mm) and sport yarn, the first 3 rounds of the dome measure approximately 6/8 inch (1.9 cm) in diameter.
- Using hook size 1.50 mm (steel 7) and crochet thread, the first 3 rounds of the dome measure approximately .5 inch (1.3 cm) in diameter.
Finished Measurements
- Using hook size E/4 (3.5 mm) and worsted yarn, the Crochet Heart Keychain measures approximately 2 inches (5.1 cm) from the top of the dome to the bottom point and approximately 2.75 inches (6.9 cm) across at the widest point.
- Using hook size B/2 (2.25 mm) and sport yarn, the Crochet Heart Keychain measures approximately 1.75 inches (4.4 cm) from the top of the dome to the bottom point and approximately 2.25 inches (5.7 cm) across at the widest point.
- Using hook size 1.5 mm and crochet thread, the Crochet Heart Keychain measures approximately 1 ⅛ inches (2.9 cm) from the top of the dome to the bottom point and approximately 1.25 inches (3.2 cm) across at the widest point.
Design Notes
- The pattern is written in English using US crochet terminology.
- The pattern is written in continuous rounds, it will be helpful to place a stitch marker at the beginning stitch of the round and move it up at the start of each additional round.
- At the end of each round, the number of stitches for completion is noted in parentheses.
- Further design notes and tips will be provided throughout the pattern to help aid in construction.
- If applicable, color changes in the pattern should be made during the last step of the stitch prior to the noted color change throughout the pattern.
- Caution! If using safety eyes, take into consideration who will be using the item. The use of safety eyes is not recommended for children under the age of three or for those prone to putting things in their mouth as they may cause a choking hazard. Crocheted or hand-embroidered eyes are a great alternative!
Abbreviations/Stitches Used
- back bar of the ch – horizontal bar on the backside of a ch
- ch – chain
- hdc – half double crochet
- Rnd(s) – round(s)
- sc – single crochet
- sc2tog – single crochet 2 stitches together (invisible decrease)
- sl st – slip stitch
- st(s) – stitch(s)
- [ ] / ( ) – work instructions between brackets/parenthesis as many times as directed
- magic circle/adjustable ring
- hand embroidery (optional)
Let’s Make Our Crochet Puffy Heart Keychain!
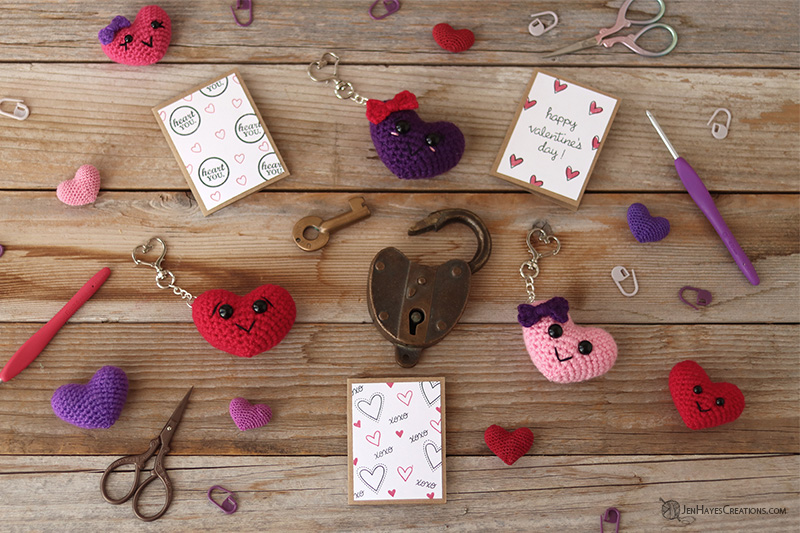
>Design Note: The heart can be made in any type of scrap yarn. See “Finished Measurements” above for finished project sizes as well as the suggested yarn and hook sizes.
The heart is made by making the top two domes of the heart, joining them together, and then continuing to create the bottom point of the heart.
The Domes
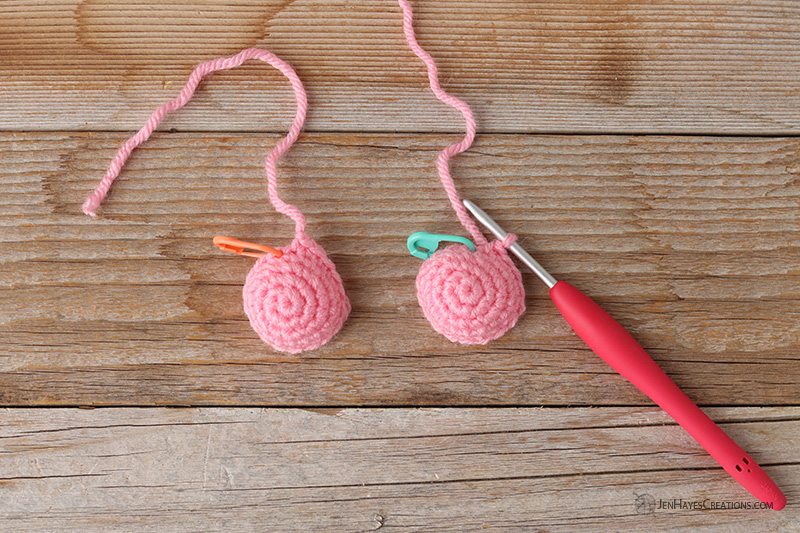
Make 2
Using the desired color(s)
- Rnd 1: 6sc in an adjustable (magic) circle. (6sts)
- Rnd 1 alternative: If preferred, ch2 and then 6sc in 2nd chain from hook. (6sts)
- Rnd 2: 2sc in each st around. (12sts)
- Rnd 3: [Sc in the next st, 2sc in next st] 6 times. (18sts)
- Rnd 4-5 Sc in each st around. (18sts for 2 Rnds)
If the first dome: Fasten off leaving a long tail for later stitching. Keep the starting stitch marker in place for later reference when joining the domes.
If the second dome: DO NOT fasten off. Leave the starting stitch marker in place for later reference when joining the domes.
In the next round, the domes are joined together.
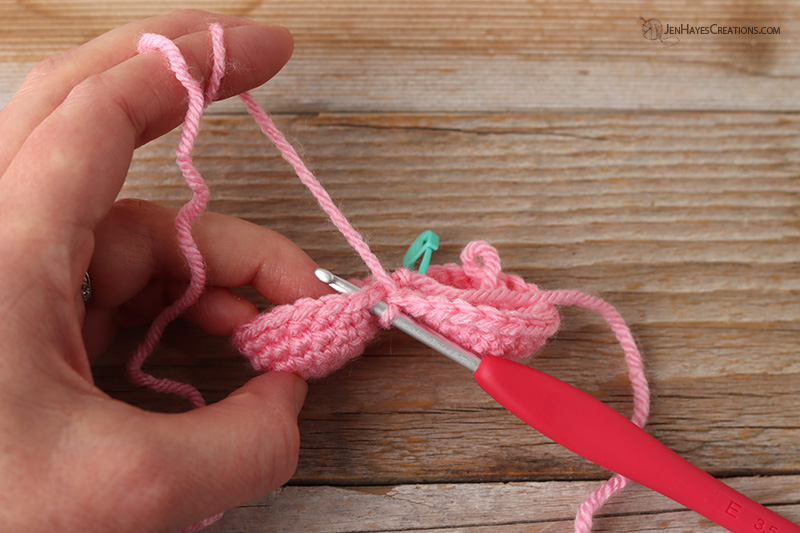
- Rnd 6: With the working loop on the hook, insert the hook into the first st of the first dome (marked with a stitch marker) from the right side to the wrong side of the piece, yo, pull up a loop, yo, pull through both loops, (mark this first sc stitch as the new starting st), sc in the next 17sts on the first dome, join back onto the second dome: insert the hook into the first st (marked with a stitch marker, which can now be set aside) from the right side to the wrong side of the work, yo, pull up a loop, yo, pull through both loops, sc in the next 17sts on the second dome. (36sts)
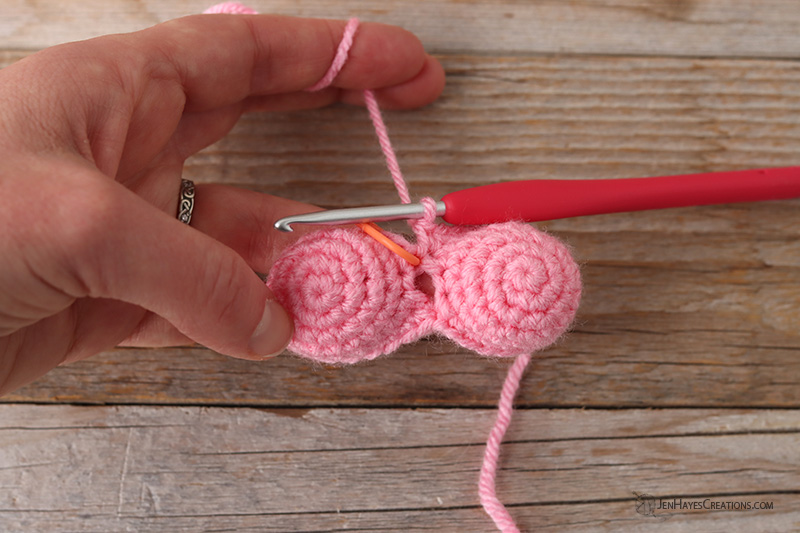
- Rnd 7: [Sc2tog, sc in the next 7sts] 4 times. (32sts)
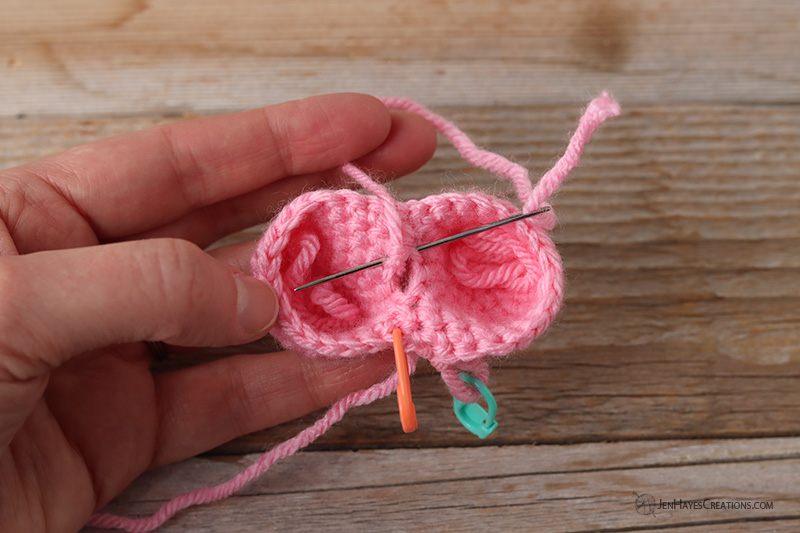
Using the tail left when fastening off the first dome and a tapestry needle, stitch the small gap between the domes left when joining them together. Stitch from the inside of the piece.
- Rnd 8: Sc in the next 3sts, sc2tog, [sc in the next 6sts, sc2tog] 3 times, sc in the next 3sts. (28sts)
- Rnd 9: Sc in each st around. (28sts)
- Rnd 10: [Sc2tog, sc in the next 5sts] 4 times. (24sts)
- Rnd 11: Sc in the next 2sts, sc2tog, [sc in the next 4sts, sc2tog] 3 times, sc in the next 2sts. (20sts)
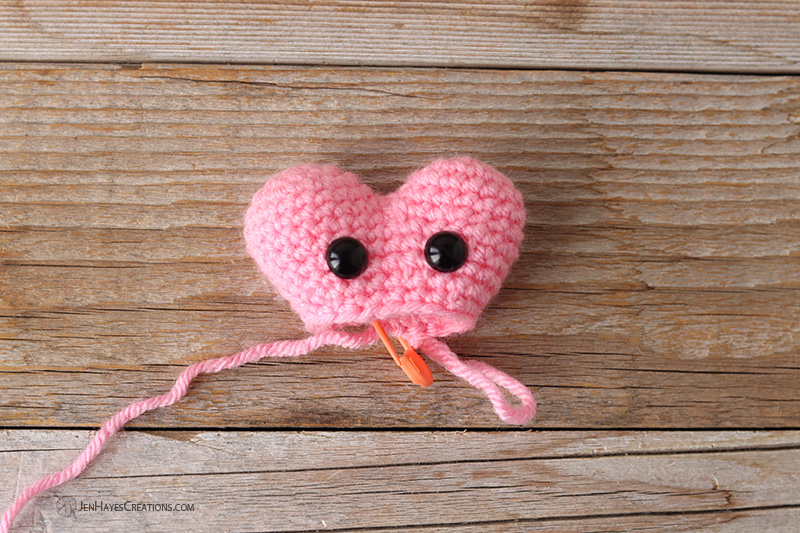
If using, insert the safety eyes. The suggested placement is between Rnds 8 and 9 approximately 4-5sts apart. Additional facial features can be added now or after the heart is completed.
- Rnd 12: [Sc2tog, sc in the next 3sts] 4 times. (16sts)
Firmly stuff and shape the heart to the desired puffiness and continue to do so as the pattern progresses.
- Rnd 13: Sc in the next st, sc2tog, [sc in the next 2sts, sc2tog] 3 times, sc in the next st. (12sts)
- Rnd 14: [Sc2tog, sc in the next st] 4 times. (8sts)
- Fasten off leaving a long tail to close up the hole. Close the hole with a tapestry needle stitching only through the front loops until the hole pulls nicely closed, secure, and weave in the end.
- Add any additional desired facial features and embellishments.
- If using, attach the keychain to the desired place on the heart. Pictured, it is attached at about Rnd 3 along the outer edge of the left dome of the heart.
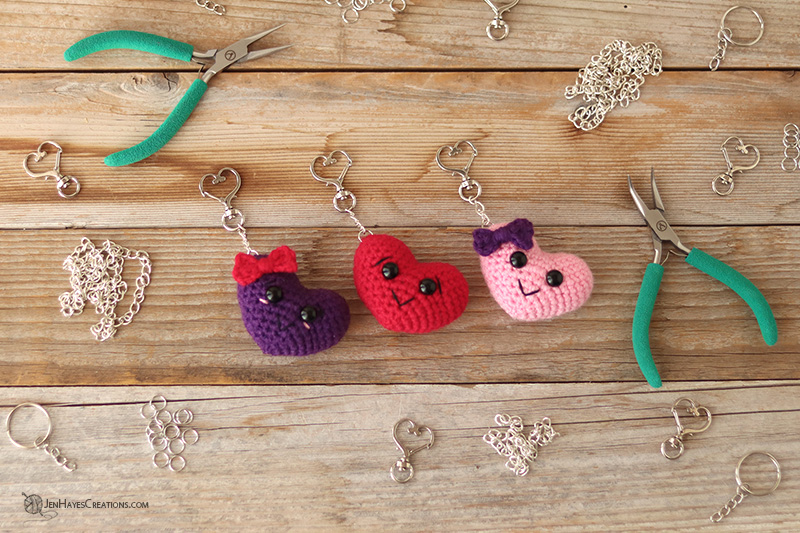
Bow
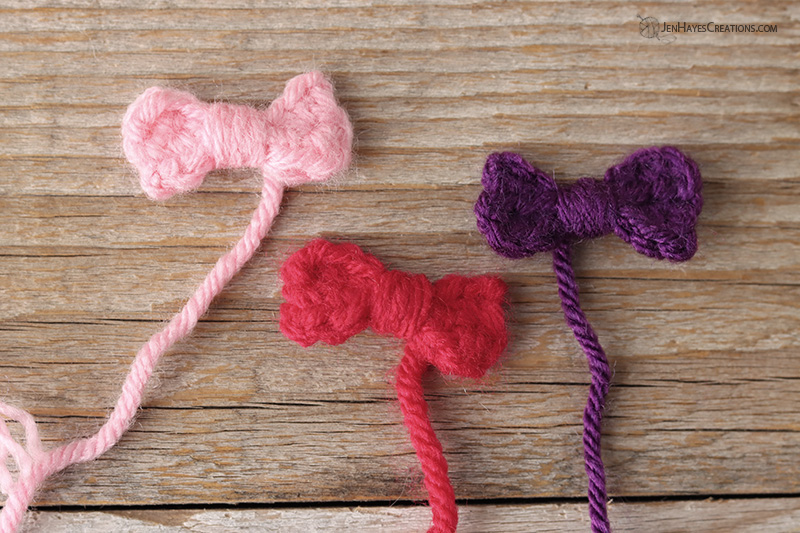
Optional
Using the desired color
Design Note: The hairbow uses sl sts that will need to be worked into in the next row. Don’t make them too tight or it will be difficult to stitch into them later. If desired these sl sts can be replaced with sc, but it will modify the bow slightly.
- Ch 8
- Row 1: Working in the back bars of the ch: Hdc in the 3rd ch from the hook, hdc in the next st, sl st in the next 2sts, hdc in the next 2sts. (6sts)
- Row 2: Turn ch1, hdc in the next 2sts, sl st in the next 2sts, hdc in the next 2sts. (6sts)
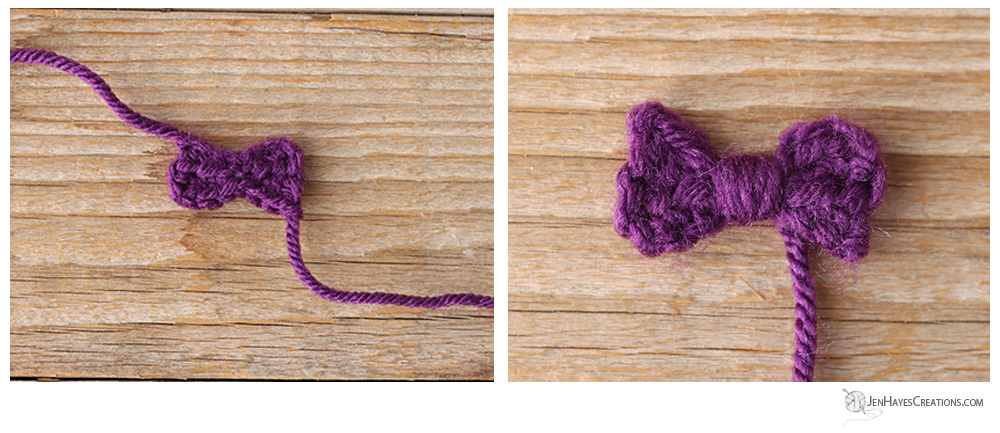
- Fasten off leaving a tail long enough to wrap around the center of the bow several times and attach the bow to the heart.
- Weave in the starting tail. Weave the long tail to the center of the bow and then wrap it several times around the center. Using a tapestry needle, secure the tail by stitching through the center wraps at the back of the bow.
- Attach the bow to the heart in the desired place (centered at the top, angled on either of the top domes, or as a bow tie).
Additional Options
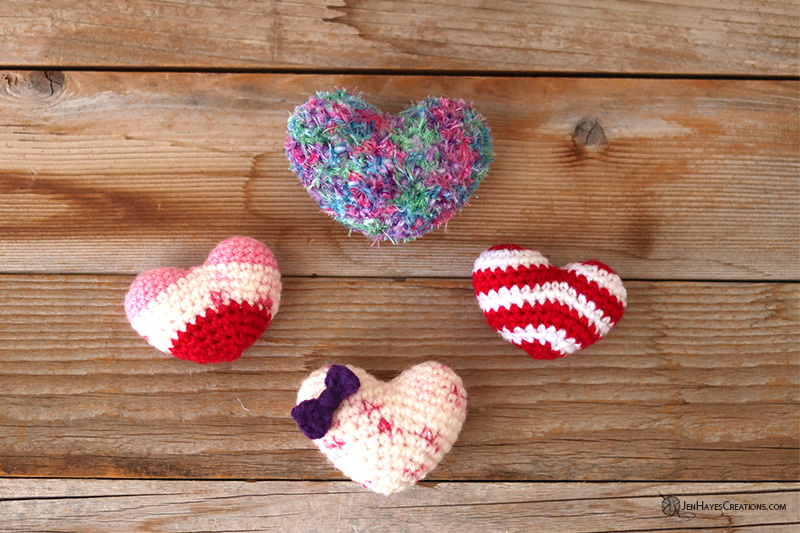
- Switch colors as little or as often as desired to create stripes or blocks of color. It’s such a great way to use up scrap yarn!
- Use speckled, variegated, striped, or metallic yarn for a fun effect.
- Hold a piece of furry yarn along with the regular for a fun, furry look.
- Leave an extra long tail when fastening off at the bottom point to create a hanging loop in place of a keychain. Simply weave the tail up to the top of the heart, form the desired length of loop, and secure the remaining tail back into the heart.
- Add embroidery, sequins, beads, lace, buttons, fabric, etc. to the heart to add unique, personalized embellishment.
- Mix up the facial expressions by changing the size of the safety eyes, where they are placed on the heart, or even hand embroider them.

