Topics
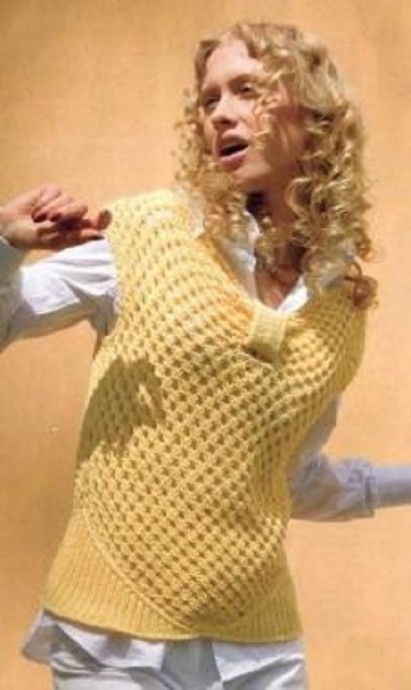
Yellow Knit Top
You’ll Need: 300g of yellow (3008) color of LINEAPIU Hermes yarn (60% cotton, 40% polyamide; 90m/50g). Knitting needles 3.5 and 7. Size: M Used Patterns 1 x 1 rib, knitting needles 3.5; Net pattern, knitting needles 7: the quantity of sts is multiple of 3 + 1 + 2 selvedge sts. Net Pattern Instructions 1 st row: 1 knit st, * 1 yarn over, 3 sts out of 2 (slip 1 st as knit st, yarn behind work, knit 2 together, draw it through the slipped st, 1 knit st from the slipped st)*; repeat from ...
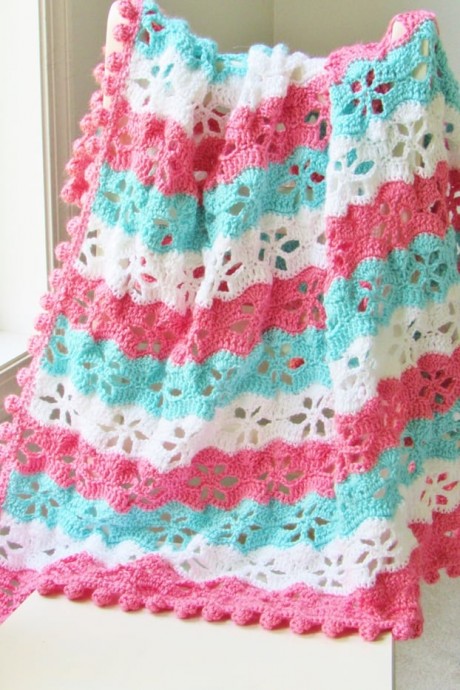
Helping our users. Crochet Blanket with Flowered Pattern.
You’ll Need: Caron Simply Soft yarn in colors Strawberry (2 skeins), Robins egg (1 skein) and White (1 skein); Crochet hook 5 mm; Tapestry needle. Size: 38 1/2 inches wide and 38 1/2 inches long. Used Patterns Shell: 5 dc worked into the same st. Stitches control: 15 dc sts = 4 inches. Note With pink color yarn, Ch 164. You can chain any multiple of 16+20 if you want to make your blanket smaller or bigger. Instructions Row 1 : 2 dc in 4th ch from hook, sk 2 chs, sc in n...
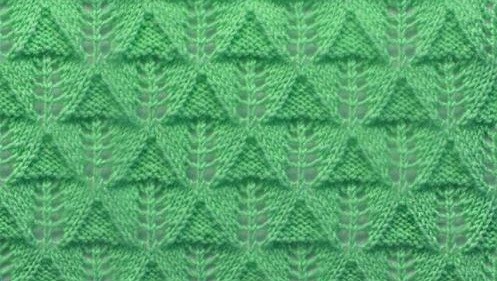
Relief Triangles Knit Stitch
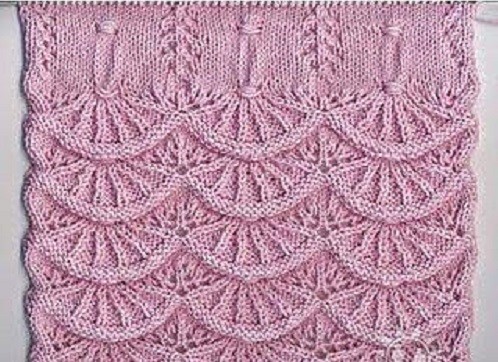
Understanding the Knitting Pattern Work due to the scheme, on which only right-side rows are stated, make wrong-side rows due to the ornament, yarn overs – as purls. Horizontal and Vertical Pattern Repeats Horizontal pattern repeat = 12 sts, make 6 sts before pattern repeat and 7 sts after pattern repeat. Vertical pattern repeat = 20 rows.
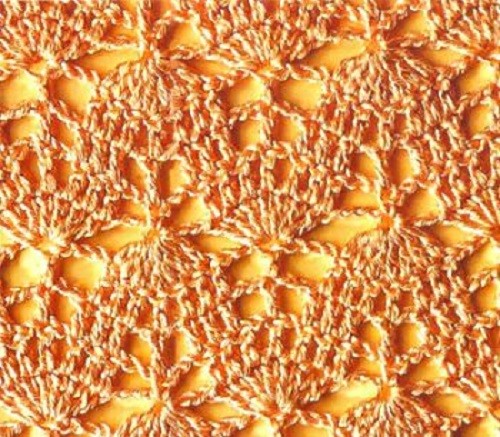
Crochet Weaver Stitch
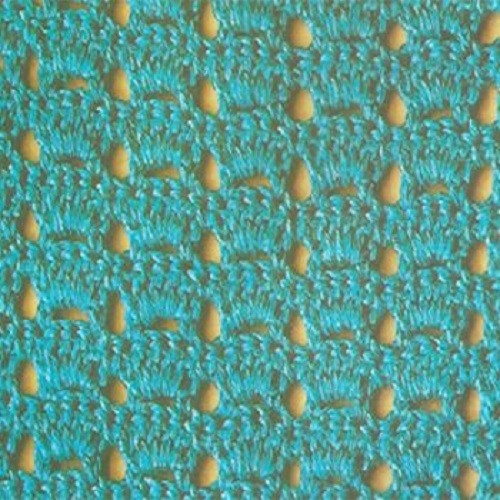
Introduction The quantity of chain sts is multiple 12 + 1 + chain sts increase. Row Instructions 1 st Row 1 chain st increase, 1 single crochet in the next chain st, skip 5 chain sts, 2 chain sts, * 7 double crochets in the next chain st, 2 chain sts, skip 5 chain sts, 1 single crochet in the next chain st, 2 chain sts, skip 5 chain sts*; repeat from * to *, 7 double crochets in the next chain st, 2 chain sts, 1 single crochet in the last chain st; 2 nd Row 1 chain st increase, 1 sing...
Inspiration. Knit Rugs.
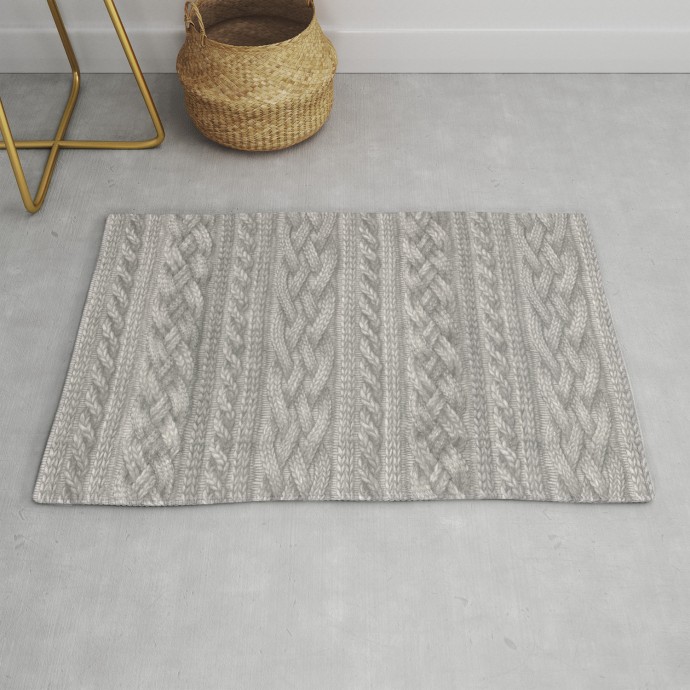
Inspiration: Knit Rugs When it comes to home decor, knit rugs offer a unique blend of comfort and style. They can elevate a room's atmosphere while providing warmth underfoot. Here are some inspiring ideas to get you started on your own knit rug journey: Types of Knit Rugs Chunky Knit Rugs Textured Knit Rugs Colorful Patterned Rugs Minimalist Designs Techniques for Knitting Rugs Basic Knitting Stitches Advanced Knitting Techniques Combining Yarns f...
Most Necessary Thing
Hello, my dear friends! I want to wish you a nice day and mood today! Hope, you're alright! The Importance of Essentials in Knitting and Crocheting What do you think is the most necessary thing that every knitter or crocheter should have or make? Essential Tools and Accessories Knitting Needles Crochet Hooks Yarn Stitch Markers Tapestry Needle Measuring Tape Knitting or Crochet Bag Conclusion Having the right tools can make your knitti...
Crochet Pillow of Roses
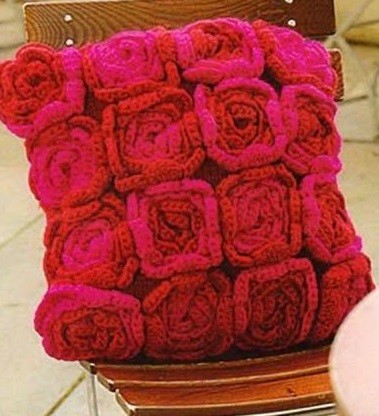
You’ll Need: 450g of red Drops Eskimo yarn (100% extra wool; 50m/50g); 300g of the same yarn, but in pink color; Knitting needles 8; Crochet hook 6. Size: 45 х 45 cm. Stitches Control: Stockinette stitch: 12 sts x 16 rows = 10 x 10 cm. Instructions Make 16 flower motifs in 4 different color combinations. Flower Combinations: Flower A: make 4: 1st-6th rows: pink yarn, 7th-8th rows: red yarn; Flower B: make 4: 1st-6th rows: red yarn, 7th-8th rows: pink yarn; ...
Helping our users. Easy Knit Sweater.
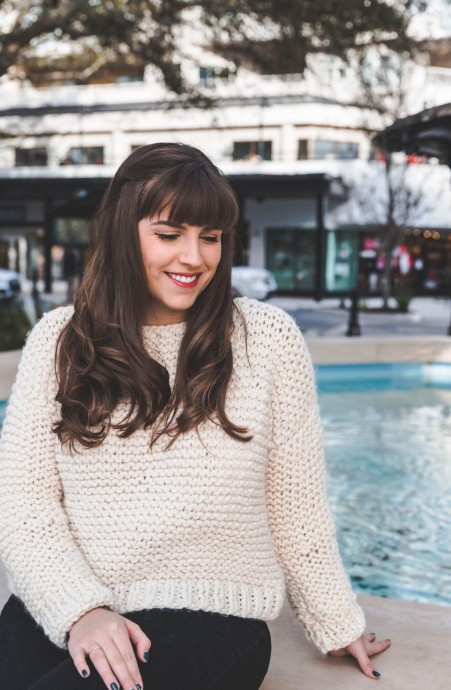
You’ll Need: 5; 6; 7; 8 skeins of Lion Brand Yarn Wool Ease Thick & Quick in Fisherman; Knitting needles 12 mm; Large eye tapestry needle; Stitch markers. Stitches Control 8 sts x 16 rows = 10 x 10 cm. Measurements Bust: 30″ (XS) 34″ (S) 38″ (M) 42″ (L) 46″ (XL) 50″ (XXL) 54″ (XXXL); Width across back: 17″ (XS) 18″ (S) 19″ (M) 20″ (L) 21″ (XL) 22″ (XXL) 23″ (XXXL); Length: 21″ (XS) 22″ (S) 23″ (M) 23.5″ (L) 24″ (XL) 24.5″ (XXL) 24.5″ (XXXL); Armhole: 6″ (XS...
Crochet Women’s Coat
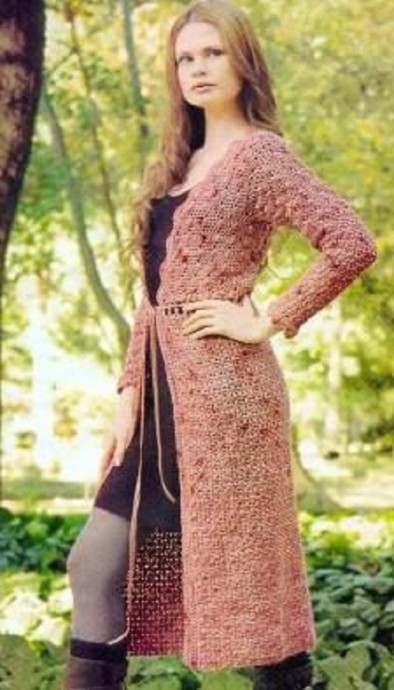
You’ll Need 900g of acryl mélange DK yarn in pink color; Crochet hook 4.5; 250 cm kapron lace 1 cm wide in the same color as yarn. Size S. Used Patterns Popcorn Pattern 4 double crochets out of 1 st. Slip the working st from the crochet hook and insert the crochet hook from RS under the top of the first double crochet. Lift the slipped st and crochet it. Fancy Patterns Follow the schemes 1 and 2. Fringe Refer to the scheme 3. Stitches Control 16 sts = 10 cm. Instructions...
Decadence Knit Jacket
You’ll Need: 600g of pink yarn (50% wool, 50% Alpaca; 100m/50g); Knitting needles 8; Crochet hook 6. Size: S-M. Used Patterns: Stockinette Stitch: In RS rows – knit sts, in WS rows – purls; Wrong-Side Pattern: In RS rows – purls, in WS rows – knit sts; Relief Stripe (12 sts wide): Due to the scheme, on which both RS and WS rows are stated. Repeat 1 st -16 th rows. Stitches Control: 14.5 sts x 20 rows = 10 x 10 cm. Instructions: Back: Cast on 67 sts with criss-cross m...
Helping our users. Crochet Tiger Applique.
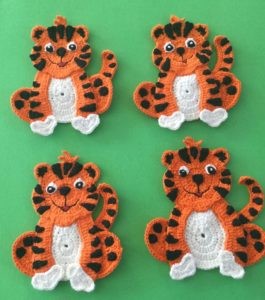
You’ll Need: Orange, white and black cotton or wool; Crochet hook; Scissors; Thread to sew together; Sewing needle; Darning needle to weave in ends; Pink or red embroidery cotton if desired to embroider on a mouth. Instructions Head Make a magic loop. Row 1: 3 ch. Work 14 dc into loop and pull circle tight. Slip st into 3rd ch. Row 2: 3 ch. 1 dc in same place as ch. Work 2 dc into each st. Join with a sl st in 3rd ch. Row 3: 3 ch. Work 1 dc in same place as ch (1 d...
Knit Combs Stitch
Pattern Overview The quantity of stitches is a multiple of 21 plus 3 plus 2 selvedge stitches. Row Instructions RND 1 : 1 st and 3 rd rows: knit; RND 2 : 2 nd row: purl; RND 3 : 4 th row: 1 knit stitch, * yarn over, 21 knit stitches*, 2 knit stitches; RND 4 : 5 th row: 2 purls, * (1 purl, 3 knit stitches) x 5 times, 2 purls*, 1 purl; RND 5 : 6 th row: 1 knit stitch, * (1 knit stitch, 1 yarn over) x twice, knit 2 together through back loop, 2 purls x 5 times, (1 knit stitch, ...
Fancy Crochet Stitch
The quantity of stitches is a multiple of 5 plus chain stitches for increase. RND 1 : 6 chain stitches increase, 1 single crochet in the next chain stitch, * 2 chain stitches, skip 2 chain stitches, 1 single crochet in the next chain stitch, 4 chain stitches, skip 1 chain stitch, 1 single crochet in the next chain stitch*; repeat from * to *, 2 chain stitches, skip 2 chain stitches, 1 single crochet in the next chain stitch, 2 chain stitches, 1 double crochet in the last single crochet; RND 2 : 1 c...
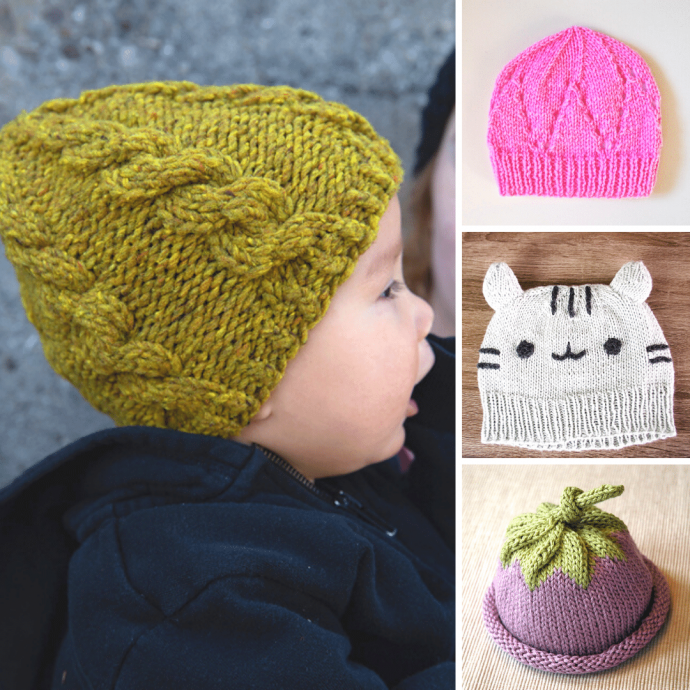
Inspiration. Knit Baby Hats.
Knitting baby hats can be a delightful and fulfilling project, offering endless styles and patterns to inspire your creativity. Not only do these hats keep little ones warm, but they also make adorable gifts for new parents. Why Knit Baby Hats? Knitting baby hats is not just about creating functional items; it's also an opportunity to express your creativity. With a variety of patterns and yarn options available, you can craft unique hats that showcase your personal style. Getting Started with Knit...

