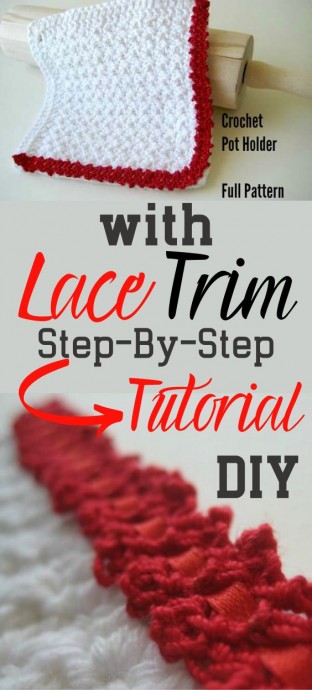
Crochet Potholder With Lace Trim

Crochet potholders with lace trim add a touch of elegance and charm to any kitchen. The intricate details of the lace trim make them not only functional but also beautiful pieces to display. They offer a creative way to protect your hands while adding a pop of style to your cooking space. Whether you use them for handling hot dishes or simply as decorative accents, these crocheted potholders with lace trim are sure to impress your guests and make cooking a little more delightful.
They make wonderful gifts for friends and family who appreciate handmade items and add a cozy and inviting feel to any kitchen. So, next time you need a practical yet lovely addition to your culinary arsenal, consider crocheting some potholders with lace trim for a touch of homemade warmth.What you need
small amount of size 3 crochet thread
small amount of size 10 crochet thread
size G crochet hook
US 1 / 2.35mm crochet hook
about 15” of 1/8″ ribbon
matching sewing thread
Instructions
Potholder
ch 25
Row 1: (sc, dc) in 3rd ch from hook. *skip 1ch, (sc, dc) in next ch, repeat from * across, sc in last ch, ch 2, turn.
Row 2: *(sc, dc) in sc, skip dc, repeat from * across, sc in last sc, ch 2, turn.
Rows 3-12: Repeat Row 2.
Row 13: dc in every st across [25 dcs], ch 3, DO NOT TURN: instead, rotate 90 degrees clockwise and dc25 down the side of the potholder in the side loops of stitches created in Rows 1-12, ch 3, turn.
Row 14: dc in each dc until ch-3 sp, (dc, ch3, dc) in sp [this is the corner of your potholder and the space you will hang it on], dc in every dc to end.
Finishing: Break off and weave in ends.
Lace Trim

ch 4.
Row 1: sc in 2nd ch from hook, ch1, skip 1 ch, sc, ch4, turn.
Row 2: sc in sc, ch1, skip 1 sc, sc, ch4, turn.
Repeat Rows 1-2 until the trim measures 12 inches.
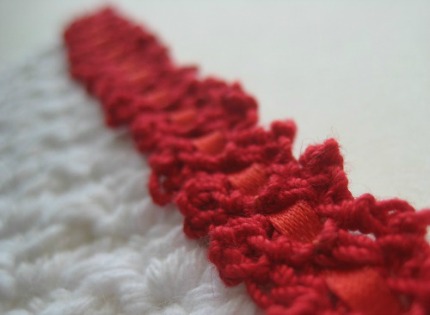
Finishing: Break off and weave in ends. Weave the ribbon back and forth through the ch-1 space in each row, using a tapestry needle if desired. Sew the trim to the edges of the potholder on the two sides without dcs (going around the corner opposite to the ch-3 corner).
All done!
