Other hand-made
Create topic
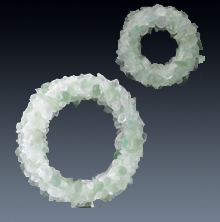
Wonderful Wreaths
You'll need: Wreaths: 9" x 1-1/4" x 1-1/4"; 6" x 1-1/4" x 1-1/4" Beach glass pieces, three 1 lb. bags White acrylic paint Lightweight cardboard Craft wire, 20-gauge Medium flat paintbrush Disposable palette Water basin Pencil Ruler Paper towels Scissors Wire cutters Low-temp glue gun and glue sticks Thick, white craft glue Instructions Trace foam wreaths onto cardboard and cut out. Use glue gun to secure cut-outs to front of wreaths. Paint cardboard white; let dry. U...
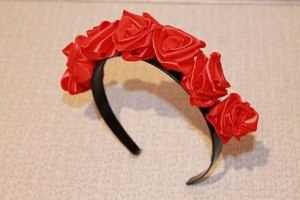
Hairband With Satin Roses
You'll need: Satin ribbons (width 2,5 cm, 45 cm long); Thread; Scissors; Hairband. Instructions Bend the ribbon for the first time, forming an angle of 90 degrees. Then we bend the ribbon one by one. As soon as the short edge of the ribbon ends, connect the ends together and release the structure. Then, holding a short edge near the main one, pull the structure up to form rosebuds. Trim the excess, singe the edge on fire. Sew a thread so that the structure holds and does n...
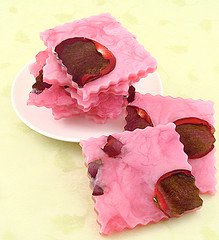
Home-Made Soap With Roses
You'll need: Pyrex 16 ounces Melt and Pour Base (clear or white) Roses (dried or fresh) Rosehip Jasmine Fragrance Oil Optional: Red Coloring (food coloring is fine) Soap Mold (plastic Tupperware works great) Instructions Melt 8 of opaque ounces of soap in the microwave on 30 second bursts. Scent soap with approximately 1/8 ounce of fragrance or essential oil. Stir in well. Pour half way into molds. Melt another 8 ounces (clear soap for a contrasting look) of soap in ...
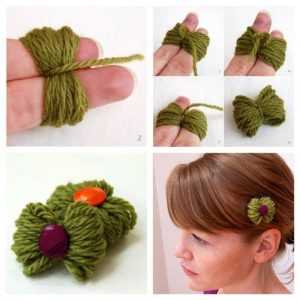
Simple and Fast Hair Accessory
You'll need: Yarn of any colour; Button; Hair bobble or hair slide; Glue. Instructions Straighten two fingers - first and second fingers, then wind the yarn on them. When you finish doing this, start reeling this skein on the middle several times, as it's shown in the photo below. As a result, you should get a small bow. Using glue, fasten your button to the centre of your bow and fix it to the hair bobble or hair slide. You can also decorate it with beads.
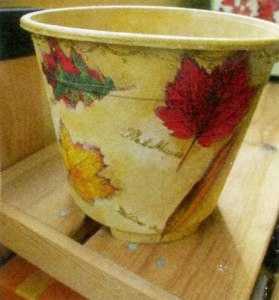
Decoupage Flowerpot
You'll need: Flowerpot; Primer; Light acyrlic paint; Decoupage tissues; Decoupage glue or acrylic varnish; Glitter with glass-paper; Brush and foam bast whisp. Instructions First of all, sand-paper the flowerpot with white paint, and then, remove the dust. The primer is applied both from the outside and from the inside. Leave the pot to dry completely. Meanwhile, tear out with your own hands, from the selected decoupage tissues, a suitable motive, separating the upper tier from it. ...
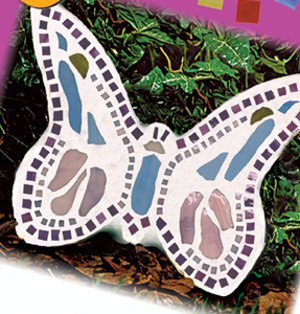
Butterfly From Glass
You'll need: 9" Butterfly Mold Large Butterfly Precut Stained Glass Chips (Purple) Outdoor Cement Pen Scissors Contact Paper Petroleum Jelly Paper Towel Measuring Cup Mixing Bowl and Spoon Instructions: Trace an outline of the mold onto contact paper. Trim to the size of the mold. Note, the contact paper should be smooth and free of creases. Contact paper should fit closely inside the mold. To achieve a good fit, place the trimmed contact paper...
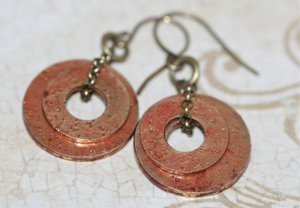
Metal Round Earrings
You'll need: Round brass washers Gilders paste Craft glaze Antiqued brass chain Jump rings Earring wires Instructions: Hammer the brass washings to give them texture. Apply Gilder's Paste to brass washings. Simply rub the paste onto both sides of the washer using a soft cloth - a cotton T-shirt works very well, or use an old washcloth. Let the paste dry about 10 minutes. Rub again with the cloth to remove excess. Sand the surface and sides of the washer with either fine sandpaper...
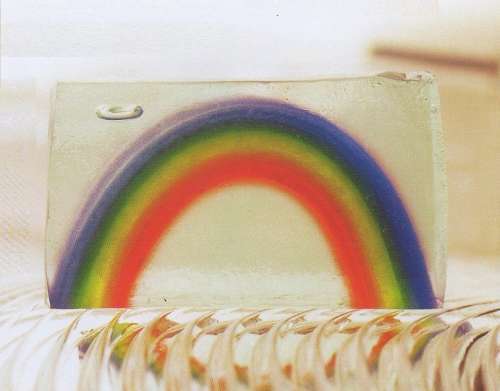
Natural Rainbow Soap
You'll need: 0,5 kg of soap base; 3 drops of water-colour (red, yellow, blue, green); 1/6 tea-spoon of silver pearl; 1/3 tea-spoon of avocado oil; 20 drops of aromatizer with tropical fruit odor Instructions: Add the pearlescent additive to the melted base and mix with a mixer. Pour most of the mixture into a glass, and dye the red and blue dyes in the rest to get purple. Pour it into a narrow rectangular shape and treat it with an alcohol solution, after the appearan...
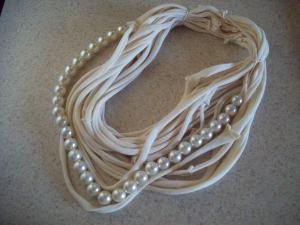
What You Can Do With Old T-Shirt
You'll need: An old T-shirt Scissors Pearls Instructions: First lay your tee shirt out flat. Starting at the bottom, cut strips about 1 inch wide. It doesn’t have to be perfect, just eyeball it. Once your strips have been cut (stop cutting as soon as you got to the sleeves), gently stretch them out one by one. You could use a scrap piece of T-shirt material or a heavy duty piece of thread to thread the pearls. Depending on the size of the T-shirt, you should be able t...
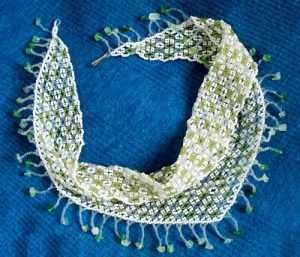
Beaded Scarf
You'll need: Beads of any colour you like; Bigger beads for edging; Monofiber thread, scaffolding or thin wire Instructions: The pattern of weaving a scarf is a net with large holes. Weaving must begin from the bottom up, partially expanding the work. Start crafting the craft from the bottom corner, that is, from the suspension itself. Dial one white bead and thirteen transparent, then 1 pebble and again transparent glass. To get the suspension, walk the needle back through the pebbles and th...
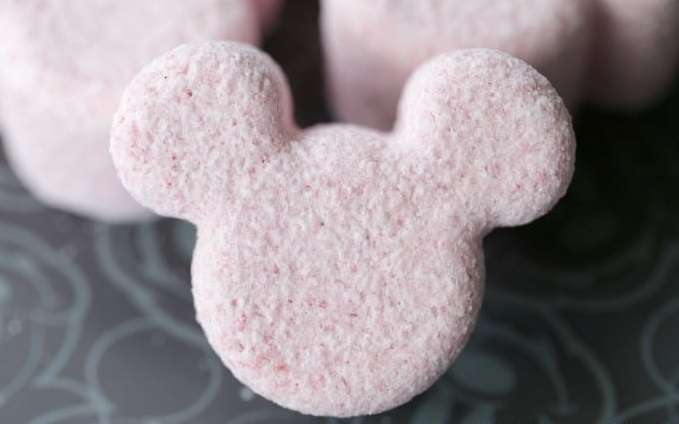
Mickey Mouse Bath Bombs
You'll need: 1/2 cup citric acid 1 cup baking soda 3 tablespoons Epsom salt 1/2 cup cornstarch 2 tablespoons almond oil 3/4 teaspoon water 15 – 20 drops of your favorite essential oil (or a combination of two) Red soap colorant (optional) or Cosmetic Grade Matte Colorant Silicone Mickey Mouse Muffin mold or round bath bomb molds Instructions: In a medium bowl, mix all of the dry ingredients together. In a small bowl, mix the water, almond oil, essential oil and food colorant toget...
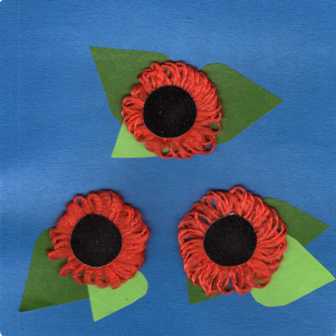
Simple Flower From Yarn
Prepare a rectangular sheet of cardboard of approximately 10 cm long and a thread of two colors. Make small cuts on the sides of the paper stock to fix the thread. The main material should be several cm larger than the cardboard itself. After that, insert it into the incisions. Wrap yarn of a contrasting color, doing it very carefully, and placing the rows close to each other. To prevent the first end of the base material from unwinding, place the other tip on top of it. When you finish wrapping th...
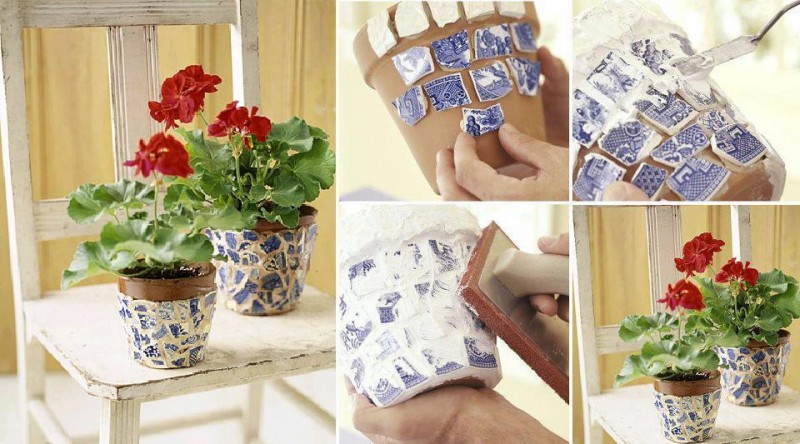
Mosaic Flowerpot
You'll need: colourful pieces of glass, stones, pebbles; hot glue; rubbing for abaculus; varnish; brush. Instructions In order not only to glue the pot, but also to lay out the picture, you should prepare a glass of several colors. Initially, the desired pattern is laid out on paper and only then transferred to the surface. First, the image is glued and only then the rest of the flowerpot is treated. After the whole pot is decorated with glass, grout for tiles is applied on top. If at t...
Beeswax Candles
You'll need: 2 Beeswax Honey Comb Texture Sheets 20” of Wick Craft knife Scissors Instructions: Step 1. Take one sheet of the beeswax and fold it in half, just at the edges, on the short side. Be careful not to press too firmly and mash the texture of the beeswax. Unfold and use a straight-edge blade to cut directly across to make two 4” x 16” pieces of the beeswax. Step 2. Lay a 5” length of the wick along one of the short ends. Firmly roll the edge of the beeswax over it and press t...
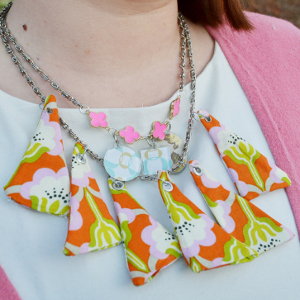
Fabric Triangles Necklace
You'll need: Fabric Coats & Clark Phoomph fabric interfacing Simplicity Quilt Template Eyelets Mod Podge Plaid Podgeable Shapes Plaid Podgeable Papers Chain Clasp Jump rings Sewing machine Scissors Hole punch Eyelet setter Paint brush Pliers Instructions Using the Simplicity template, cut out two pieces of fabric and two pieces of interfacing. Sew 2 triangle fabric pieces, right sides together, leaving a 1" opening for turn...

