Create Your Own Cozy Crochet Granny Square Vest: A Step-by-Step Guide


Crochet Granny Square Vests are like wearable hugs – cozy, charming, and full of handmade love! These versatile pieces can elevate any outfit with their unique boho charm, whether you're heading to a music festival or just embracing a casual day out. With their classic granny square design and endless color combinations, each vest is a delightful expression of creativity and individuality.
Materials I Used
- Cygnet Aran 100 gr, 100% Acrylic, 210 m, Color 185 (Denim) (2 Skeins)
- Cygnet Aran 100 gr, 100% Acrylic, 210 m, Color 275 (Blush) (1 Skein)
- Cygnet Aran 100 gr, 100% Acrylic, 210 m, Color 288 (Cream)
- Or any weight #4 yarn of your choice
- Hook: US Size (US Size J-10 (6 mm) for the body, 5 mm for the Brim, and 4 mm for the assembly)
- Yarn Needle, Scissors, Measuring Tape
Gauge
12 st X 6 rows (4” X 4”)
Sizes
This sample is: 23” high and 19” wide, Size M/L for women
Stitch Key
- Ch = Chain
- Sc = Single Crochet
- St = Stitch
- Dc = Double Crochet
- Hdc = Half Double Crochet
- Tr = Treble Crochet
Specialty Stitches
- Fpdc = Front Post Double Crochet
- Yarn over, insert hook, front to back between the posts of the next stitch of the previous row, moving your hook around the DC that is located right below the stitch you are making, and back to the front. Yarn over and pull the loop to finish your DC.
- Bpdc = Back Post Double Crochet
- Yarn over, insert the hook into the hole next to the post of the next stitch, on the “hook side” from back to front, and bring the hook back to the back of the fabric around the post, to the hole farther from the hook. Yarn over and draw through a loop, finish your DC.
Notes
- This pattern uses US terminology.
- The pattern is worked in rounds for the body and rows for the Brim and Sides.
- This pattern is worked in separate parts and joined together.
- Ch3 counts as st at the beginning of each row.
- This pattern uses pattern repeats.
- You can work this pattern with one color or multiple as you wish - I used three solid colors.
- If changing colors, make sure to have a changing technique and weave your ends in.
- You can decide on the width and length of the Vest by adding rounds to the Granny Square.
Instructions
The Granny Square Body (Two Exact Squares for Front and Back)
Choose your colors and decide when to change. I made the back square in one color and the front square in three colors.
Foundation: Ch4 and Slst to form a ring or use the magic circle.
Round 1: (Right Side): Ch 3 (first DC, here and throughout), work 2 DC into the loop, [Ch 3, DC 3] 3 times, Ch 3, Sl St into the top of beginning Ch-3 to join, turn (24 Sts; 12 DC + 4 Ch-3 spaces)
Round 2: Sl St into each of next 2 DC, Sl St into Ch-3 space, Ch 3, (DC2, Ch 3, DC 3) into same Ch-3 space, Ch 1, [DC3, Ch 3, DC3) into next Ch-3 space, Ch 1] 3 times, Sl St into the top of beginning Ch-3 to join, turn.
Round 3: Sl St into each of next 2 DC, Sl St into Ch-3 space, Ch 3, (DC2, Ch 3, DC3) into same Ch-3 space, Ch 1, (DC 3, Ch 1) into Ch-1 space, [DC 3 + Ch 3 + DC3) into next Ch-3 space, Ch 1, (DC 3 + Ch 1) into Ch-1 space] 3 times, Sl St into top of beginning Ch-3 to join, turn.
Rounds 4-11: repeat round 3, working (DC3 + Ch3 + DC3) in corners, Ch1 (DC3 + Ch1) in every Ch1 space in between corners.

Sides
Lay one square flat right side up.
Row 1: Insert yarn in any corner, Ch1, DC1 in 1st st from hook, DC1 in every st across to end of the row, turn.
Row 2: Ch1, SC1 in 1st st from hook and across to the end of the row, turn.
Row 3: Ch1, DC1 in 1st st from hook, DC1 in every st across to end of the row, turn.
Row 4: Repeat Row 2.
Repeat on the opposite side of the Square.
Repeat on the second square.
Brim
Lay one square flat right side up.
Use one size-down hook.
Work the same on the two panels.
Row 1: Insert yarn, Ch1, DC1 in 1st st from hook, DC1 in every st across to the end of the row. Make sure to DC in every Ch1 space and DC3 granny cluster, turn.
Row 2: Ch1, *[Fpdc 1 in next st, Fpdc 1 in next st, Bpdc 1 in next, Bpdc 1 in next]* repeat from *to* to end of row.
Row 3: Ch1, *[Fpdc 1 in next st, Fpdc 1 in next st, Bpdc 1 in next, Bpdc 1 in next]* repeat from *to* to end of row.
Row 4+5: Repeat rows 2+3.
If you want your brim to be wider, continue repeating rows 2+3.
Neck Hole and Shoulders Front Panel
Lay Front square flat right side up.
Row 1: Starting from one side towards the center: Insert yarn, Ch1, DC1 in 1st st, DC 1 in next st and in next 12 st for a total of 14 DC, turn.
Row 2: Ch1, SC1 in 1st st from hook and across to the end of the row, turn.
Row 3: Ch1, DC1 in 1st st from hook, DC1 in every st across to end of the row, turn.
Row 4-10: Repeat Rows 2+3.
Repeat on the opposite side starting from the center out counting your total of 14 stitches.


Neck and Shoulders Back Panel
The back panel does not have a Neck hole.
Row 1: Insert yarn, Ch1, DC1 in 1st st, DC 1 in next st and across to the end of the row, turn.
Row 2: Ch1, SC1 in 1st st from hook and across to the end of the row, turn.
Row 3: Ch1, DC1 in 1st st from hook, DC1 in every st across to end of the row, turn.
Row 4-10: Repeat rows 2+3.
Finishing
Lay two finished panels right side in – facing the wrong side towards you and the table.
Sew two shoulders front to back panels.
Measure approx 17 cm from shoulder down for the Arm Hole on both sides and sew the sides.
Using 2 sizes down Hook: Work a Single Crochet st row around the Armholes.
Using 2 sizes down Hook: Work two Single Crochet rows around the Neck hole.
Cut your yarn and weave in the ends.
- Recipes
-
 Cauliflower Leek Soup
-
 Carrot Orzo
-
 Easy S'Mores Shortbread Tart
- Funny Pictures
-
 Cute and Funny Cat Pics to Relax Today
-
 Funny Memes to Improve Your Mood
-
 Funny Pics of the Day
- Crochet Ideas
-
 Crochet Beautiful Headband
-
 Crochet Summer Hat
-
 Crochet Zigzag Hat
- Lifehacks
-
 Pretty Pebbles Stitch Photo Tutorial
-
 How to Crochet The Lotus Stitch Photo Tutorial
-
 How To Patch Jeans With Crochet Lace
- DIY
-
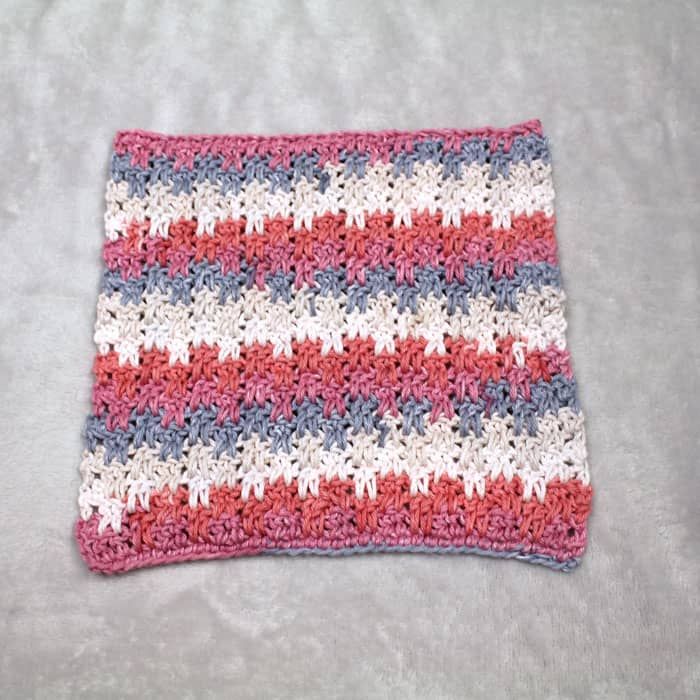 Crochet Up and Down Stripe Cotton Washcloth
-
 Crepe Paper Daffodils
-
 DIY Seashell Hair Pins
- Knitting Ideas
-
 Knitted Lake Diamond Tank Top
-
 Knitted Flit and Float Scarf
-
 Knitted Beautiful Slippers