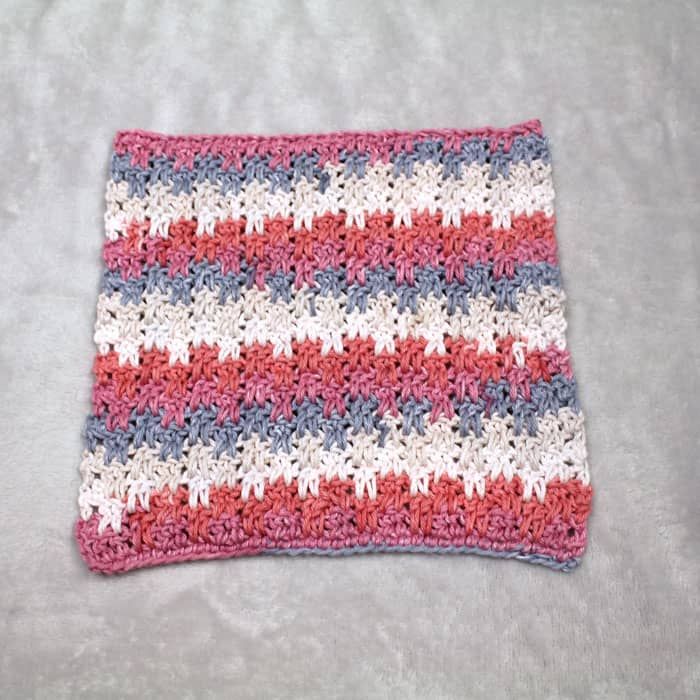
Crochet Granny Square Scarf


Crochet Granny Square Scarf is a delightful accessory that combines classic charm with cozy warmth. This versatile piece showcases intricate stitching and vibrant colors, making it a perfect addition to any outfit. Whether you're a seasoned crocheter or a novice looking for a fun project, creating your very own Granny Square Scarf can be a rewarding and enjoyable experience.
You will need:
- 2 balls of Stylecraft Special Aran yarn in colour 1 (I used French Navy)
- 2 balls of Stylecraft Special Aran yarn in colour 2 (I used Pale Rose)
- A 6mm crochet hook
- Embroidery needle to weave in your ends
- Scissors
Tension: a 5 row granny square should equal 7-7.5cm each side.
To begin: We start by making a strip of granny squares. As this is a scarf, we don’t want the granny squares to have a ‘right’ or ‘wrong’ side – to avoid this we will turn the square after each row.
With colour 1, ch 4, sl st into first ch to join, creating a ring.
Ch3 (counts as first DC), 2DC into ring, ch3, 3DC, ch3, 3DC, ch3, 3DC, ch3, sl st into first st. Fasten off.
Turn your square and now work with the ‘wrong side’ facing you. Join colour 2 into one of the ch sps. Ch3 (counts as first DC), 2DC, ch3, 3DC all into same ch sp. *3DC, ch3, 3DC, into next ch sp.* Repeat in the next two ch sps, sl st into first st. Fasten off.
Turn your square and join colour 1 into a corner ch3 sp. Ch3 (counts as first DC), 2DC, ch3, 3DC all into same ch sp. *3DC into next sp between two groups of 3DC from previous row. 3DC, ch3, 3DC, into next ch sp.* Repeat two more times. 3DC into the remaining sp. Sl st into first st and fasten off.
Turn your square and join colour 2 into a corner ch3 sp. Ch3 (counts as first DC), 2DC, ch3, 3DC all into same ch sp. *3DC into both of the next 2 sps. 3DC, ch3, 3DC, into next ch sp.* Repeat two more times. 3DC into each of the 2 remaining sps. Sl st into first st and fasten off
Once you have completed one granny square of five rows in the normal way, you will now join other granny squares to make a strip using the ‘join as you go’ method.
Complete the first five bullet points but this time start with colour 2. So you will have a four round granny square with the colours in the opposite order to your first square.
The fifth round of the granny square is when we join one side to the square we made previously. Turn your square and join colour 2 into a corner ch3 sp. Ch3 (counts as first DC), 2DC, ch1, then sl st into a corner sp on the other granny square, ch1, 3DC into same ch sp on the square you are working on. *Sl st into the next sp along on the previous square, then 3DC into next sp on current square.* Repeat again for the next space along. 3DC into corner sp, ch1, sl st into corner sp on previous square, ch1, 3DC, into current corner ch sp. Continue the rest of the round as normal, then sl st into first st and fasten off.
Continue repeating the above process until you have a strip of 12 granny squares, making sure to alternate the order of colours (as pictured).


We will now add the side stripes
Join colour 1 into the corner of your strip of granny squares.
Working along the long edge only, Ch3, 2DC into ch sp. 3DC into each ch sp until end of this side.
Turn your work ch3, 3DC into each ch sp until end of the row.
Join colour 2 and repeat the last two rows again so you end up with two stripes as shown in the photos below.
Repeat this on the opposite long side of your granny strip, but starting with colour 2.
Fasten off, weave in any ends and enjoy your new snuggly scarf!


No comments
Write a comment
- Recipes
-
 Leek and Celery Soup
-
 Classic Asparagus Casserole
-
 Lazy Daisy Cake aka Drømmekage - Danish Dream Cake
- Funny Pictures
-
 Hilariously Relatable Classical Art Memes That Prove Nothing Has Changed Years Later
-
 Saturday Pics for a Great Weekend
-
 Funny Tweets to Get You Through the Day
- Crochet Ideas
-
 Crochet Slanting Cross Puff Stitch
-
 Crochet Beautiful Headband
-
 Crochet Summer Hat
- Lifehacks
-
 How to Crochet the Bobblet Stitch Photo Tutorial
-
 Pretty Pebbles Stitch Photo Tutorial
-
 How to Crochet The Lotus Stitch Photo Tutorial
- DIY
-
 Crochet Up and Down Stripe Cotton Washcloth
-
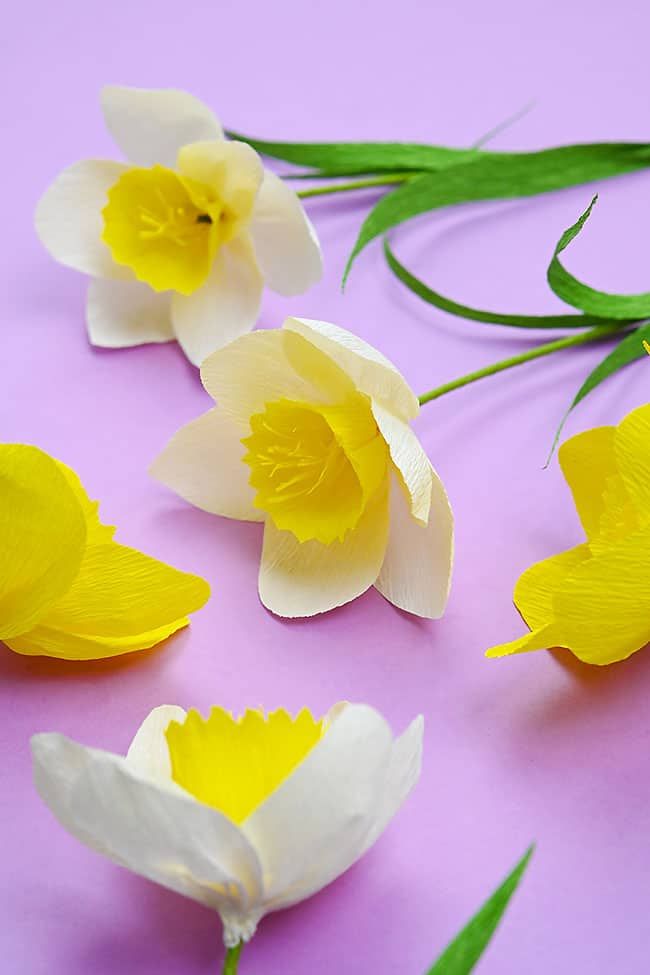 Crepe Paper Daffodils
-
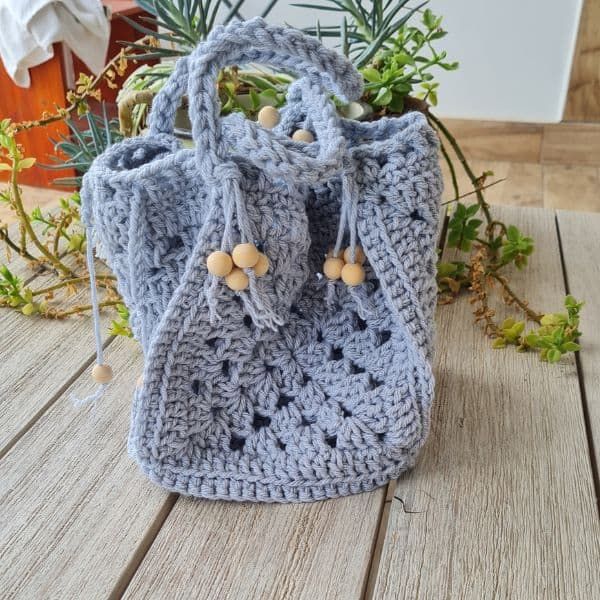 Crochet Square Granny Beach Bag
- Knitting Ideas
-
 Knitted Lake Diamond Tank Top
-
 Knitted Adorable Washcloth
-
 Knitted Skye Song Shawl