Crochet Baby Bear Beanie Hat Pattern


The Crochet Baby Bear Beanie Hat is an absolutely adorable accessory for keeping your little one cozy and cute during the chilly seasons. This charming hat features cute bear ears that will surely make your baby look irresistibly sweet. Handcrafted with love and care, this beanie is not only stylish but also soft and gentle on your baby's delicate skin.
Materials Needed
1 Skein of Yarn – I used a light brown “brownie” from Hobby Lobby in Yarn Bee Soft & Sleek Low-Pill Fiber
I Hook Size or 6.00mm Crochet Hook
A Tapestry Needle
Scissors
Abbreviations
- sl st – slip stitch
- st/sts – stitch/stitches
- ch – chain
- hdc – half double crochet
- BLO – back loop only
- dc – double crochet
- sc – single crochet
- mr – magic ring
- inv dec – invisible decrease
- inc – increase
Please Note: This pattern is written in US Terms
Baby Bear Hat Pattern
Baby Bear Beanie in Different Sizes:
Premie Size Bear Beanie
- 9-12 inches in circumference
- Approximately 3-5 inches tall
0-3 Months Newborn Size Bear Beanie
- 13-15 inches in circumference
- Approximately 4-6 inches tall
3-6 Months
- 14-18 inches in circumference
- Approximately 5-7 inches tall
6-12 Months
- 16-19 inches in circumference
- Approximately 6-8 inches tall
Ribbing
Row 1: Ch 8 sts. turn
Row 2: In the 3rd ch st from your hook, make a hdc st, hdc in each st across. Ch 2 sts, turn. (6 hdc sts)
Row 3: skip the first 2 sts closest to your hook, working on the BLO, make a hdc in the 3rd st from your hook and in each st across. Ch 2 sts, turn. (6 hdc sts)
Repeat row 2 until your ribbing measures your desired size based on the above size estimates. Do not finish off.

Create the starting chain

Working in back loop only with the band

The finished band for the baby bear hat
The Finished Band

Join the band baby bear beanie
Joining Your Ribbing into a Circle
When your ribbing is your desired length, fold the ribbing so that the two ends are together. Slip stitch in each hdc st to join and form into a circle. This is the base of your baby bear beanie. Do not finish off.
The Bear Hat Body
Turn the ribbing so that it forms a circle, with the slip stitches on the inside. Then hold it so that the circle opens at the top.
Round 1: To begin working your stitches in the top, you will start by making 2 ch sts, then hdc in the side of each hdc st in the ribbing. Join with a sl st to the first hdc st made in that round.
Round 2: ch 2 sts, hdc in the first st, place a stitch marker in this st, and in each st around. Do not join, continue working in continuous rounds, moving your stitch marker out as you work, until the body of your baby bear beanie reaches approximately 1-1 ½ less than your desired height size.

Creating the first row of the hat body

Finishing the top of the beanie
Finishing the Top of the Hat
Premie Size
Finishing Round 1: ch 2 sts, work a *hdc inv dec in the first two sts, hdc in the next 2 sts,* repeat from * to * around. Join with a sl st.
Finishing Round 2: ch 2 sts, work a *hdc inv dec in the first st, hdc in the next 2 sts,* repeat from * to * around. Join with a sl st.
Finishing Round 3: ch 2 sts, work a *hdc inv dec in each st around. Join with a sl st.
To finish off, cut your yarn, leaving a long tail for sewing. Thread a needle with the long tail, and whip stitch through each remaining hdc st. Pull the yarn tight, so that each of the stitches comes together. Tie a knot, and weave in the ends.
0-3 Months
Finishing Round 1: ch 2 sts, work a *hdc inv dec in the first two sts, hdc in the next 3 sts,* repeat from * to * around. Join with a sl st.
Finishing Round 2: ch 2 sts, work a *hdc inv dec in the first two sts, hdc in the next 2 sts,* repeat from * to * around. Join with a sl st.
Finishing Round 3: ch 2 sts, work a *hdc inv dec in the first st, hdc in the next 2 sts,* repeat from * to * around. Join with a sl st.
Finishing Round 4: ch 2 sts, work a *hdc inv dec in each st around. Join with a sl st.
To finish off, cut your yarn, leaving a long tail for sewing. Thread a needle with the long tail, and whip stitch through each remaining hdc st. Pull the yarn tight, so that each of the stitches comes together. Tie a knot, and weave in the ends.
3-6 Months
Finishing Round 1: ch 2 sts, work a *hdc inv dec in the first two sts, hdc in the next 4 sts,* repeat from * to * around. Join with a sl st.
Finishing Round 2: ch 2 sts, work a *hdc inv dec in the first two sts, hdc in the next 3 sts,* repeat from * to * around. Join with a sl st.
Finishing Round 3: ch 2 sts, work a *hdc inv dec in the first two sts, hdc in the next 2 sts,* repeat from * to * around. Join with a sl st.
Finishing Round 4: ch 2 sts, work a *hdc inv dec in the first st, hdc in the next 2 sts,* repeat from * to * around. Join with a sl st.
Finishing Round 5: ch 2 sts, work a *hdc inv dec in each st around. Join with a sl st.
To finish off, cut your yarn, leaving a long tail for sewing. Thread a needle with the long tail, and whip stitch through each remaining hdc st. Pull the yarn tight, so that each of the stitches comes together. Tie a knot, and weave in the ends.
6-12 Months
Finishing Round 1: ch 2 sts, work a *hdc inv dec in the first two sts, hdc in the next 5 sts,* repeat from * to * around. Join with a sl st.
Finishing Round 2: ch 2 sts, work a *hdc inv dec in the first two sts, hdc in the next 4 sts,* repeat from * to * around. Join with a sl st.
Finishing Round 3: ch 2 sts, work a *hdc inv dec in the first two sts, hdc in the next 3 sts,* repeat from * to * around. Join with a sl st.
Finishing Round 4: ch 2 sts, work a *hdc inv dec in the first two sts, hdc in the next 2 sts,* repeat from * to * around. Join with a sl st.
Finishing Round 5: ch 2 sts, work a *hdc inv dec in the first st, hdc in the next 2 sts,* repeat from * to * around. Join with a sl st.
Finishing Round 6: ch 2 sts, work a *hdc inv dec in each st around. Join with a sl st.
To finish off, cut your yarn, leaving a long tail for sewing. Thread a needle with the long tail, and whip stitch through each remaining hdc st. Pull the yarn tight, so that each of the stitches comes together. Tie a knot, and weave in the ends.
Bear Ears – Make 2
Round 1: Make a magic ring, in the mr make 7 hdc sts. Join with a sl st.
Row 2: ch 3, make 2 dc sts in the 4th st from the hook, and in each st across, do not join.
Row 3: ch 1, turn, sc in the 2nd ch from the hook, and in each dc st from the previous round. Do not join. Finish off and leave a long tail for sewing.
Attach the Little Ears
Step 1: Position Ears
The first step in attaching the ears for your baby bear beanie is to determine where you want the ears to be located. I like to use a small crochet hook to hold each one in place. You can also use clips or straight pins if you have any on hand.
Step 2: Turn the Hat Inside Out
Once you have the ears pinned in place, pull your long yarn tail from each ear, through the hat, to the bottom side. Thread your yarn onto a yarn needle, and then turn the hat inside out.
Step 3: Sew the Ears in Place
Using your yarn needle, and the long tail of yarn, sew each ear securely in place. After each ear is secured, tie a knot, and then weave in any yarn tail remaining.
Your adorable baby bear beanie is now finished!
- Recipes
-
 Leek and Celery Soup
-
 Classic Asparagus Casserole
-
 Lazy Daisy Cake aka Drømmekage - Danish Dream Cake
- Funny Pictures
-
 Hilariously Relatable Classical Art Memes That Prove Nothing Has Changed Years Later
-
 Saturday Pics for a Great Weekend
-
 Funny Tweets to Get You Through the Day
- Crochet Ideas
-
 Crochet Slanting Cross Puff Stitch
-
 Crochet Beautiful Headband
-
 Crochet Summer Hat
- Lifehacks
-
 How to Crochet the Bobblet Stitch Photo Tutorial
-
 Pretty Pebbles Stitch Photo Tutorial
-
 How to Crochet The Lotus Stitch Photo Tutorial
- DIY
-
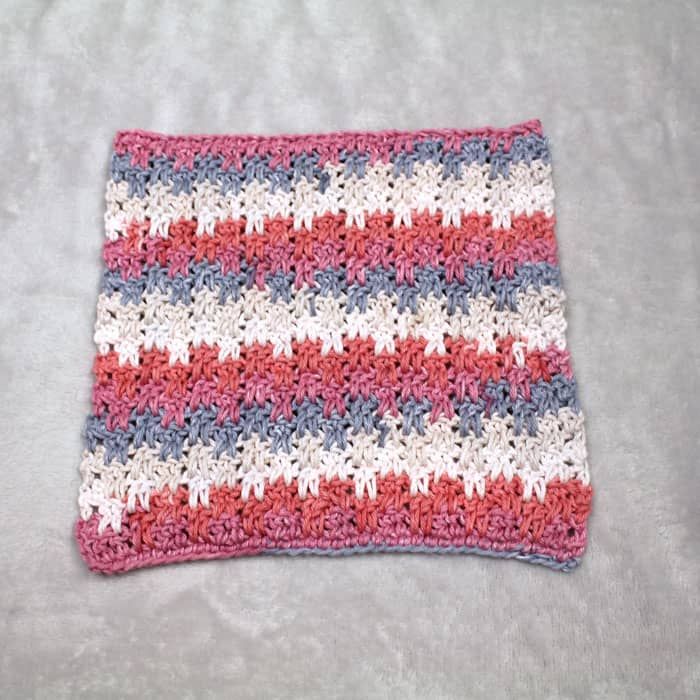 Crochet Up and Down Stripe Cotton Washcloth
-
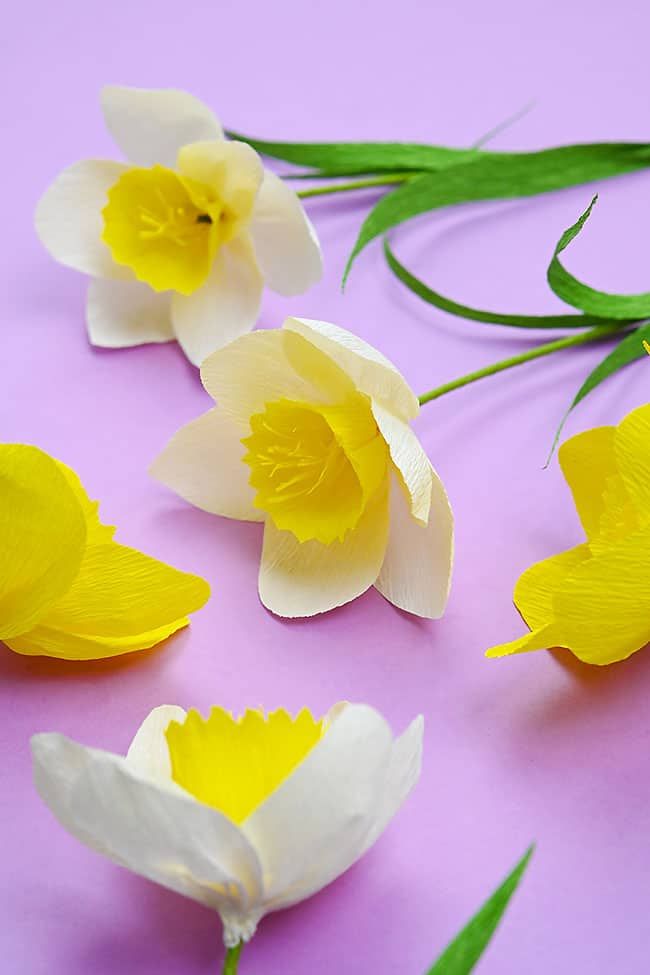 Crepe Paper Daffodils
-
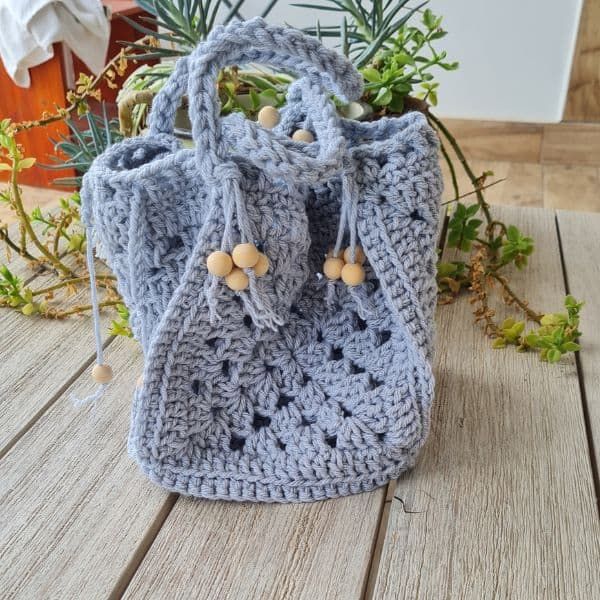 Crochet Square Granny Beach Bag
- Knitting Ideas
-
 Knitted Lake Diamond Tank Top
-
 Knitted Adorable Washcloth
-
 Knitted Skye Song Shawl