Crochet Beautiful Bear


Let's talk about the delightful art of crocheting a beautiful bear! Crafting a crochet bear can be such a heartwarming and creative endeavor that brings joy to both the maker and the recipient. The process involves carefully stitching and shaping each piece with love and patience to create a charming and cuddly bear that is sure to become a treasured keepsake. Whether you're a seasoned crocheter or a beginner eager to try something new, crocheting a beautiful bear can be a fun and rewarding experience that lets your creativity shine. So grab your yarn and hooks, and let's create some adorable crochet bears together!
Materials Needed:
- Yarn – Loopara 5ply combed cotton (Orange 36, Brown 52, Black 59 and White 61)
- Hook – 3.0mm
- Scissors
- Tweezers
- Fiber Fill
- Eyeball
- Button
- Yarn Needle
- Stitch marker
- Positioning pin
- Hot melt adhesive
How to Crochet the Head (Make 1)
- R1: Magic ring, ch, 6 sc in ring, sl.
- R2: Ch, 6 sc inc, sl.
- R3: Ch, (sc, sc inc) 6 times, sl.
- R4: Ch, (2 sc, sc inc) 6 times, sl.
- R5: Ch, (3 sc, sc inc) 6 times, sl.
- R6: Ch, (2 sc, sc inc, 2 sc) 6 times, sl.
- R7: Ch, (5 sc, sc inc) 6 times, sl.
- R8: Ch, (3 sc, sc inc, 3 sc) 6 times, sl.
- R9: Ch, (7 sc, sc inc) 6 times, sl.
- R10: Ch, (4 sc, sc inc, 4 sc) 6 times, sl.
- R11-22: Ch, 60 sc, sl.
- R23: Ch 1 (4 sc, sc2tog, 4 sc) 6 times, sl.
- R24: Ch, (7 sc, sc2tog) 6 times, sl.
- R25: Ch, (3 sc, sc2tog, 3 sc) 6 times, sl.
- R26: Ch, (5 sc, sc2tog) 6 times, sl.
- R27: Ch, (2 sc, sc2tog, 2 sc) 6 times, sl.
- R28: Ch, (3 sc, sc2tog) 6 times, sl. Leave long tail for sewing. Stuff with fiberfill.
How to Crochet the Mouth (Make 1)
- R1: Magic ring, ch, 6 sc, sl.
- R2: Ch, 6 sc inc, sl.
- R3: Ch, (sc, sc inc) 6 times, sl.
- R4: Ch, (8 sc, sc inc) 2 times, sl.
- R5: Ch, 20 sc, sl.
- R6: Ch, 20 sc, leave long tail, sl.
How to Crochet the Ears (Make 2)
- R1: Magic ring, ch, 6 sc, sl.
- R2: Ch, 6 sc inc, sl.
- R3: Ch, (sc, sc inc) 6 times, sl.
- R4: Ch, (2 sc, sc inc) 6 times, sl.
- R5: Ch, flatten and work 12 sc, leave long tail, sl.
How to Crochet the Body (Make 1)
- R1: Magic ring, ch, 6 sc in ring, sl.
- R2: Ch, 6 sc inc, sl.
- R3: Ch, (sc, sc inc) 6 times, sl.
- R4: Ch, (2 sc, sc inc) 6 times, sl.
- R5: Ch, (3 sc, sc inc) 6 times, sl.
- R6: Ch, (2 sc, sc inc, 2 sc) 6 times, sl.
- R7: Ch, (5 sc, sc inc) 6 times, sl.
- R8: Ch, (3 sc, sc inc, 3 sc) 6 times, sl.
- R9: Ch, 48 sc, sl.
- R10: Ch, (7 sc, sc inc) 6 times, sl.
- R11: Ch, 54 sc, sl.
- R12: Ch, (4 sc, sc inc, 4 sc) 6 times, sl.
- R13-15: Ch, 60 sc, sl.
- R16: Ch, (4 sc, sc2tog, 4 sc) 6 times, sl.
- R17: Ch, 54 sc, sl.
- R18: Ch, (7 sc, sc2tog) 6 times, sl.
- R19-20: Ch, 48 sc, sl.
- R21: Ch, (3 sc, sc2tog, 3 sc) 6 times, sl.
- R22-23: Ch, 42 sc, sl.
- R24: Ch, (5 sc, sc2tog) 6 times, sl.
- R25: Ch, 36 sc, sl.
- R26: Ch, (2 sc, sc2tog, 2 sc) 6 times, sl.
- R27: Ch, 30 sc, sl.
- R28: Ch, (3 sc, sc2tog) 6 times, sl.
- R29-30: Ch, 24 sc, sl, fasten off.
How to Crochet the Hands (Make 2)
- R1: Magic ring, ch, 6 sc, sl.
- R2: Ch, 6 sc inc, sl.
- R3: Ch, (sc, sc inc) 6 times, sl.
- R4: Ch, (5 sc, sc inc) 3 times, sl.
- R5-6: Ch, 21 sc, sl.
- R7: Ch, 7 sc, 3 sc2tog, 8 sc, sl.
- R8: Ch, 8 sc, sc2tog, 8 sc, sl.
- R9: Ch, 17 sc, sl.
- R10: Ch, 7 sc, sc3tog, 7 sc, stuff with fiberfill, sl.
- R11-16: Ch, 15 sc, sl. After 16 rounds, 3 sl.
- R17: 7 sc.
How to Crochet the Feet (Make 2)
- R1: Magic ring, ch, 6 sc in ring, sl.
- R2: Ch, 6 sc inc, sl.
- R3: Ch, (sc, sc inc) 6 times, sl.
- R4: Ch, (2 sc, sc inc) 6 times, sl.
- R5: Ch, (3 sc, sc inc) 6 times, sl.
- R6-7: Ch, 30 sc, sl.
- R8: Ch, 9 sc, 6 sc2tog, 9 sc, sl.
- R9: Ch, 6 sc, 6 sc2tog, 6 sc, sl.
- R10: Ch, 8 sc, sc2tog, 8 sc, sl.
- R11-19: Ch, 17 sc, sl, stuff with fiberfill.
- R20: Ch, flatten and work 8 sc, leave long tail, sl.
How to Crochet the Tail (Make 1)
- R1: Ch, magic ring, ch,6 sc in ring, sl.
- R2: Ch, 6 sc inc, sl.
- R3: Ch, 12 sc, sl.
- R4: Ch, 6 sc2tog, leave long tail, sl.
How to Crochet the Hat (Make 1)
- R1: With white, magic ring, ch, 6 sc in ring, sl.
- R2: Ch, 6 sc inc, sl.
- R3: Ch, (sc, sc inc) 6 times, sl.
- R4: Ch, 18 sc, sl.
- R5: Ch, (sc, sc2tog) 6 times, sl.
- R6: Ch, 6 sc2tog, change colors alternately as you go, stuff with fiberfill, sl.
- R7: With orange, (sc, sc inc) 3 times, change to white in last st, sl.
- R8: Ch, 9 sc, change to orange in last st, sl.
- R9: Ch, (2 sc, sc inc) 3 times, change to white in last st, sl.
- R10: Ch, 12 sc, change to orange in last st, sl.
- R11: Ch, (3 sc, sc inc) 3 times, change to white in last st, sl.
- R12: Ch, 15 sc, change to orange in last st, sl.
- R13: Ch, (4 sc, sc inc) 3 times, change to white in last st, sl.
- R14: Ch, 18 sc, change to orange in last st, sl.
- R15: Ch, (5 sc, sc inc) 3 times, change to white in last st, sl.
- R16: Ch, 21 sc, leave long tail, stuff with fiberfill, sl.
How to Crochet the Pants (Make 1)
- R1: Ch 25, join with sl to form ring, ch, 25 sc, sl.
- R2-7: Ch, 25 sc, sl, fasten off, (repeat r1-7 for second leg, do not fasten off).
- R8: Ch, (9 sc, sc inc) 2 times, 5 sc, Connect the second leg,4 sc , sc inc,(9 sc, sc inc )2, sl.
- R9-11: Ch, 55 sc, sl.
- R12: Ch, (17 sc, sc inc) twice, 19 sc, sl.
- R13-15: Ch, 57 sc, sl.
- R16: 3 sl st, ch, 53 sc, ch 4, sl.
- R17-27: Ch, 57 sc, sl.
How to Crochet the Pants Pocket (Make 1)
- R1: Find center stitch on front of pants, count 6 stitches on each side, ch, sc2tog, 9 sc, sc2tog.
- R2: Ch, 11 sc.
- R3: Ch, sc2tog, 7 sc, sc2tog, ch 22, 21 sc in 2nd ch from hook.
- For second strap: Start new yarn, ch 22, 21 sc in 2nd ch from hook, sl.
How to Crochet the Pillow (Make 1)
- R1: With white yarn, ch 12, 10 sc in 2nd ch from hook, 3 sc in next st, 9 sc, 2 sc in last st, sl.
- R2-11: Ch, 24 sc, sl.
- Finishing:Leave long tail, stuff with fiberfill, align opening and whipstitch through front loops to close.
Crochet Bear Assembly
- Align the head with the body. Using the long tail from the head, sew it to the body by matching stitch for stitch. Secure with a knot and weave in the end.
- Position the snout between rounds 14-21 of the head. Thread your needle and sew it to the head, adding a small amount of fiberfill before closing completely. Place safety eyes between rounds 14-15, with 7 stitches between them.
- Attach the ears at rounds 4-11 on both sides of the head. Sew them securely by matching stitches, then fasten off and weave in ends.
- Pin the arms to the body sides, aligned with the ears. Use your needle to sew them to round 2 of the body, secure with a knot, and weave in ends.
- Attach the legs between rounds 11-12 of the body, keeping them aligned with the arms and ears. Sew securely in place.
- Sew the tail to the back of the body between rounds 12-13, centering it with a pin before securing.
- Split black yarn into 2 strands. Starting from the chin, bring needle out at round 3 of the snout (right side), take 3 stitches on the left, exit in the middle, and finish underneath the snout.
- Using body-colored yarn, create eye sockets by pulling the stitches slightly inward.
- With single-strand white yarn, create eye highlights by stitching a small semi-circle on each eye.
- Using 2 strands of black yarn, create eyebrows 3 rows above eyes, working diagonally across 2 stitches. Repeat for both sides.
- Attach the hat to the top of the head by sewing it securely in place.
- Put the pants on the body, sew two buttons to the front. Finally, attach the straps to the back of the pants and secure firmly.
Crochet Tips:
- Keep your tension consistent while making the head, and stuff firmly as you go.
- For a neat color change, complete the last yarn over of your stitch with the new color. Keep color changes on the back side for a cleaner look.
- For a professional finish, stuff your bear firmly but evenly, especially in the head and joints. Always use stitch markers to track your rounds, and keep your tension consistent throughout for a polished look.
Assembly Tips:
- Stuff the snout before attaching and use pins to position all parts before sewing.
- When attaching limbs, ensure they're symmetrical by counting stitches carefully. Always do a final check of eyes' placement before securing.
No comments
Write a comment
- Recipes
-
 Thai Red Duck Curry
-
 Spinach Manicotti
-
 Brownie Batter Chocolate Smoothie
- Funny Pictures
-
 Funny Memes of the Day That Will Leave You With the Smile
-
 Animal Memes That are Perfect to Start the Day With
-
 Spend Your Sunday With These Amazing Animal Pics
- Crochet Ideas
-
 Crochet Tunisian Flower
-
 Crochet Phone Case
-
 Crochet Mini Koala
- Lifehacks
-
 How to Crochet in the Back Bumps of a Chain Tutorial
-
 How to Crochet the Thicket Stitch Photo Tutorial
-
 Picot Single Crochet & Granule Stitch Photo Tutorial
- DIY
-
 Crochet Spring Hat
-
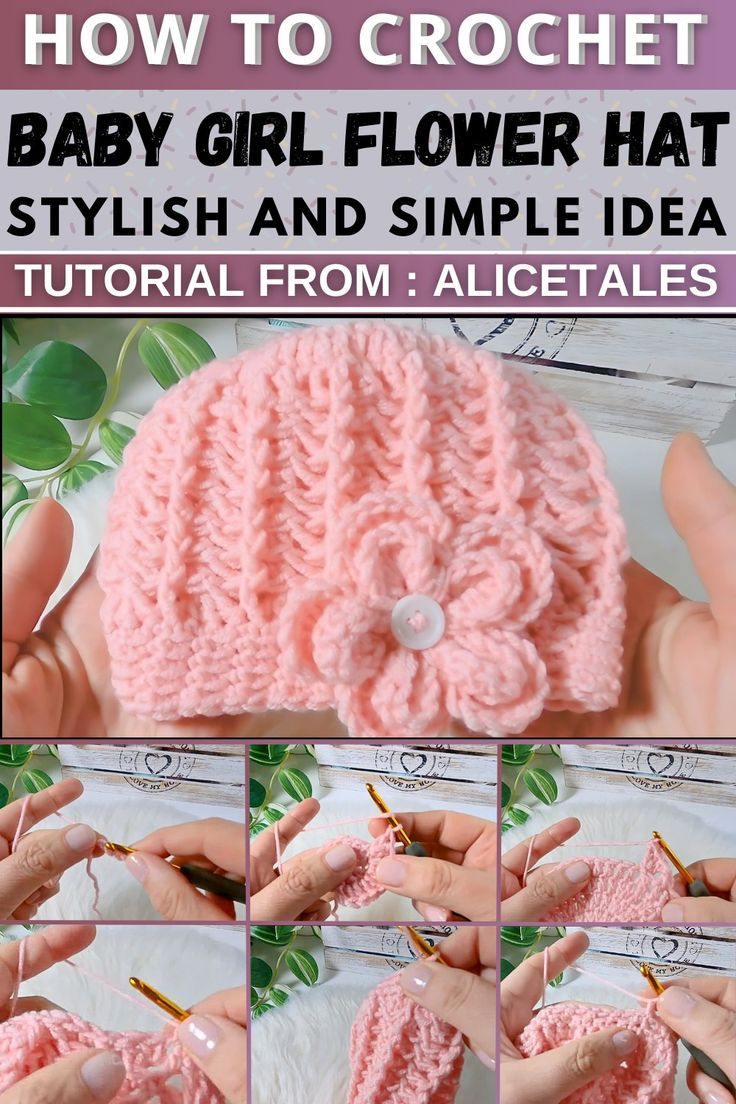 Crochet Baby Girl Flower Hat
-
 DIY Crushed Glass Mason Jar
- Knitting Ideas
-
 Knitted Lines Hat
-
 Knitted Classic Beret
-
 Knitted Sweet Little Purse Bag