Crochet Beautiful Ladybug


If you are looking to add a touch of cuteness to your crochet collection, why not try your hand at crocheting a beautiful ladybug? This delightful little critter is not only fun to make but also makes for a charming addition to your crafts. With its bright colors and adorable design, the crochet ladybug is sure to bring a smile to your face.
Whether you're a seasoned crocheter or new to the craft, creating a lovely ladybug is a rewarding project that will bring joy to both the maker and the beholder. So grab your yarn and hook, and let's get started on crafting a sweet little ladybug that will brighten up your day!
Materials:
- black, red yarn ( I use the yarn which gauge is 24.0 to 30.0 sts = 4 inches )
- hook 3 mm
- white sheet of foam (mine is 1 mm thick) for eyes
- 2 black beads ( 4 mm would be best)
- clothes pin - the best would be the smaller version - 3 cm
- hot glue gun
- cotton or something else You will use as filament
Pattern:
Head
black yarn
R1: 6 sc in MR (6)
R2: inc around (12)
R3: * sc, inc * X6 (18)
R4: * sc 2, inc *X6 (24)
R5: sc around (24)
R6: sc around (24)
R7: * sc 3, inc *X6 (30)
R8: sc around (30)
R9: * sc 4, inc* X6 (36)
R10: * sc 3, dec* around (31)
R11: * sc, dec * around (21)
R12: * sc, dec * around (14)
stuff the head
R13: dec around (7)
R14: dec round (4) FO
From the white foam cut two circles for the eyes. If You don't like the edges of Your foam, You can use a nail file to make them better.
Sew them to the head with the bead in the center.
Antennas - make 2
black yarn
R1: 4 ch (4)
R2: starting from 2-nd ch ss 3 (3) FO
Sew antennas to the head.
Finished head:
Body
black yarn
R1: 6 sc in MR (6)
R2: inc around (12)
R3: * sc, inc *X6 (18)
R4: * sc 2, inc * X6 (24)
R5 - R8: sc around (24)
R9: * sc 2, dec *X6 (18)
stuff!
R10: * sc, dec *X6 (12) FO
Where You have ended is the part You will sew to the head.
Leg - make 2
black yarn
R1: 10 ch
R2: starting from 2-nd ss 9 (9) FO
Foot - make 2
red yarn
R1: 6 sc in MR (6)
R2: * sc, inc*X3 (9)
R3: sc around, ss last one (9) FO
Wing - make 2
red yarn
R1: 10 ch (10)
R2: 9 sc on one side of chain, 9 sc on other (18)
R3: 3 sc in 1, sc 7, 3 sc in 1, 3 sc in 1, sc 7, 3 sc in 1 (26)
R4: inc 2, sc 2, hdc, dc 3, hdc, sc 2, inc 4, sc 2, hdc, dc 3, hdc, sc 2, ss FO
Dots - make 8 ( 4 for each wing, 2 for each side)
black yarn
R1: 6 sc in MR (6)
R2: ss in 1-st sc from R1 FO
Sew two dots on each side of wing
Then in any order sew head,body, both legs and wings together.
The last step is attaching the mini clothes pin. I glued it with hot glue gun the way
- Recipes
-
 BBQ Chicken Potato Salad
-
 Dulce De Leche Tiramisu
-
 Pineapple Cilantro Serrano Cocktail
- Funny Pictures
-
 Funny Memes to Make Your Day Better
-
 Funny Animal Memes to Have a Better Mood
-
 Top Funny Animal Images of the Day
- Crochet Ideas
-
 Crochet Crown Ear Warmer
-
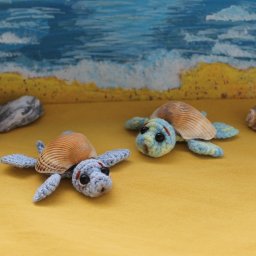 Crochet Sea Turtle
-
 Crochet Toddler Sun Hat
- Lifehacks
-
 How to Crochet the Front Post Clusters Stitch Photo Tutorial
-
 How to Crochet the Butterfly Stitch Photo Tutorial
-
 How to Crochet the Terrain Stitch Photo Tutorial
- DIY
-
 Crochet Summit Scarf
-
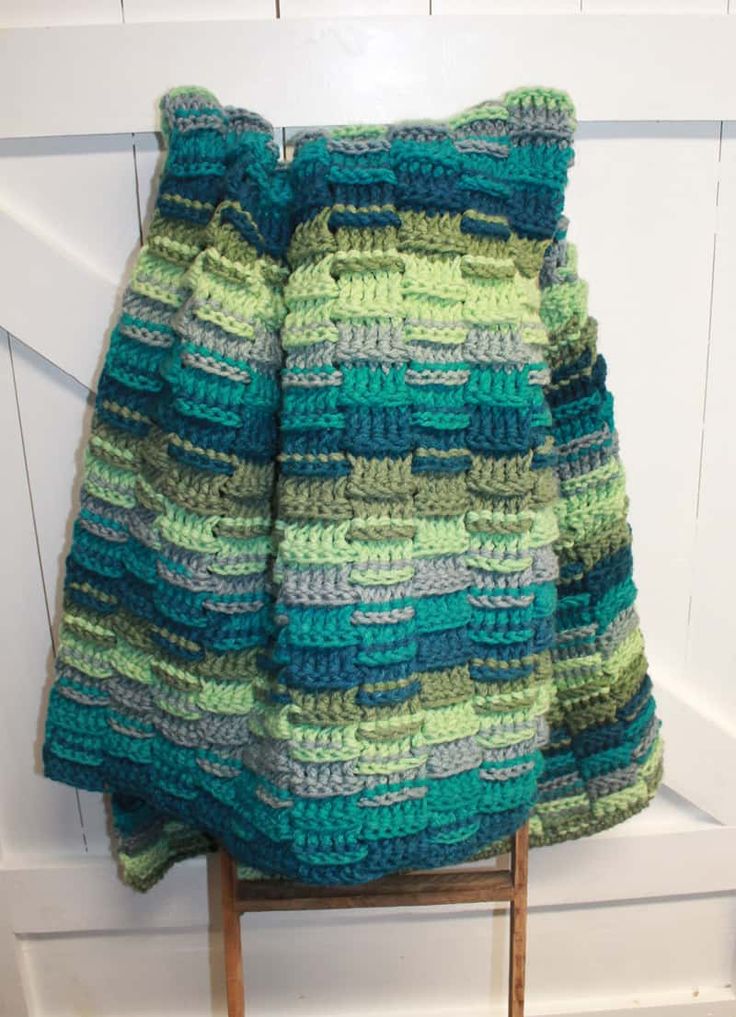 Crochet Woven Lines Chunky Throw
-
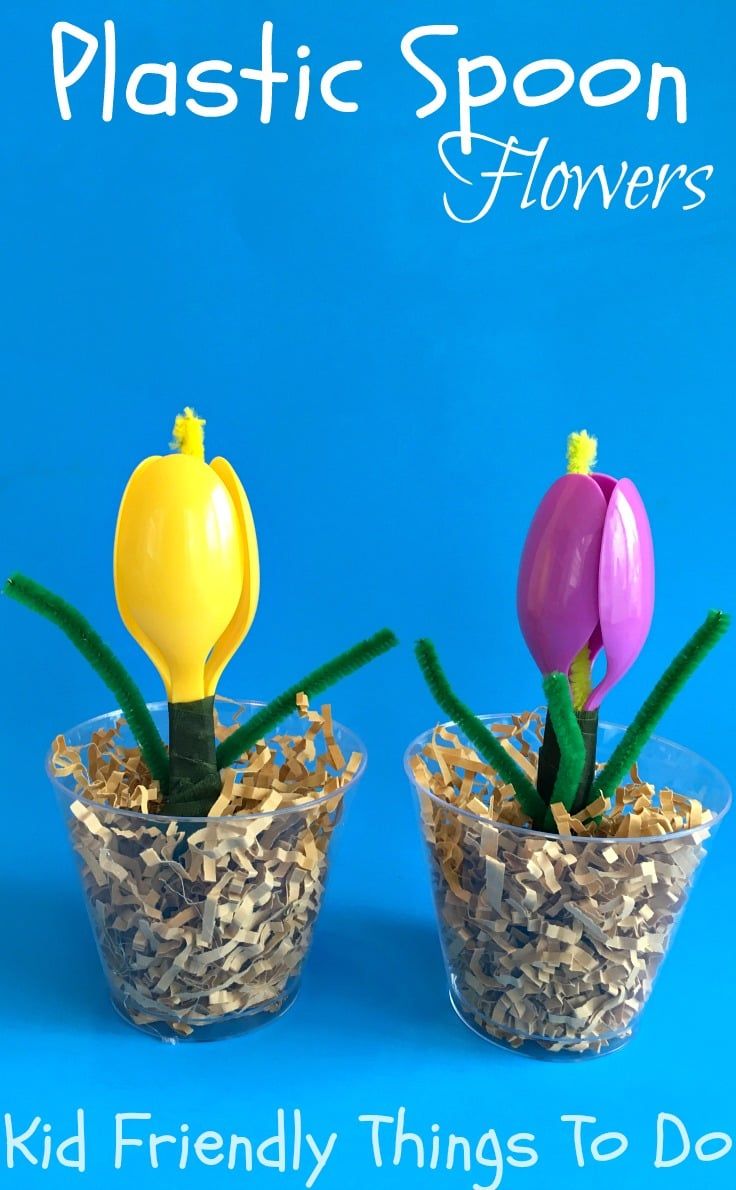 DIY Plastic Spoon Flower
- Knitting Ideas
-
 Knitted Swan Dolls in Love
-
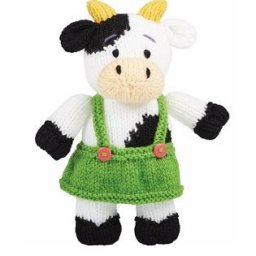 Knitted Cow Doll
-
 Knitted Seed Stitch Baby Hooded Sweater