Crochet Trixie the Bunny Girl


Crochet Trixie the Bunny Girl is an adorable and charming handmade creation that would make a delightful addition to anyone's collection. With her fluffy ears and cute outfit, she is sure to bring a smile to your face every time you see her. Perfect for cuddling or as a unique decor piece, Trixie is a one-of-a-kind treasure that exudes warmth and charm. Whether you're a crochet enthusiast or simply appreciate handmade artistry, this bunny girl is bound to capture your heart with her whimsical appeal.
Abbreviations:
ch: chain
sc: single crochet
sl st: slip stitch
dc: double crochet
hdc: half double crochet
trc: triple crochet
inc: increase (2 single crochets in one loop)
dec: decrease (pull yarn through loop, pull yarn through second loop, yarn over and pull through all loops)
Materials needed:
Lion Brand Vanna’s Choice yarn in beige and pink. Bernat Pipsqueak yarn in white. (You can substitute the Pipsqueak yarn for Vanna’s Choice white if you don’t want to work with the fuzzy yarn.)
I (5.25mm) crochet hook
15mm safety eyes
Yarn needle
Poly-fil
Pipe Cleaners (optional)
This pattern is worked “in-the-round”, and stitches are worked through both loops unless otherwise noted.
Head:
With beige, ch 3. Sl st to first ch to create circle. (Instead, you can perform the “magic circle” if you’d like.)
Row 1: ch 1, 10 sc inside of circle. (10 stitches)
Row 2: *Inc in first stitch, sc in next stitch, repeat from * around. (15 stitches)
Row 3: *Inc in first stitch, sc in next 2 stitches, repeat from * around. (20 stitches)
Row 4: *Inc in first stitch, sc in next 3 stitches, repeat from * around. (25 stitches)
Row 5: *Inc in first stitch, sc in next 4 stitches, repeat from * around. (30 stitches)
Row 6: *Inc in first stitch, sc in next 5 stitches, repeat from * around. (35 stitches)
Row 7: *Inc in first stitch, sc in next 6 stitches, repeat from * around. (40 stitches)
Row 8: *Inc in first stitch, sc in next 7 stitches, repeat from * around. (45 stitches)
Row 9: *Inc in first stitch, sc in next 8 stitches, repeat from * around. (50 stitches)
Rows 10-15: Sc in each stitch around. (50 stitches)
Row 16: *Dec in first 2 stitches, sc in next 8 stitches, repeat from * around. (45 stitches)
Row 17: *Dec in first 2 stitches, sc in next 7 stitches, repeat from * around. (40 stitches)
Row 18: *Dec in first 2 stitches, sc in next 6 stitches, repeat from * around. (35 stitches)
Row 19: *Dec in first 2 stitches, sc in next 5 stitches, repeat from * around. (30 stitches)
Row 20: *Dec in first 2 stitches, sc in next 4 stitches, repeat from * around. (25 stitches)
Row 21: *Dec in first 2 stitches, sc in next 3 stitches, repeat from * around. (20 stitches)
Tie off. Stuff with poly-fil.
Hat:
With Pipsqueak white, ch 3. Sl st to first ch to create circle. (Instead, you can perform the “magic circle” if you’d like.)
Row 1: ch 1, 10 sc inside of circle. (10 stitches)
Row 2: *Inc in first stitch, sc in next stitch, repeat from * around. (15 stitches)
Row 3: *Inc in first stitch, sc in next 2 stitches, repeat from * around. (20 stitches)
Row 4: *Inc in first stitch, sc in next 3 stitches, repeat from * around. (25 stitches)
Row 5: *Inc in first stitch, sc in next 4 stitches, repeat from * around. (30 stitches)
Row 6: *Inc in first stitch, sc in next 5 stitches, repeat from * around. (35 stitches)
Row 7: *Inc in first stitch, sc in next 6 stitches, repeat from * around. (40 stitches)
Row 8: *Inc in first stitch, sc in next 7 stitches, repeat from * around. (45 stitches)
Row 9: *Inc in first stitch, sc in next 8 stitches, repeat from * around. (50 stitches)
Rows 10-16: Sc in each stitch around. (50 stitches)
Switch to pink yarn.
Row 17: Sc in each stitch around. (50 stitches)
Tie off.
Ears:
With Pipsqueak white, ch 3. Sl st to first ch to create circle. (Instead, you can perform the “magic circle” if you’d like.)
Row 1: ch 1, 5 sc inside of circle. (5 stitches)
Row 2: Inc in each stitch around. (10 stitches)
Row 3: *Inc in first stitch, sc in next stitch, repeat from * around. (15 stitches)
Rows 4-6: Sc in each stitch around. (15 stitches)
Row 7: *Dec in first 2 stitches, sc in next stitch, repeat from * around. (10 stitches)
Rows 8-12: Sc in each stitch around. (10 stitches)
Tie off. Make two. Lay flat and sew onto hat. I applied blush to the middle of each ear to make it pink, then I used a piece of yarn to tie one ear down to make it bent.
Pull hat onto head and get it where you want it. Figure out the placement of her eyes, but don’t put the backs on yet. Sew hat onto head, then attach hair underneath hat so that it falls over the loops.
Once you have the hat and hair on, make sure the eye placement is where you want it, and attach the backs. You can sew on a nose and/or mouth if you want to, but I always choose to leave those off because it makes her expression more neutral. You can also use a bit of blush on her cheeks to give her face some color.
Body:
With Pipsqueak white, ch 3. Sl st to first ch to create circle. (Instead, you can perform the “magic circle” if you’d like.)
Row 1: ch 1, 10 sc inside of circle. (10 stitches)
Row 2: *Inc in first stitch, sc in next stitch, repeat from * around. (15 stitches)
Row 3: *Inc in first stitch, sc in next 2 stitches, repeat from * around. (20 stitches)
Row 4: *Inc in first stitch, sc in next 3 stitches, repeat from * around. (25 stitches)
Row 5: *Inc in first stitch, sc in next 4 stitches, repeat from * around. (30 stitches)
Row 6: *Inc in first stitch, sc in next 5 stitches, repeat from * around. (35 stitches)
Row 7: *Dec in first 2 stitches, sc in next 5 stitches, repeat from * around. (30 stitches)
Rows 8-11: Sc in each stitch around. (30 stitches)
Row 12: *Dec in first 2 stitches, sc in next 4 stitches, repeat from * around. (25 stitches)
Rows 13-14: Sc in each stitch around. (25 stitches)
Row 15: *Dec in first 2 stitches, sc in next 3 stitches, repeat from * around. (20 stitches)
Switch to pink.
Row 16: Sc in each stitch around. (20 stitches)
Switch to beige.
Row 17: Sc in each stitch around. (20 stitches)
Tie off. Stuff with poly-fil. Sew head onto body. Stop before you close the opening and put more poly-fil in to secure her neck.
Make a pom-pom with the Pipsqueak white and attach to her butt.
Arms:
With beige, ch 3. Sl st to first ch to create circle. (Instead, you can perform the “magic circle” if you’d like.)
Row 1: ch 1, 6 sc inside of circle. (6 stitches)
Rows 2-3: Sc in each stitch around. (6 stitches)
Switch to pink.
Row 4: Sc in each stitch around. (6 stitches)
Switch to Pipsqueak white.
Rows 5-14: Sc in each stitch around. (6 stitches)
Tie off. Make two. Do not stuff. You can insert pipe cleaners in the arms if you want them to be poseable. Sew onto body.
Legs:
With Pipsqueak white, ch 3. Sl st to first ch to create circle. (Instead, you can perform the “magic circle” if you’d like.)
Row 1: ch 1, 10 sc inside of circle. (10 stitches)
Rows 2-13: Sc in each stitch around. (10 stitches)
Tie off. Make two. Stuff with poly-fil. Sew onto body.
And there you have your finished doll.
- Recipes
-
 Prawn Cocktail Mini Tacos
-
 Chicken Cacciatore
-
 Roasted Garlic Spaghetti Squash with Asparagus and Bacon
- Funny Pictures
-
 Some Relatable Memes for When You Need a Boost
-
 Wonderful Animal Memes to Take You Through the Day
-
 Funny Memes for Everyone Who Drives a Car
- Crochet Ideas
-
 Crochet Adorable Crab
-
 Crochet Beautiful Seal
-
 Crochet Beautiful Whale
- Lifehacks
-
 Picot Single Crochet & Granule Stitch Photo Tutorial
-
 How to Bavarian Crochet Photo Tutorial
-
 How to Crochet Zigzag Spike Puff Stitch Photo Tutorial
- DIY
-
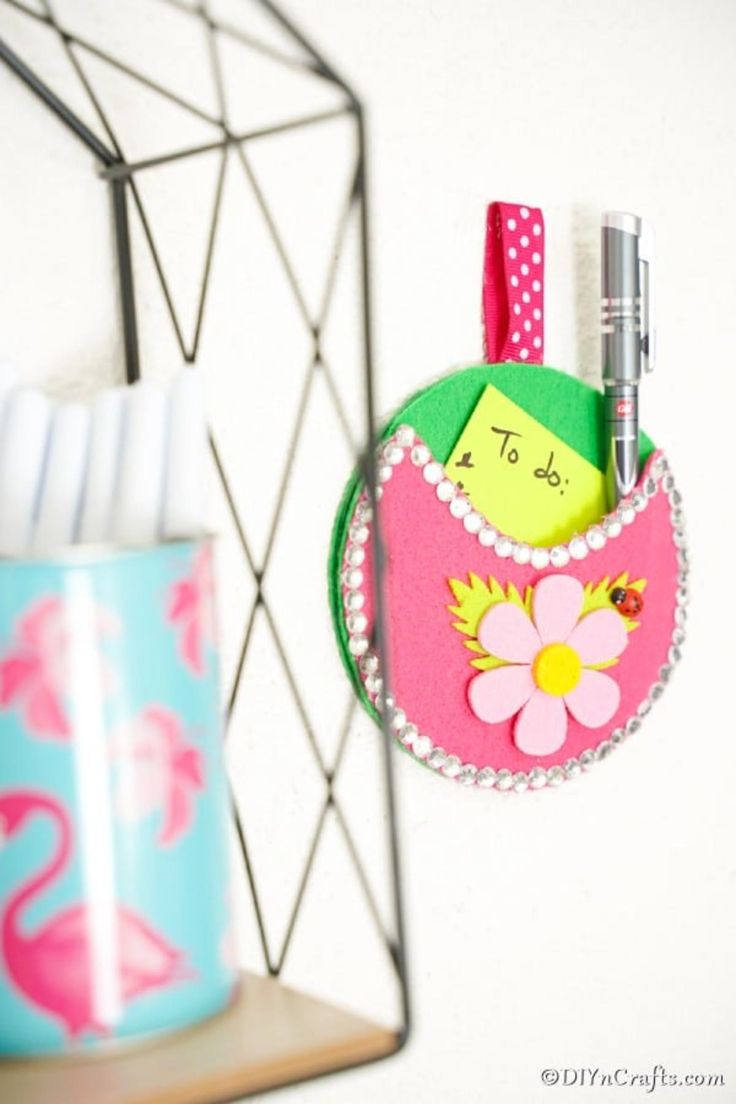 Upcycled Old CD or DVD Pocket Wall Organizer
-
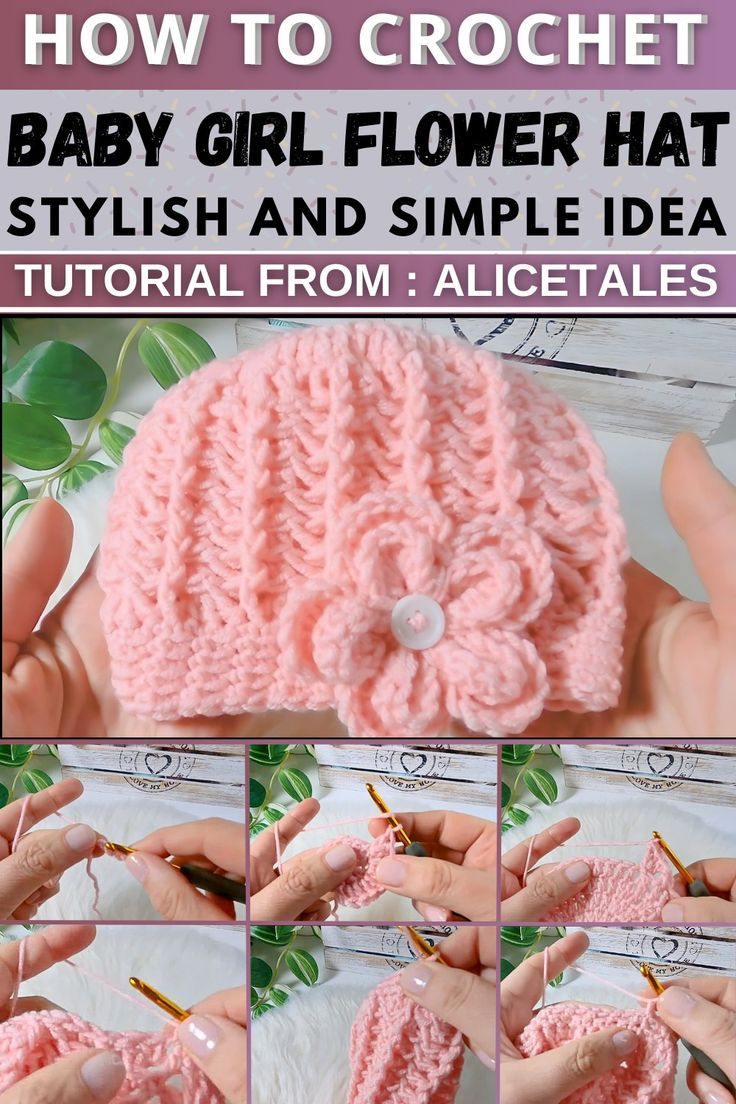 Crochet Baby Girl Flower Hat
-
 DIY Bottle Cap Candles
- Knitting Ideas
-
 Knitted String Market Bag
-
 Knitted Mobile Phone/Glasses Case
-
 Knitted Handmade Bunny