Crochet Piglet Tsum Tsum Amigurumi Toy


The Crochet Piglet Tsum Tsum Amigurumi Toy is an adorable addition to any toy collection, perfect for both children and adults alike. With its soft pink yarn and cute design, this little piglet brings a touch of whimsy to any environment. Hand-crocheted with care and attention to detail, it's not just a toy but a work of art.
Materials Needed
For this DIY, you will need:
- Yarn: in the colors Light Pink, Pink, Hot Pink, Black, and Red.
- Cloud Yarn in White.
- Small Pompom.
- Crochet hook.
- Stitch marker.
- Fiber fill.
- Yarn needle.
- Embroidery needle with brown and pink thread or brown and pink felt.
- Scissors.
- Glue.
Stitches Used
Stitches used:
- SC = Single Crochet.
- ST = Stitch.
- Inc = Increase.
- Dec = Decrease.
- Slst = Slip Stitch.
- (…) = Repeat the space in brackets the given number of times.
- […] = Total number of stitches.
Pattern
Body
Start with Light Pink.
1: 6SC in magic ring. [6]
2: Inc in each st around. [12]
3: (1SC, inc), 6 times. [18]
4: (2SC, inc), 6 times. [24]
5: (3SC, inc), 6 times. [30]
6: (4SC, inc), 6 times. [36]
7: (5SC, inc), 6 times. [42]
8: SC in each st around. [42]
|
15: SC in each st around. [42]
Change to hot pink.
16: SC in each st around. [42]
|
20: SC in each st around. [42]
Change to black.
21: SC in each st around. [42]
Change to hot pink.
22: SC in each st around. [42]
|
26: SC in each st around. [42]
Change back to black.
27: SC in each st around. [42]
Change to hot pink.
28: SC in each st around. [42]
29: SC in each st around. [42]
30: (5SC, dec), 6 times. [36]
31: (4SC, dec), 6 times. [30]
32: (3SC, dec), 6 times. [24]
33: (2SC, dec), 6 times. [18] Stuff the body here.
34: (1SC, dec), 6 times. [12]
35: Dec around. [6]
Fasten off and weave in tail.
Legs
(4)
In light pink.
1: 4SC in magic ring. [4]
2: Inc in each st around. [8]
3: SC in each st around. [8]
|
5: SC in each st around. [8]
Ears
(2)
In pink.
1: 6SC in magic ring. [6]
2: (inc, 2SC), 2 times. [8]
3: (inc, 3SC), 2 times. [10]
4: Inc, 8SC, inc. [12]
5: SC in each st around. [12]
6: SC in each st around. [12]
7: SC in each st around. [12]
8: (Dec, 4SC), 2 times. [10]
Santa Hat
Start with red.
1: 6SC in magic ring. [6]
2: (2SC, inc), 2 times. [8]
3: (3SC, inc), 2 times. [10]
4: (4SC, inc), 2 times. [12]
5: (5SC, inc), 2 times. [14]
6: (6SC, inc), 2 times. [16]
7: (7SC, inc), 2 times. [18]
8: (8SC, inc), 2 times. [20]
9: (9SC, inc), 2 times. [22]
10: (10SC, inc), 2 times. [24]
11: (11SC, inc), 2 times. [26]
Change to white cloud yarn.
12: SC in each st around. [26]
Fasten off and weave in tail. Glue the pompom on the tip of the hat.
Assembling
To make sure you sew all parts in the right place, you can use some sewing pins to position them. When you are happy with the position, you can sew them on.
Sew the legs onto the bottom of the body; the front legs are pointing to the front. The back legs are pointing to the side.
Sew the ears on top of his head, just beside each other, and put his little Santa hat over one of his ears!
For the eyes, eyebrows, and nose, you can either choose to use felt or you can embroider them on. I chose to embroider them on because, yeah, why choose the easy way? Haha. But whichever way you choose, Piglet will look cute.
- Recipes
-
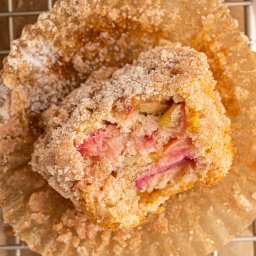 Rhubarb Muffins
-
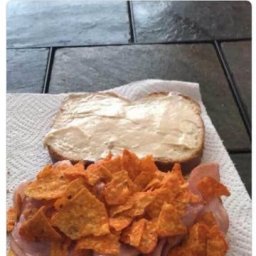
 Thai Peanut Chicken Bowls
-
 Ranch Water Cocktail
- Funny Pictures
-
 Funny Summer Memes About Childhood
-
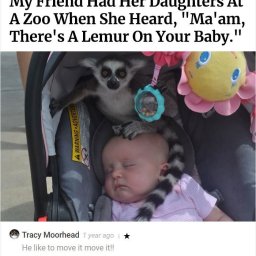 Funny Times the Comments Were Better Than the Picture
-
 Relatable Pics for Some Fun
- Crochet Ideas
-
 Crochet Summer Top
-
 Crochet Crown Ear Warmer
-
 Crochet Scalloped Finger Free Hand Warmers
- Lifehacks
-
 How to Crochet the Slanted Clusters Stitch Photo Tutorial
-
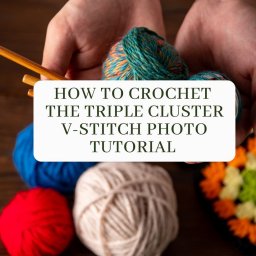 How to Crochet the Triple Cluster V-Stitch Photo Tutorial
-
 How to Crochet the Shelled Cluster Stitch Photo Tutorial
- DIY
-
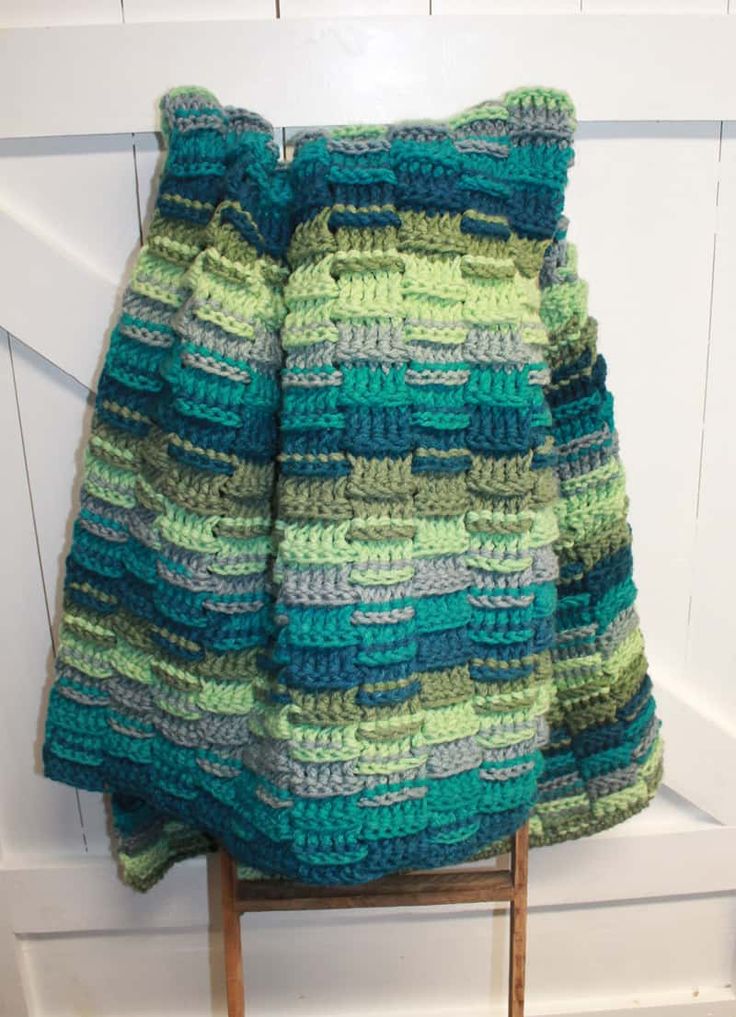 Crochet Woven Lines Chunky Throw
-
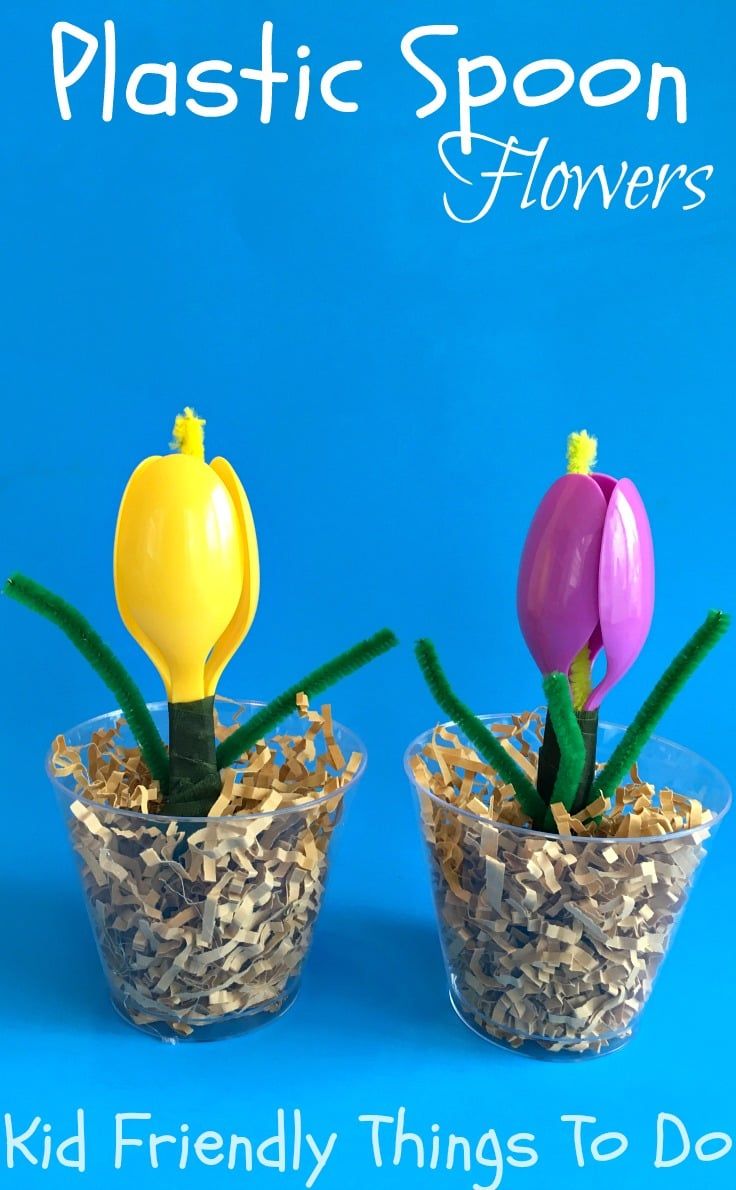 DIY Plastic Spoon Flower
-
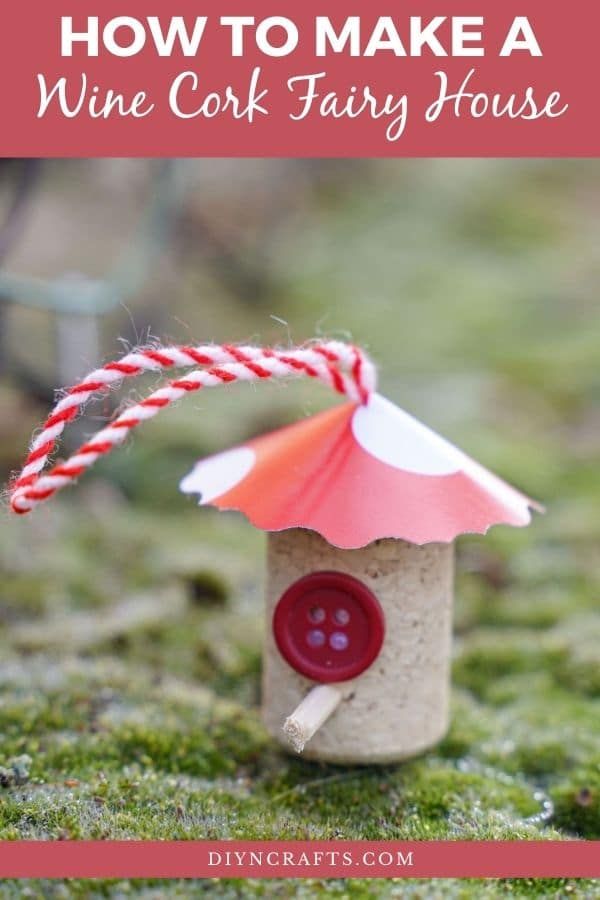 Miniature Wine Cork Fairy House Garden Decoration
- Knitting Ideas
-
 Knitted Quintet Cowl
-
 Knitted Cleo Scarf
-
 Knitted Bowtie Headband