Crochet Tinkerbell Tsum Tsum Amigurumi Toy


If you're looking to add a touch of magic to your crochet collection, the Crochet Tinkerbell Tsum Tsum Amigurumi Toy is a must-have! This whimsical creation captures the essence of everyone's favorite fairy with its adorable design and charming details. Whether you're a seasoned crocheter or just starting out, this Tinkerbell-inspired amigurumi is a fun and rewarding project to work on.
Materials Needed
For this pattern, you’ll need:
- DK Yarn in Beige, Light Green, White, and Yellow.
- Bit of Blue yarn.
- Black felt for details.
- Crochet Hook (I used a 2.5mm hook).
- Stuffing.
- Stitch Markers.
- Yarn Needle.
- Sewing Pins.
- (Fabric) Glue.
Stitches Used
(US Terms):
Magic Ring.
CH = Chain.
SLST = Slip Stitch.
SC = Single Crochet.
HDC = Half Double Crochet.
DC = Double Crochet.
TR = Treble.
Picot = Chain 3 and slst in the first stitch.
ST = Stitch.
Inc = Increase.
Dec = Decrease.
(…) = Repeat the space in brackets the given number of times.
[…] = Total number of stitches.
Pattern: Tinkerbell
This pattern is made with continuous rounds, unless stated otherwise. Use a stitch marker to mark your first/last stitch of your row.
Body
Start with the color Beige.
1: 6SC in a Magic Ring. [6]
2: 2SC in each stitch around. [12]
3: (1SC, inc) 6 times. [18]
4: (2SC, inc) 6 times. [24]
5: (3SC, inc) 6 times. [30]
6: (4SC, inc) 6 times. [36]
7: (5SC, inc) 6 times. [42]
8: 42SC. [42]
|
14: 42SC. [42]
Change to the color Light Green.
15: 42SC. [42]
16: BL, 42SC. [42]
17: 42SC. [42]
|
25: 42SC. [42]
Change to the color White.
26: BL, 42SC. [42]
27: 42SC. [42]
|
29: 42SC. [42]
30: (5SC, dec) 6 times. [36]
31: (4SC, dec) 6 times. [30]
32: (3SC, dec) 6 times. [24]
33: (2SC, dec) 6 times. [18] Stuff the body.
34: (1SC, dec) 6 times. [12]
35: dec all around. [6]
Fasten off and weave in the tail.
At row 16 of the body, you worked in back loops only. Now rejoin your yarn in the front loops, and crochet 42SC around. Fasten off and weave in the tail.
Skirt
Use the color Light Green.
At row 26 of Tinkerbell's body, you worked in the back loops only. Rejoin your yarn now in the front loops.
1: 42SC. [42]
2: 42SC. [42]
3: (1SC, 1HDC, 1DC + Picot + 1DC in the next stitch, 1HDC) 10 times, 1SC, SLST. [62]
Fasten off and weave in the tail.
Ears (Make 2)
Use the color Beige.
1: 6SC in a Magic Ring. [6]
Fasten off and leave a long tail for sewing.
Hair
Use the color Yellow.
1: Ch15, insert in second ch from hook, 13SC, 3SC in the next stitch, work along the other side of the chain now, 12SC, inc. [30]
2: Inc, 12SC, (inc) 3 times, 12SC, (inc) 2 times. [36]
3: 1SC, inc, 12SC, (1SC, inc) 3 times, 12SC, (1SC, inc) 2 times. [42]
4: Ch3, 2DC inc the next stitch, 1HDC, 16SC, 1HDC, 2DC in the next stitch, 2TR in the next stitch, 2DC in the next stitch, 1HDC, 16SC, 2DC in the next stitch, 1HDC, 1TR. [48] (the first 3Ch counts as the first TR).
Break the yarn.
5: Skip 5 stitches, rejoin the yarn, 13SC, turn. [13]
6: Dec, 9SC, dec, turn. [11]
7: 7SC, dec, turn. [8] Mark the last 2 remaining stitches from the previous row.
8: Dec, 6SC, turn. [7]
9: Dec, 3SC, dec, turn. [5]
10: Dec, 3SC, turn. [4]
11: (Dec) 2 times, turn. [2]
12: Dec. [1]
Fasten off and leave a long tail for sewing.
Go back to the 2 stitches you marked.
1: Inc, 1SC, turn. [3] (the 1SC should be at the outside of the hair).
2: Dec, 1SC, turn. [2]
3: Dec. [1]
Fasten off and weave in the tail.
Bun
Use the color Yellow.
1: 6SC in a Magic Ring. [6]
2: 2SC in each stitch around. [12]
3: (1SC, inc) 6 times. [18]
4: 18SC. [18]
|
6: 18SC. [18]
7: (1SC, dec) 6 times. [12]
Fasten off and leave a long tail for sewing. Don’t forget to stuff the bun.
Hairband
Use the color Blue.
Make a chain that can fit around the base of the bun.
Wings (Make 2)
Use the color White. (Optional: use metallic/glitter thread along with the yarn to create a sparkle effect).
The wings won’t be worked in continuous rounds.
1: Ch7, insert in second ch from hook, 5SC, 3SC in the next stitch, now work along the other side of the chain, 5SC, turn. [13]
2: 4SC, (inc, 1SC) 2 times, inc, 4SC. [16]
3: Ch6, insert in second ch from hook, 5SC, turn. [5]
4: 5SC, turn. [5]
5: Dec, 3SC. [4]
Fasten off and leave a long tail for sewing.
Legs (Make 4)
Use the color Beige for 2 legs and for the other 2 use the color Light Green.
1: 4SC in a Magic Ring. [4]
2: 2SC in each stitch around. [8]
3: 8SC. [8]
|
4: 8SC. [8]
Fasten off and leave a long tail for sewing.
You don’t have to stuff the legs, but you can if you want.
Assembling the Tinkerbell Toy
Whenever I start to assemble amigurumis, I use sewing pins first to position all parts. This way you can easily move things around until you are happy and sew it on. I recommend you would do this as well.
First sew on Tinkerbell's legs, the 2 back legs go under her skirt and the beige ones, near her face. Now that you know where the top of her body is, position her hair nicely and sew it on, then add the bun and put the hairband around it. Then sew on her ears as well. Last, sew on her wings!
From felt, make her eyes and eyebrows (or use yarn to create her eyebrows). Glue those on and let dry.
- Recipes
-
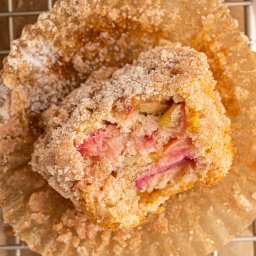 Rhubarb Muffins
-
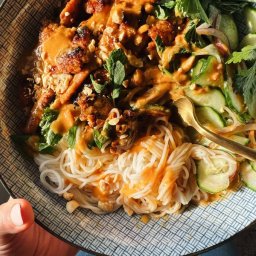 Thai Peanut Chicken Bowls
-
 Ranch Water Cocktail
- Funny Pictures
-
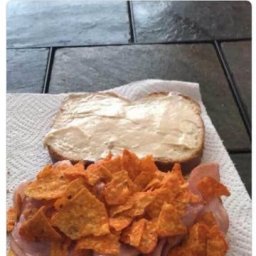 Funny Summer Memes About Childhood
-
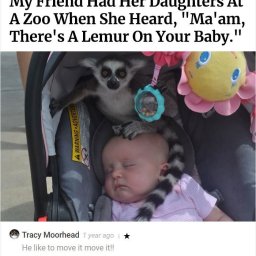 Funny Times the Comments Were Better Than the Picture
-
 Relatable Pics for Some Fun
- Crochet Ideas
-
 Crochet Summer Top
-
 Crochet Crown Ear Warmer
-
 Crochet Scalloped Finger Free Hand Warmers
- Lifehacks
-
 How to Crochet the Triple Cluster V-Stitch Photo Tutorial
-
 How to Crochet the Shelled Cluster Stitch Photo Tutorial
-
 How to Crochet the Front Post Clusters Stitch Photo Tutorial
- DIY
-
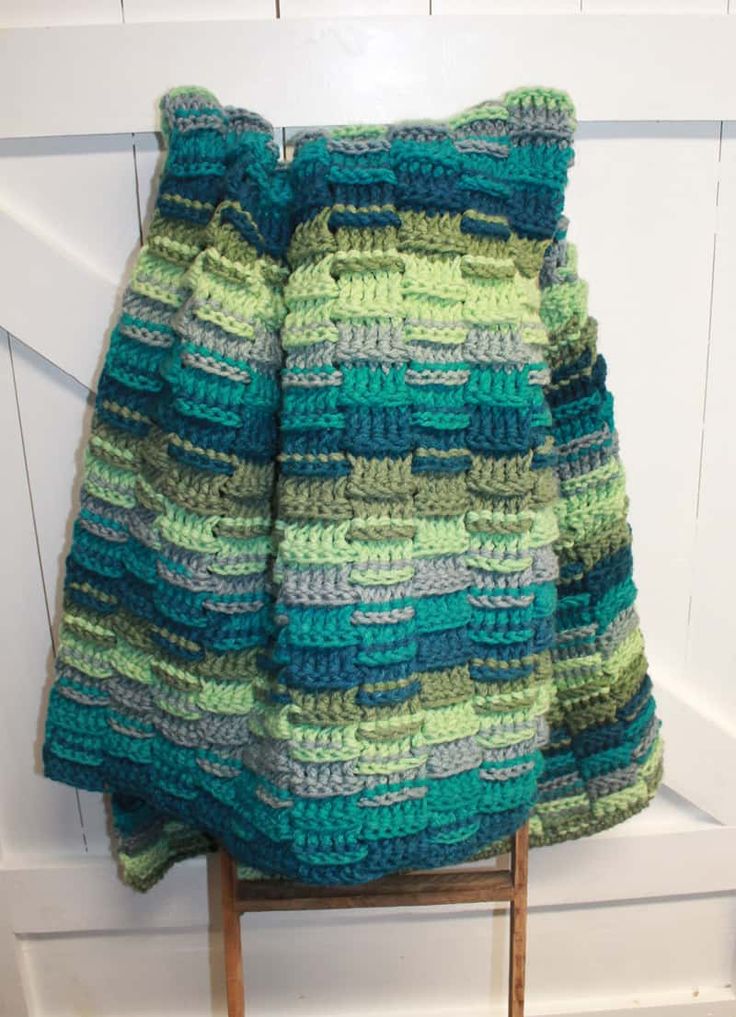 Crochet Woven Lines Chunky Throw
-
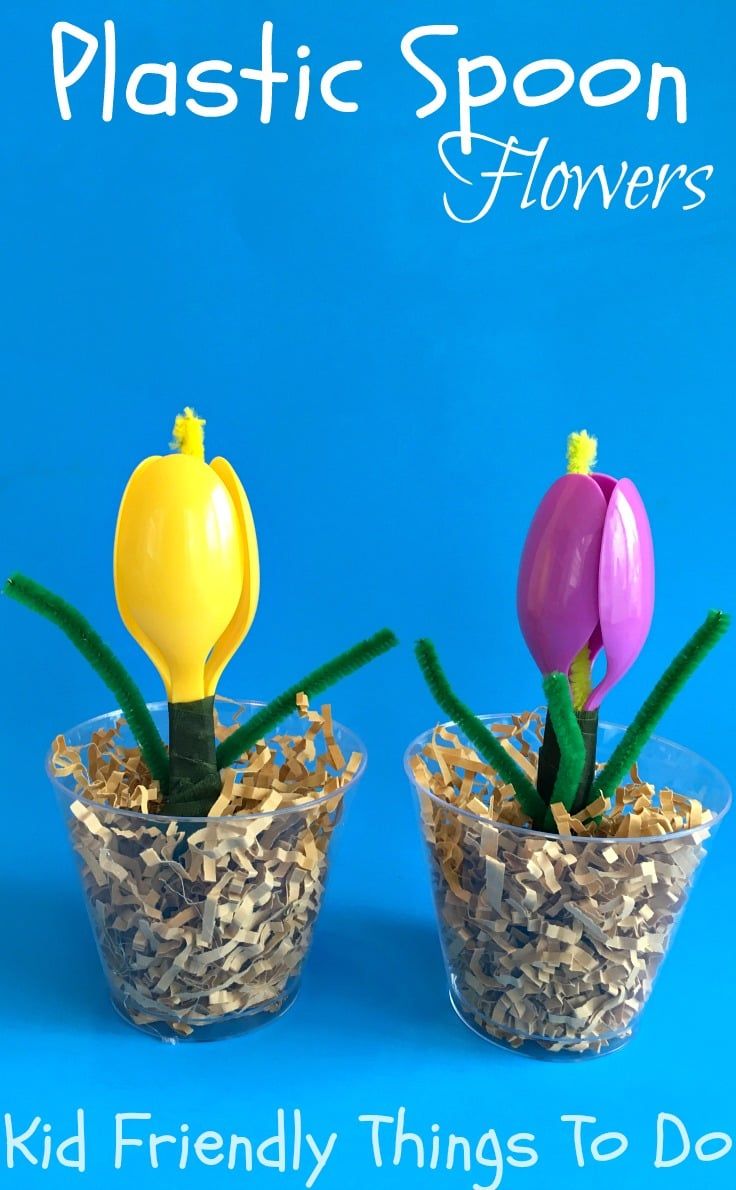 DIY Plastic Spoon Flower
-
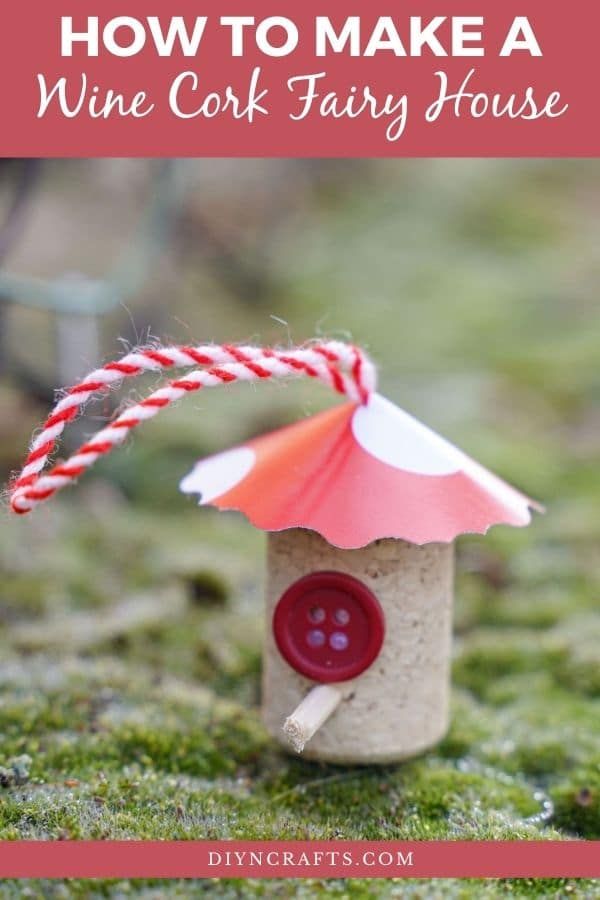 Miniature Wine Cork Fairy House Garden Decoration
- Knitting Ideas
-
 Knitted Quintet Cowl
-
 Knitted Cleo Scarf
-
 Knitted Bowtie Headband