How to Make a Cheshire Cat Ufufy Amigurumi Toy

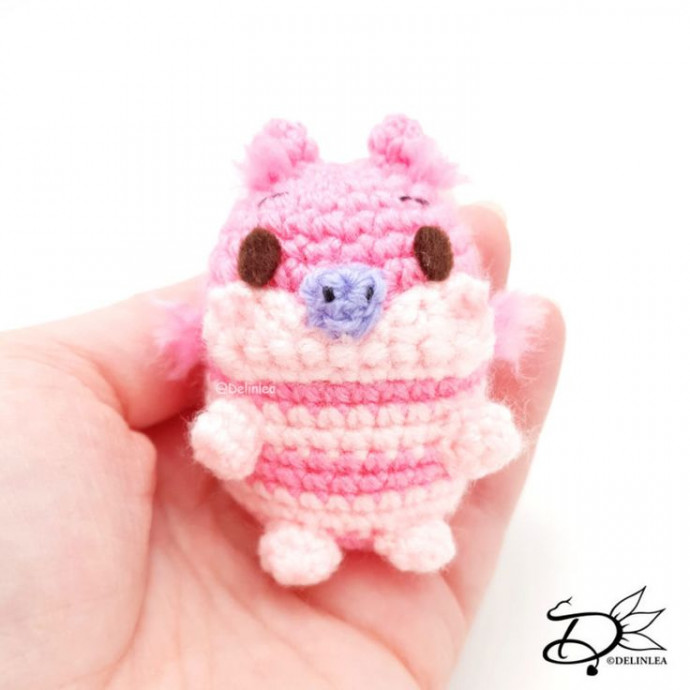
How delightful to dive into the world of crochet with a Cheshire Cat Ufufy Amigurumi Toy! This whimsical creation brings together the timeless charm of Alice in Wonderland's mysterious feline with the cozy comfort of handmade crochet. Imagine the vibrant colors and intricate details that come together to form a cuddly companion that will surely bring a smile to anyone's face. Whether you're a seasoned crocheter looking for a new challenge or a newbie eager to try your hand at amigurumi, crafting this Cheshire Cat Ufufy will be a joy-filled adventure filled with stitches, creativity, and endless possibilities. Get ready to embark on a magical journey of crafting and create a charming masterpiece that will be cherished for years to come!
For this pattern you’ll need:
- Yarn in the colors Pink, Light Pink, and Purple.
- Crochet hook (I used a 2mm).
- Stuffing.
- Yarn needle.
- Sewing pins.
- Stitch marker.
- Dark brown felt.
- Scissors.
Stitches used (US Terms):
- Magic ring.
- CH = Chain.
- SLST = Slip stitch.
- FSC = Foundation single crochet.
- SC = Single crochet.
- ST = Stitch.
- Inc = Increase.
- Dec = Decrease.
- (…) = Repeat the space in brackets the given number of times.
- […] = Total number of stitches.
This pattern is made with continuous rounds unless stated otherwise. Use a stitch marker to mark your first/last stitch of your row.
Pattern: Cheshire Cat
Body
Start with the color Pink.
1: 6SC in a magic ring. [6]

2: 2SC in each st around. [12]

3: (1SC, inc) 6 times. [18]

4: (2SC, inc) 6 times. [24]

5: 24SC. [24]

6: 24SC. [24]

7: (3SC, inc) 6 times. [30]

8: 30SC. [30]

9: 30SC. [30]

Change to the color Light Pink.

12: 30SC. [30]

13: 30SC. [30]

Change to the color Pink.

14: 30SC. [30]

15: 30SC. [30]

Change to the color Light Pink.

16: 30SC. [30]

17: 30SC. [30]

Change to the color Pink.

18: (3SC, dec) 6 times. [24]

19: (2SC, dec) 6 times. [18]

20: (1SC, dec) 6 times. [12]

21: Dec around. [6]

Fasten off and weave in the tail.
Snout
Use the color Light Pink.
1: 10FSC, turn. [10]

2: 1SC + 1HDC in the next st, 1HDC, 1SC, 4SlSt, 1SC, 1HDC, 1HDC + 1SC in the next st. [12]

Fasten off and leave a long tail for sewing.
Nose
Use the color Purple.
In a magic ring crochet; 1SC, 1HDC, 1SC, 1HDC, 1SC, SlSt in the first st.

Fasten off and leave a long tail for sewing.
Ears (Make 2)
Use the color Pink.
1: 4SC in a magic ring. [4]

2: (inc, 1SC) 2 times. [6]

Fasten off and leave a long tail for sewing.
Legs (Make 4)
Use the color Light Pink.
1: 6SC in a magic ring. [6]

2: 6SC. [6]

Fasten off and leave a long tail for sewing.
Tail
Start with the color Light Pink.
1: 6SC in a magic ring. [6]

2: 6SC. [6]

Change to the color Pink.

3: 6SC. [6]

4: 6SC. [6]

Change to the color Light Pink.

5: 6SC. [6]

6: 6SC. [6]

Change to the color Pink.

7: 6SC. [6]

8: 6SC. [6]

Fasten off and leave a long tail for sewing.
Assembling
Whenever I start assembling Amigurumi’s, I use sewing pins first to put it together. This way I can easily move parts around until I am happy. Then I will sew it on.
I started with sewing on the tail of the Cheshire cat first, where you can see rows switching in the back. After I positioned the legs, I sewed those on as well.
Then it’s time to get the snout on; find the top light pink row of the body, then go one row up and above that one you can sew on the snout. Then attach the nose as well.
Last I’ve sewn on the ears.
Now for the fluffy bits by the ears and on his cheeks. I use strands of yarn and tie about 2 or 3 together. With a needle, I’ve pulled them to the spot I wanted them to be in. Cut them to about the length you want the fluff to be. Use a needle to unraffle the yarn and brush it out to make it fluffy. Give it a final cut to the right length.
Last, make his facial detail out of some felt and use a needle and thread if you prefer.
And the Cheshire Cat is all done!
- Recipes
-
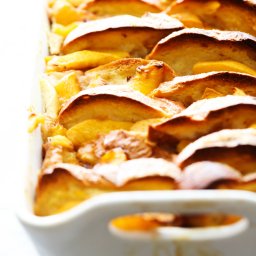 Peaches and Cream Bread Pudding
-
 Fresh Peach Margarita and Fresh Peach Spritzer (Non-Alcoholic)
-
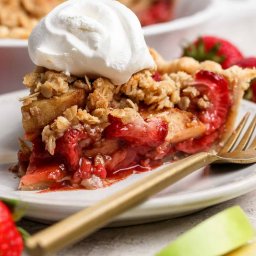 Strawberry Apple Pie
- Funny Pictures
-
 Some Memes About Working One Can Agree With
-
 Funny Memes to Make You Laugh
-
 Catch This Sunday Vibe With Funny Pics!
- Crochet Ideas
-
 Crochet Stacked Shells Baby Skirt
-
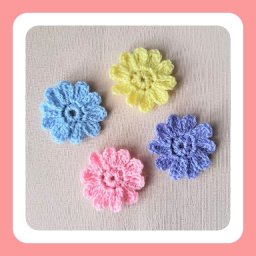 Crochet 10 Petal Flower
-
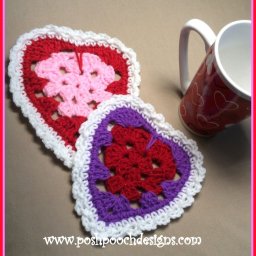 Crochet Heart Shimmer Coaster
- Lifehacks
-
 The Diagonal Shell Mesh Crochet Stitch Photo Tutorial
-
 The Aligned Lotus Crochet Stitch Photo Tutorial
-
 The Diagonal Diamond and Square Crochet Stitch Photo Tutorial
- DIY
-
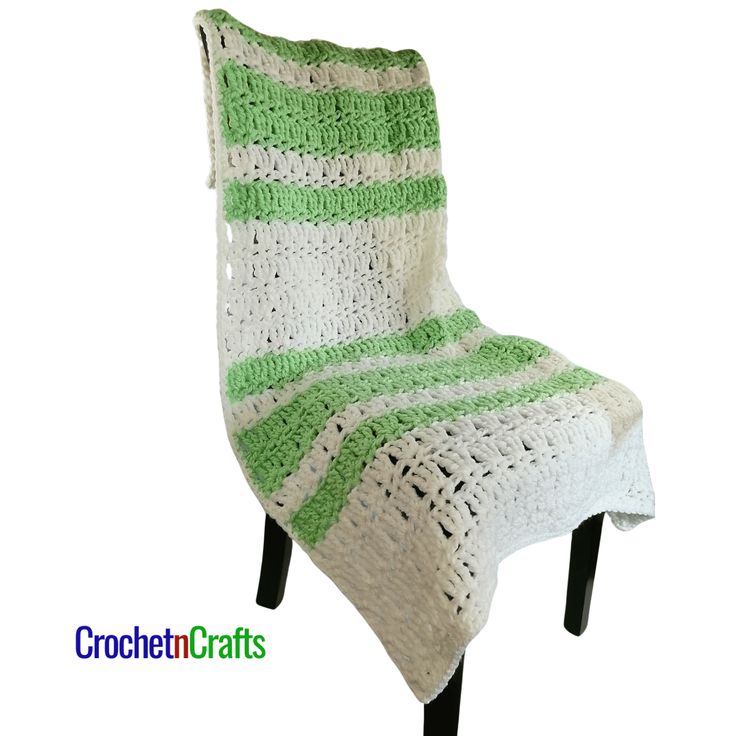 Crochet Beautiful Blanket
-
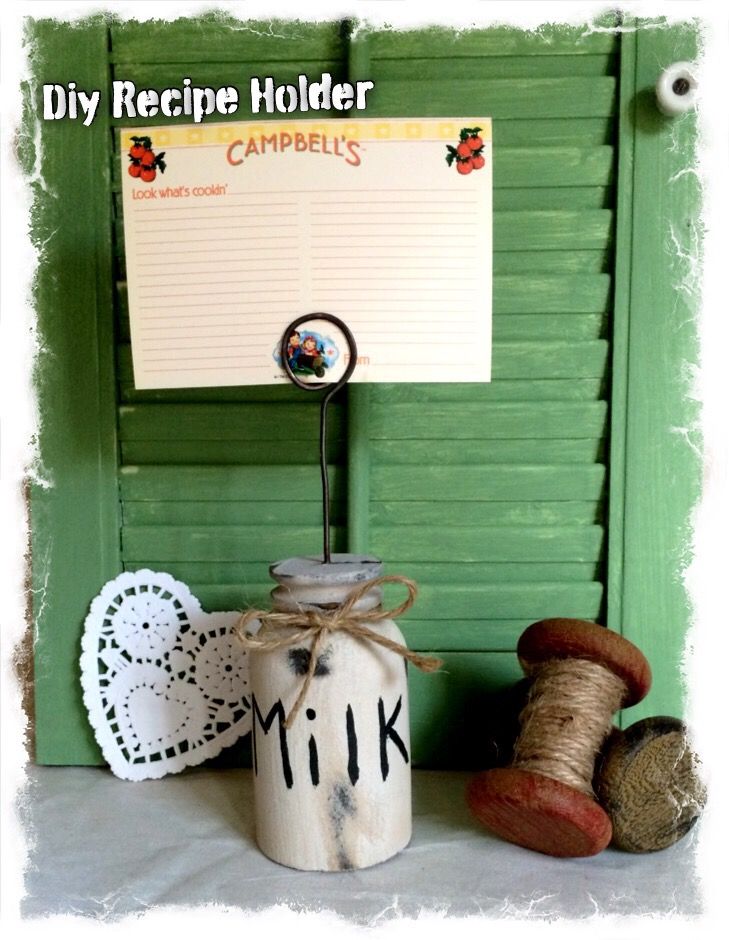 DIY Recipe Card Holder
-
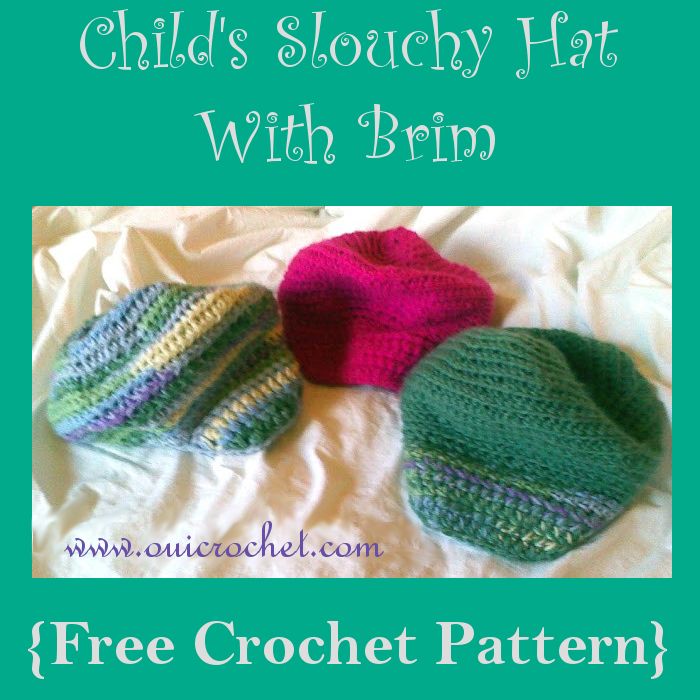 Crochet Child’s Slouchy Hat With Brim
- Knitting Ideas
-
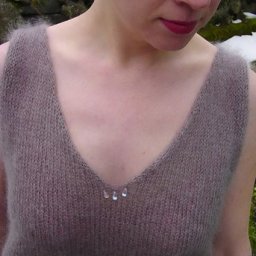
 Comfy Wool Vest
-
 Knitted Handmade Camisole
-
 Knitted V-neck Sleeveless Summer Top