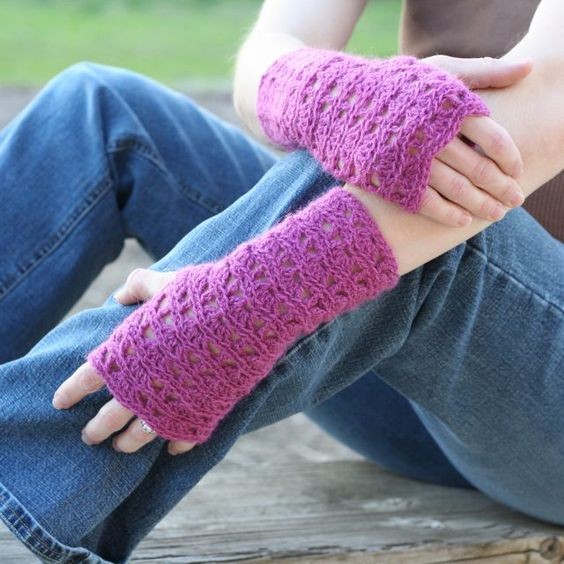
Crochet Ripple Lace Fingerless Gloves Pattern

Introduction
Crochet Ripple Lace Fingerless Gloves are a charming and stylish accessory that not only keeps your hands warm but also adds a touch of elegance to any outfit. The intricate ripple lace design creates a beautiful texture that is sure to catch everyone's eye. These gloves are perfect for adding a cozy and chic flair to your wardrobe, whether you're out for a walk in the crisp autumn air or simply want to elevate your look for a special occasion. With their fingerless design, they offer both warmth and practicality, allowing you to easily use your fingers while staying comfortable. So, why not treat yourself to a pair of these lovely gloves and bring a bit of handmade charm into your daily ensemble?
Materials Needed
I used a G hook and 2 ply sport alpaca wool blend yarn. Gauge is not too important nor is yarn or hook as you will make these gloves to fit. You do want to use a rather large hook for the yarn you are using so the end product will be stretchy.
Directions
blo = back loop only
Chain a multiple of 6. My chain was 30 (5×6.) Your chain should stretch comfortably around the widest part of your hand but not be too loose around your wrist. If you’re having a hard time getting a good fit, keep in mind you can switch to a larger hook around row 15 or 16 to make the top of the glove looser.
Right Glove Instructions
Row 1: Join to 1st ch with sl st, ch 1, sc blo around, sl st blo of 1st sc
Row 2: Ch 3, 2dc in same back loop as sl st, sk 2, dc blo, sk 2, *5dc blo (shell), sk 2, dc blo, sk 2*, repeat around, end with 2dc in the same back loop as the “ch 3, 2dc” at the beginning of this row, sl st in the top chain of the ch 3, (5 shells and 5 dc total)
Row 3: Ch 1, sc blo around, join with sl st blo (30 sc total)
Row 4-17: Repeat rows 2 and 3
(You may do more or less sets of rows depending on how long you want the gloves to be. The next row, that I have numbered as row 18 is the thumb hole row. You might want to switch to the next size larger crochet hook for a couple of rows before the thumb hole row.)
Row 18/Thumb hole row: Ch 3, 2dc in same back loop as sl st, sk 2, dc blo, sk 2, 2dc blo, ch 5, skip 5, 2dc blo, sk 2, *shell, sk 2, dc blo, sk 2* repeat around, end with 2dc same back loop as ch 3 and 2dc at the beginning of this row, sl st in the top of the ch 3
Row 19/Row after thumb hole: Repeat row 3
Row 20: Ch 3, 2dc in same back loop as sl st, sk 2, dc blo, sk 2, 5dc blo (shell), sk 1, dc blo, sk 1, *5dc blo (shell), sk 2, dc blo, sk 2*, repeat around, end with 2dc in the same back loop as the “ch 3, 2dc” at the beginning of this row, sl st in the top chain of the ch 3, (5 shells and 5 dc total)
Row 21-25: Repeat rows 3 and 2, alternating.
(Again you can do more or less sets of rows depending on how long you want the gloves to be.)
Finish off
Left Glove Instructions
You can follow the same pattern as the right glove. But, if you want to shift the location of the thumb hole so that the “seam” (where you’ve been joining at the end of each row) will be on the palm side of the glove, change row 18 and row 20.
Row 18: Do shells and dcs as before until 2 shells before the end of the row. Then do 2 dc blo, ch 5, sk 5, 2 dc blo, sk 2, dc blo, sk 2, 2dc in the same loop as beginning ch 3 and 2dc at the beginning of this row, sl st in top of ch 3.
Row 20: Do shells and dcs as before until just above the thumb hole. There, only skip 1 stitch before and after the dc blo.
- Recipes
-
 Spicy Chili Recipe with Three Meats and Beans
-
 Creamy Broccoli Pasta
-
 30 Minute Bang Bang Shrimp
- Funny Pictures
-
 Too Cute to Be Real
-
 Cooking Memes We All Need
-
 Funny Tweets With a Bit of Truth of Life
- Crochet Ideas
-
 Crochet Beautiful Mouse
-
 Crochet Fun Pumpkin Bag
-
 Crochet The Love Slug
- Lifehacks
-
 Wedged In: Wedge Crochet Stitch and Granny Square Photo Tutorial
-
 Diagonal Knit Look Crochet Stitch Photo Tutorial
-
 Braided Beans Table Runner Crochet Pattern
- DIY
-
 Candy Cane Mason Jar Luminary
-
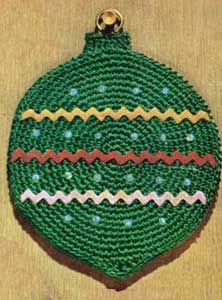 Crochet Christmas Ball Pot Holder
-
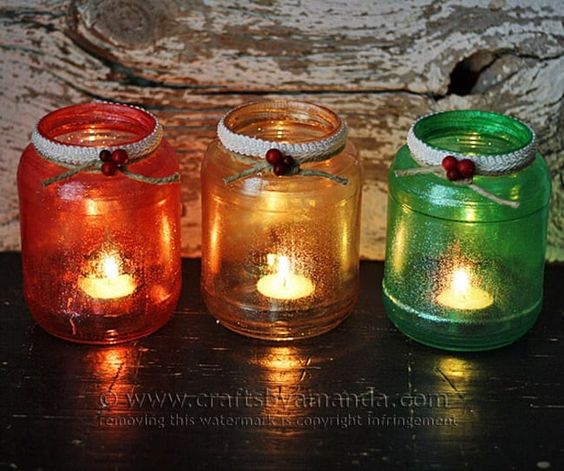 Glitter Christmas Luminaries
- Knitting Ideas
-
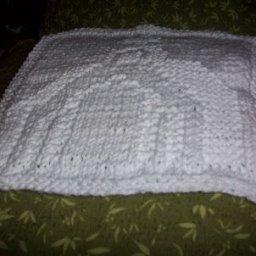 Knitted Church Dishcloth
-
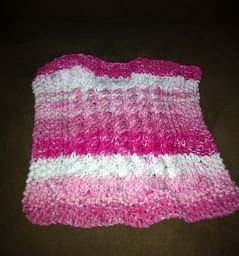 Knitted Twist and Scrub Dishcloth
-
 Knitted Waves Of Grain Dishcloth