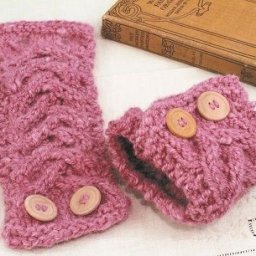
Crochet Fingerless Gloves

Crochet fingerless gloves are the perfect blend of style and functionality, making them a must-have accessory for cooler weather. These gloves not only keep your hands warm but also allow you to use your fingers freely, making tasks like texting or typing a breeze. The beauty of crochet fingerless gloves is that they come in a variety of designs, colors, and yarn types, making it easy to find a pair that suits your personal style.
What you’ll need
- Size 5.5mm hook
- Chunky yarn – I Used King Cole Shadow Chunky
- Darning needle and scissors for cutting and weaving in your end
Abbreviations
SC – Single Crochet (UK Double Crochet) HDC – Half Double Crochet (UK Half treble crochet)
DC – Double Crochet (UK Treble Crochet) BLO – Back loop only
SS – Slip Stitch CH – Chain
Notes
HDC through both loops on the last stitch of the row will give your cuff a neater edge
CH1 does not count as your first stitch. R4 uses a criss cross stitch.
Let’s Begin
Cuff
Row 1 - CH10. HDC in the 3rd CH from the hook and HDC to the end (8HDC and the CH2 for a total of 9stitches for the next row)
Row 2 – CH1 (does not count as your first stitch), HDC in BLO in the next 8, HDC in the top of the CH2 from Row 1.
Row 3 – CH1, HDC in BLO in the next 8, HDC in the last stitch (through both loops)
Row 4 - 14 - Repeat row 3 Fold in half, CH1, SS through the back loop of the HDC and through the starting CH to join both sides together. Now is a good time to check it fits over your wrist. If it doesn’t you can add an extra row or 2 (or go up half a hook size to make your stitches more loose and stretchy) Flip the cuff inside out so that your seam is now on the inside. You will now be working in rounds around the OUTSIDE of your cuff to create the hand section.
R1 – CH1, SC evenly around the cuff to create 24 SC
R2 – CH1, SC around, SS to join (24)
R3 – CH1, SC around, SS to join (24)
R4 – CH2, *Skip 2 and DC in the third, DC in the next stitch, DC in the first skipped stitch, DC in the second skipped stitch* repeat from *to* all the way round. You should have 6 crosses (24)
R5 – CH1, SC around, SS to join (24)
R6 – CH1, SC around, SS to join (24)
RIGHT HAND R7 – CH1, SC in the next 19, CH4, SK4, SC in the last stitch, SS to join.
LEFT HAND R7 – CH1, SC in the first stitch, CH4, SK4, SC in the next 19, SS to join.
R8 – CH1, SC around, including in each chain, SS to join (24)
R9 – (repeat of row 4) CH2, *Skip 2 and DC in the third, DC in the next stitch, DC in the first skipped stitch, DC in the second skipped stitch* repeat from *to* all the way round. You should have 6 crosses (24)
R10 - CH1, SC around, SS to join (24)
R11 - CH1, SC around, SS to join (24)
R12 - CH1, SC around, SS to join (24)
R13 – SS in each stitch and then tie off and weave in your end.


