
Crochet No-Sew Frankenstein: A Fun Halloween Project

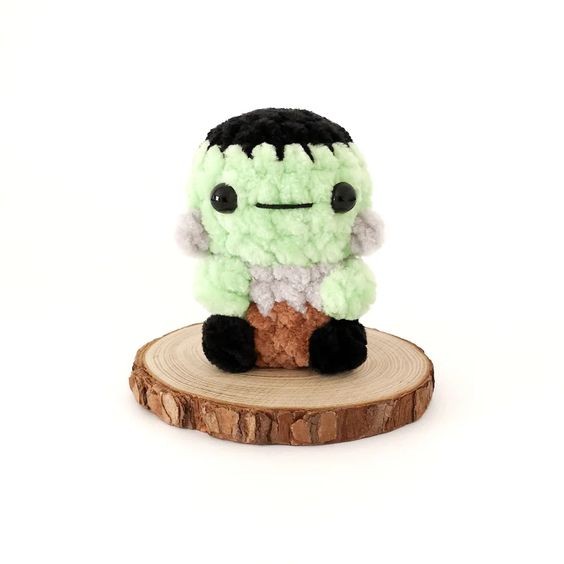
If you're looking for a fun and creative project that requires zero sewing skills, the Crochet No-Sew Frankenstein is an absolute must-try! This adorable little monster is perfect for adding a touch of Halloween spirit to your home or gifting to a fellow Halloween enthusiast. With just a few crochet stitches, some yarn, and a bit of stuffing, you can bring this quirky creature to life without ever having to pick up a needle and thread. Whether you're a crochet pro or just starting out, this project is sure to bring a smile to your face as you watch your Frankenstein come together stitch by stitch. So grab your crochet hook, embrace the spooky season, and have a blast creating your own cuddly, no-sew friend!
Materials
- Super bulky yarn in black, green, light grey and brown (I used Premier Yarns Parfait Chunky in Black, Key Lime, Fog and Teddy Bear)
- 4.5mm crochet hook
- 8mm safety eyes
- 4 ply yarn in black or black embroidery floss
- Polyester fiberfill
- Stitch marker, yarn needle, scissors
Abbreviations (US Terms)
- ch – chain
- sc – single crochet
- inc – increase
- invdec – invisible decrease
- FLO – front loop only
- bo – bobble stitch
- sl st – slip stitch
- st/s – stitch/es
- […] – repeat the instructions in brackets
- (…) – indicates stitch count at end of round
Special Stitches
Bobble Stitch (bo)
- Yarn over.
- Insert your hook into the indicated stitch.
- Yarn over and pull up a loop (3 loops on hook).
- Yarn over and pull through first 2 loops (2 loops on hook).
- Repeat steps 1-4 three more times in the same stitch (5 loops on hook).
- Yarn over and pull through all 5 loops on hook.
- Push bobble to the right side of fabric.
How to Crochet Bobbles in a Contrasting Colour
- Draw through the new colour on the last yarn over of the previous stitch.
- Follow bobble stitch steps 1-5.
- Drop the bobble colour and yarn over with the main colour, pull through all 5 loops on hook.
- Push bobble to the right side of fabric.
Finished Size
The finished otter measures approximately 2.75″ (7cm) tall. Size may vary depending on tension and materials used.
Gauge
Gauge is not important in this pattern. Use a hook size to match your chosen yarn. Make sure that your stitches are tight enough to prevent stuffing showing through and adjust hook size if necessary.
Notes
- Pieces are worked in a continuous spiral. Mark the first stitch of each round with a removable stitch marker.
- All bobble stitches are worked in the front loop only.
Pattern Instructions
Frankenstein (Starting with Black)
R1: Ch 2, 6 sc in second ch from hook (6)
R2: [Inc] x6 (12)
R3: [Sc, inc] x6 (18) – change colour to green
Tip: To minimise the colour change, fasten off invisibly after R3 and join green yarn with a standing single crochet. Only do this for the head NOT the body as it will change the bobble stitch placement.
R4-6: [Sc] x18 (18) 3 rounds
R7: [Sc, invdec] x6 (12) – change colour to light grey in last st
R8: [FLO sc] x12 (12)
The bobble stitches in the next round are worked in green as indicated in bold. All colour changes take place in the last yarn over of the previous colour. Cut the green yarn after each bobble and knot the ends together inside the piece to secure.
R9: 4 sc, FLO bo, 3 sc, FLO bo, 3 sc (12) – change colour to brown in last st
Insert safety eyes between R5 and R6, 3 sts apart.
Stuff the head and continue to stuff as you go.
Using 4 ply black yarn or black embroidery floss, sew a line for the mouth centred between the eyes approximately 2 sts long.
R10: [Sc] x12 (12)
The bobble stitches in the next round are worked in black as indicated in bold.
R11: 4 sc, FLO bo, 3 sc, FLO bo, 3 sc (12)
R12: [Sc, invdec] x4 (8)
Tip: If the invisible decreases don’t look clean around the feet, try using a regular decrease (sc2tog).
Cut the yarn leaving a tail and pull through last st. Weave the yarn tail through the front loops only of the final round and pull to close. Hide the end inside Frankenstein.
Finishing
Starting on the right side of the head, insert hook in a st between R6 and R7 approximately 1 st away from the eye. Place light grey yarn on your hook and draw through.
Ch 3, sl st back in same space.
Fasten off, gently pull the starting and ending tails to tighten and weave in ends.
Repeat on the other side.
- Recipes
-
 Marry Me Pork Chops
-
 Butterflied prawns with cherry and lime leaf sambal
-
 2 Ingredient No Bake Healthier Cottage Cheese Chocolate Cake
- Funny Pictures
-
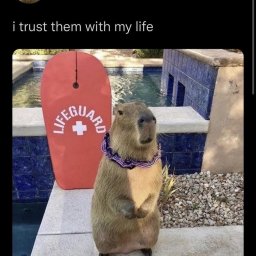 Cute and Astonishing Pics of Capybara You Have to See
-
 Don’t Worry it’s Monday, Friday is Coming Soon!
-
 Hilarious Memes Most People Will Relate To
- Crochet Ideas
-
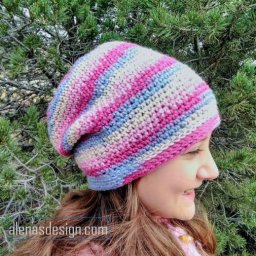 Crochet Variegated Slouchy Hat
-
 Crochet Valentine Doily
-
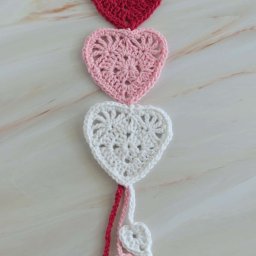 Crochet Triple Heart Bookmark
- Lifehacks
-
 How to Crochet the Boardwalk Stitch Photo Tutorial
-
 Regal Stitch Crochet Pattern Photo Tutorial
-
 How to Crochet the Modified Moss Stitch Photo Tutorial
- DIY
-
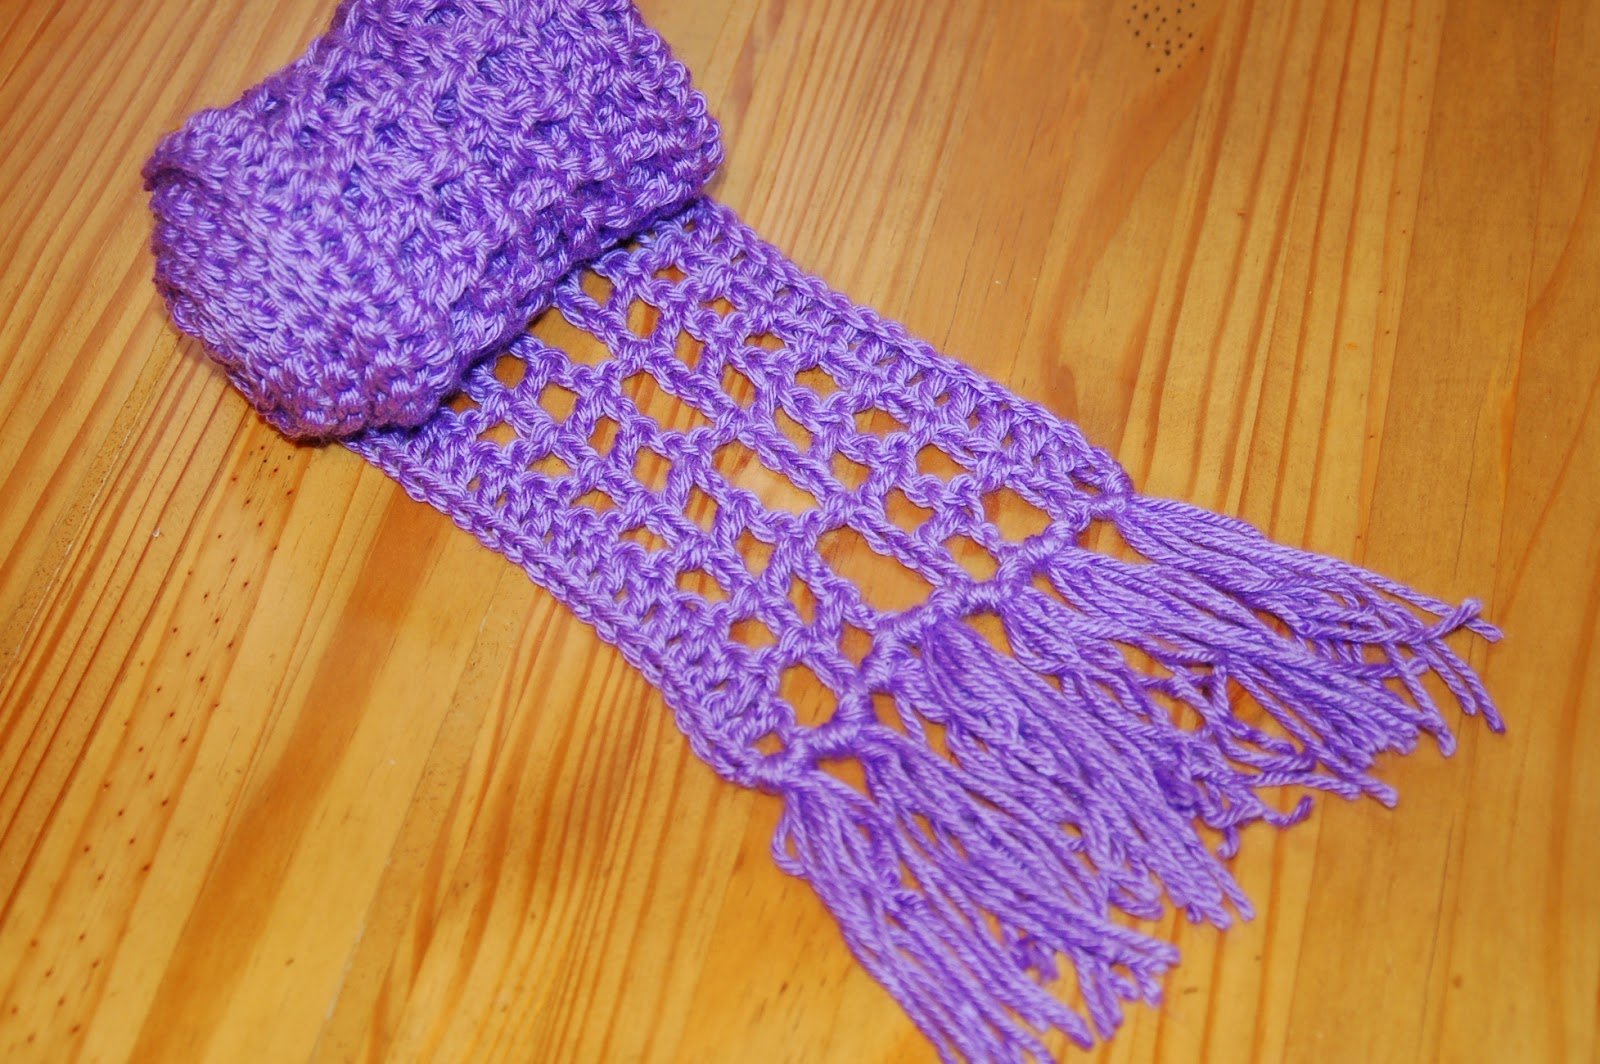 Crochet Summertime Scarf
-
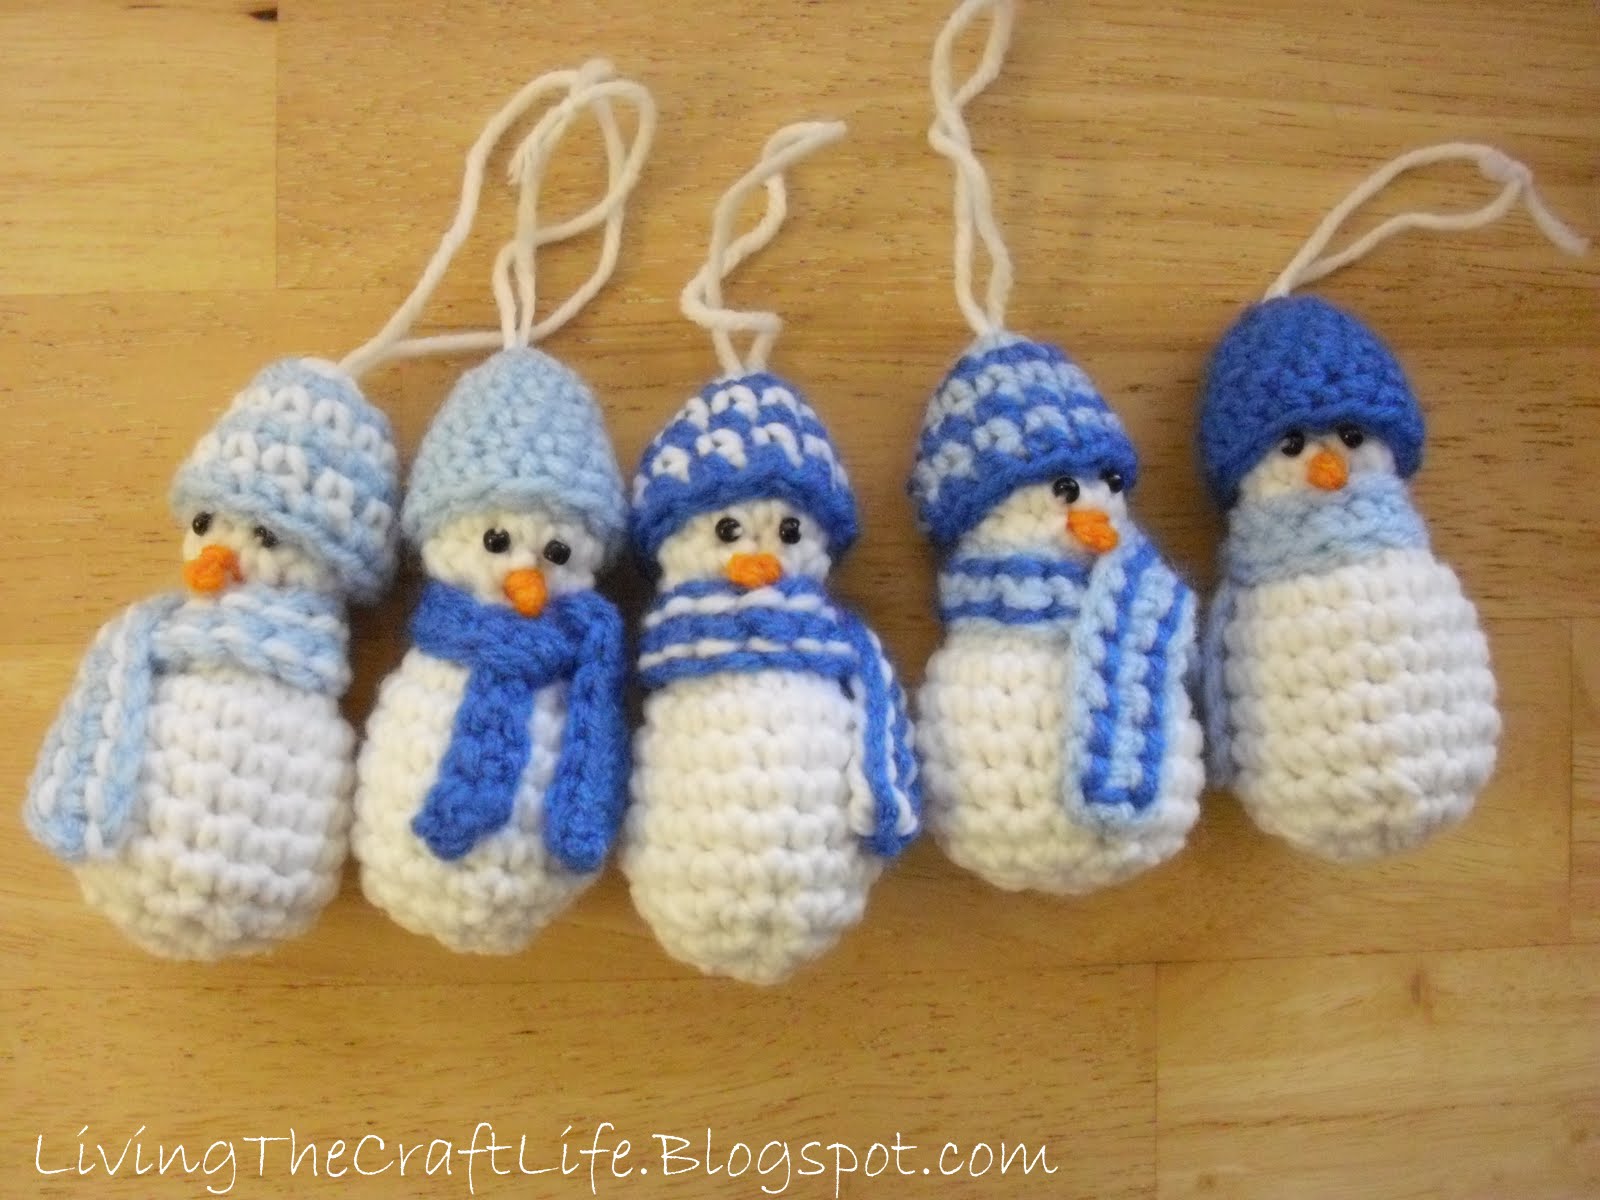 Crochet Mini Snowman Christmas Ornament
-
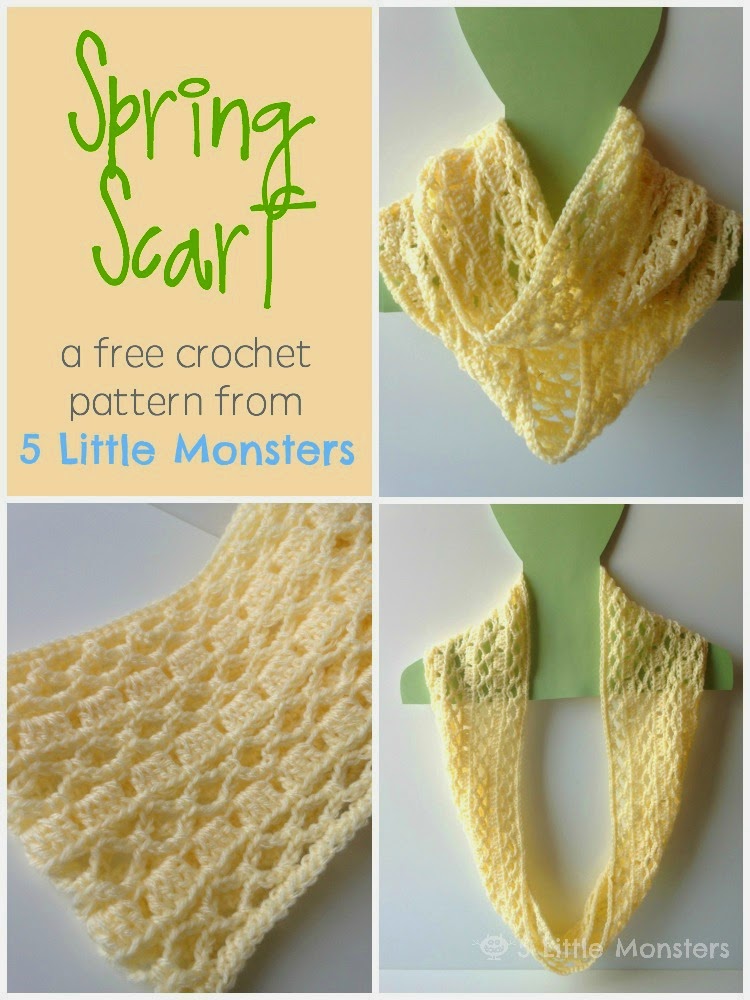 Crochet Spring Scarf
- Knitting Ideas
-
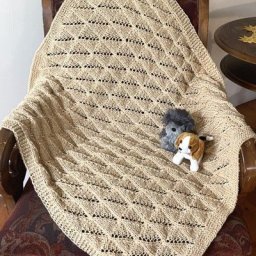 Knitted Pleated Lace Blanket
-
 Knitted Meerkat Dishcloth
-
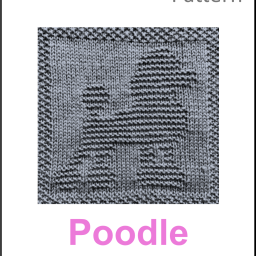 Knitted Poodle Dog Dishcloth