Crochet Sushi Amigurumi - Free Crochet Pattern

Discover the delightful world of Crochet Sushi Amigurumi, where the art of crochet meets the charm of Japanese cuisine. These adorable little creations are perfect for anyone who loves sushi and wants to add a touch of cuteness to their life. Each piece is meticulously handcrafted using colorful yarn and a crochet hook, resulting in a miniature sushi masterpiece that you can hold in the palm of your hand.
Materials:
Yarn
Crochet Hook
Additional Information:
- Difficulty: Easy
- Size: 1.5" tall, 2" wide
Sushi:
Start in Pink
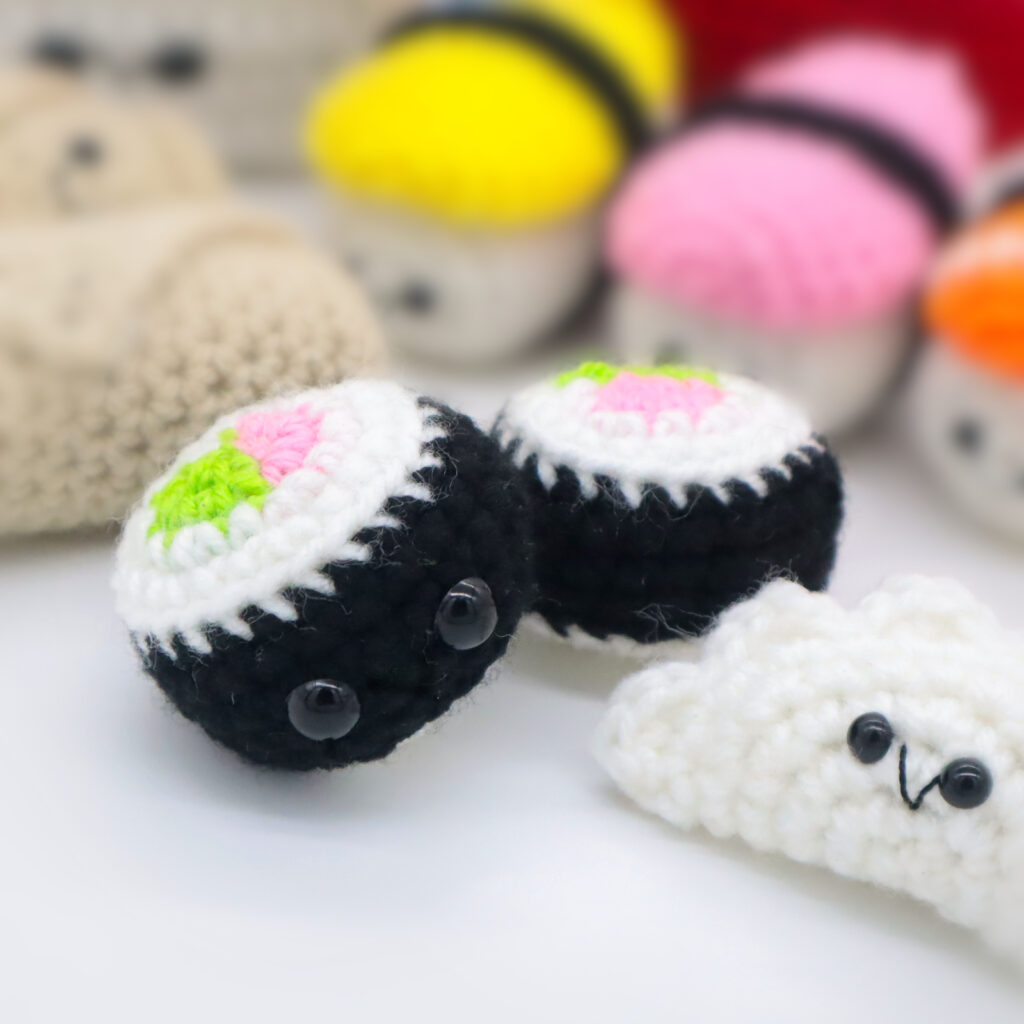
Round 1: In pink, make 3 Sc into a Magic Ring.
Change to green and make 3 more Sc into the Magic Ring (6)
Round 2: Change to pink. *Inc* in the next 3 st.
Change to green, *Inc* in the next 3 st (12)
Round 3: Change to white, *Inc, Sc in the next st* all around (18)
Round 4: *Inc, Sc in the next 2 st* all around (24)
Round 5: Change to black. Working in the Back Loop Only (BLO), *Sc* all around (24) Round 6-7: Working in BOTH loops, *Sc* all around (24)
Now we will mark where to place the safety eyes. Add a different colored stitch marker into the 14th and 17th stitch. Later we will replace these markers with safety eyes.
Round 8-9: *Sc* all around (24)
Add the eyes into the marked areas now.
Round 10: Change to white. Working in the BLO, *Dec, Sc in the next 2 st* all around (18)
Stuff here. Continue stuffing after each round.
Round 11: Working in BOTH loops, *Dec, Sc in the next st* all around (12)
Round 12: *Dec* all around (6)
Finish off, leaving a long tail for sewing. Sew the remaining stitches closed and weave in ends. Cut any excess yarn.
Smile:
In Black Embroidery Thread
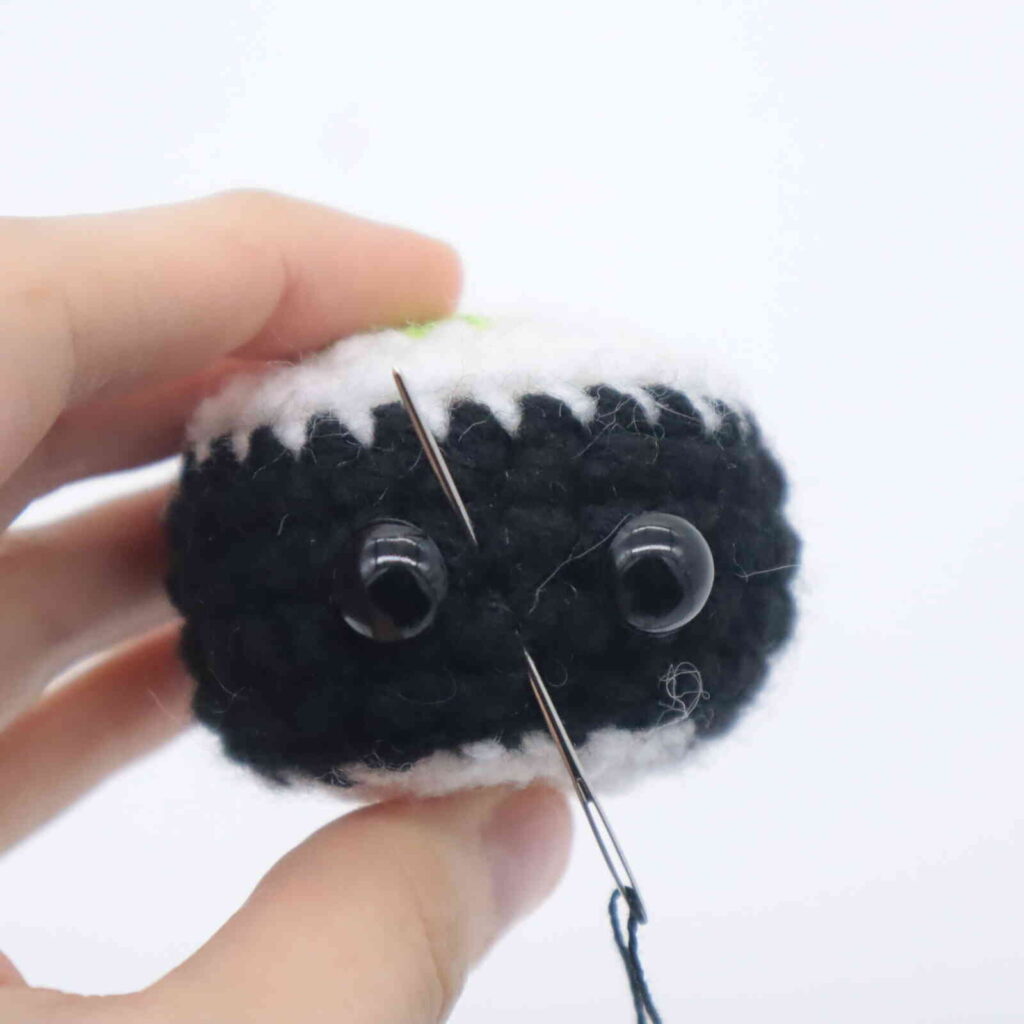
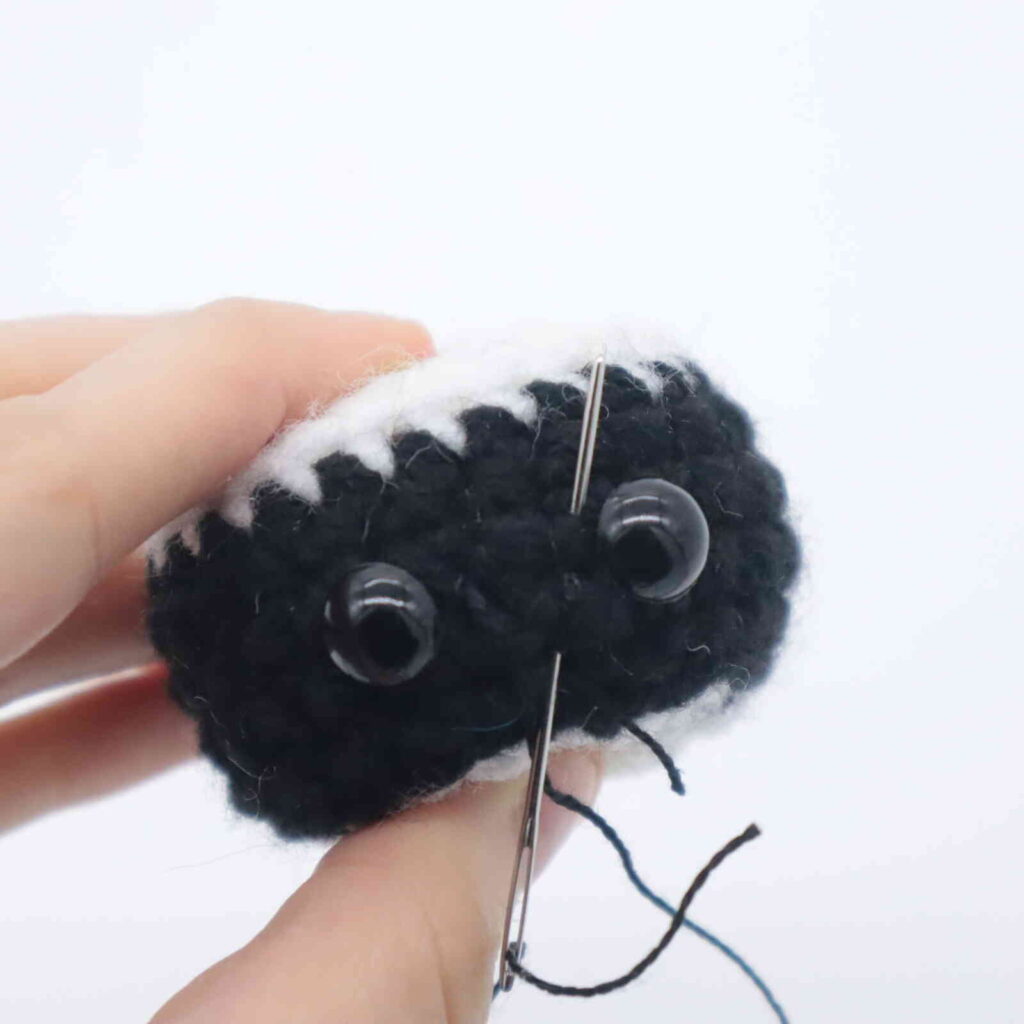
Insert needle into the middle area of the toy as shown (Pic 1) and pull needle out at the left of the toy's eye as shown (Pic 1). Reinsert needle into the middle of the toy (Pic 2) and pull needle out next to the toy's right eye (Pic
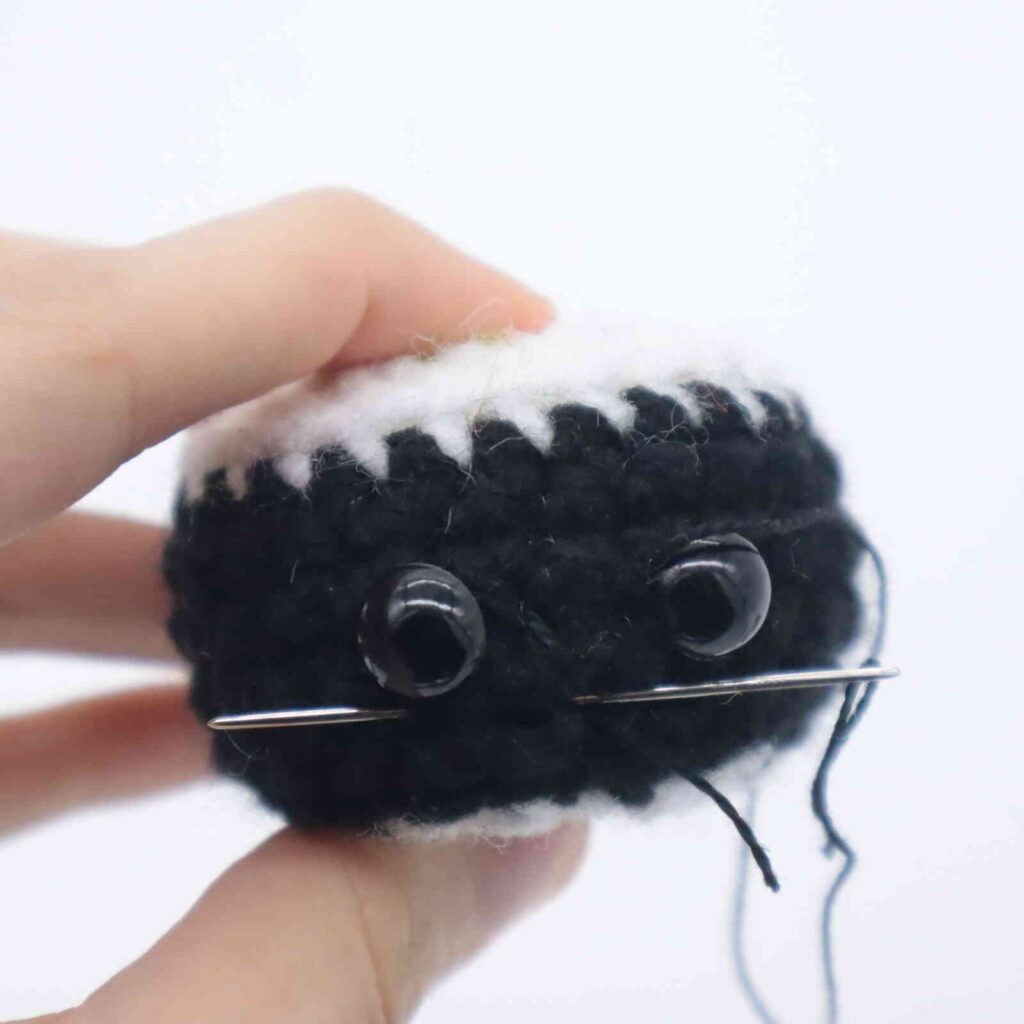
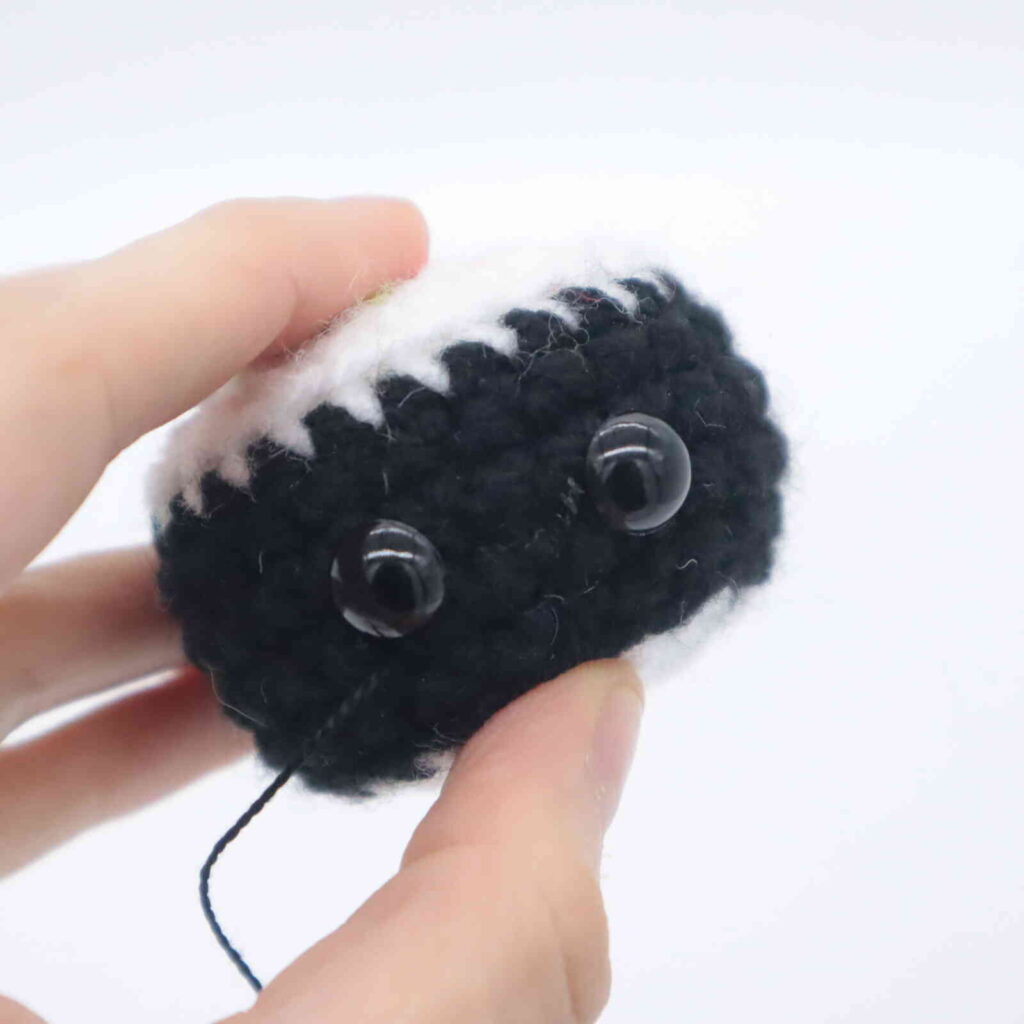
2). Reinsert needle into the middle of the toy as shown (Pic 3) and pull needle out nearby.
Tie ends of thread into firm knots and bring knots inside the toy to hide. Cut any excess
yarn.
Done

