Crochet Candy Cane Holder


If you’re looking to spruce up your holiday decor with a touch of handmade charm, consider creating a crochet candy cane holder! This delightful project not only adds a cozy and festive flair to your space but also doubles as a practical way to store and display your sweet treats. With just a few basic crochet stitches and some colorful yarn, you can whip up these adorable holders in no time.
What you will need
Size J (UK 4mm) Crochet Hook
DK thickness yarn in your chosen colour
Needle for sewing in your ends
Scissors
Standard size Candy Cane sweet
Stitches used
CH – Chain
SC – Single Crochet
DC – Double Crochet
SK – Skip next stitch
Pattern – worked in rows
Row 1 – Start by Creating a Chain of 25+1 (26 total)
Row 2 – The extra chain counts as the first single crochet on this row. Then you need to SC in each chain to the end, so an extra 24 to give 25 stitches in total.
Row 3 – CH3 and turn. DC in the same stitch. *Ch1, Sk1, DC in the next* Repeat once more. Ch1, Sk1, 2xDC in the next. Ch1, 2DC in the next repeat another 3 times. You’ll now have 4 sets of 2 DC in 1 stitch will create the curve for the top of the candy cane.
*Ch1, Sk1, DC in the next* Repeat another 6 times for 7 in total. DC in the last stitch
There are 2 options for row 4. The cream candy cover has a more ruffled edge where as the red one is much more flat. Both options are written below so that you can decide which you prefer.
Row 4 – Option 1 (like the cream candy cover)
CH1 and turn (this counts as your first stitch) SC in the next stitch. *DC in the top of the DC from the previous round, Ch1, DC in the same stitch, Ch1, DC in the same stitch, Sc in the top of the next DC from the previous round*. Repeat from * to * until you reach the end. Even when there are 2 DC’s together from the previous row you still alternate between 3x DC and a SC.
You can either tie off here of you can slip stitch across the Ch3 from the previous row and tie off with your starting loose end and weave in together.
Row 4 – Option 2 (like the red candy cover)
CH1 and turn (this counts as your first stitch) SC in the space from the previous row. *DC in the top of the DC from the previous round 3 times, Sc in the top of the next DC from the previous round*.Repeat from * to * until you reach the end. Even when there are 2 DC’s together from the previous row you still alternate between 3x DC and a SC.
You can either tie off here of you can slip stitch across the Ch3 from the previous row and tie off with your starting loose end and weave in together.
- Recipes
-
 Cilantro Lime Rice
-
 Sweet Potato Soup with Roasted Cauliflower Crumbles
-
 Americano Cocktail
- Funny Pictures
-
 Incredible Animal Pics to Have Some Good Time
-
 Totally Wholesome Doggo Memes
-
 Cute and Adorable Animals for You
- Crochet Ideas
-
 Crochet Crop Top
-
 Crochet Easter Sheep and Duck Egg Bags
-
 Crochet Summer Top
- Lifehacks
-
 How to Crochet the Plaid Stitch Photo Tutorial
-
 How To Crochet The 3-Colored Crosshatch Stitch Tutorial
-
 Flower With Stem Stitch Photo Tutorial
- DIY
-
 Crochet Smiling Flowers
-
 Use Shower Curtain Rings to Make Your Table Prettier
-
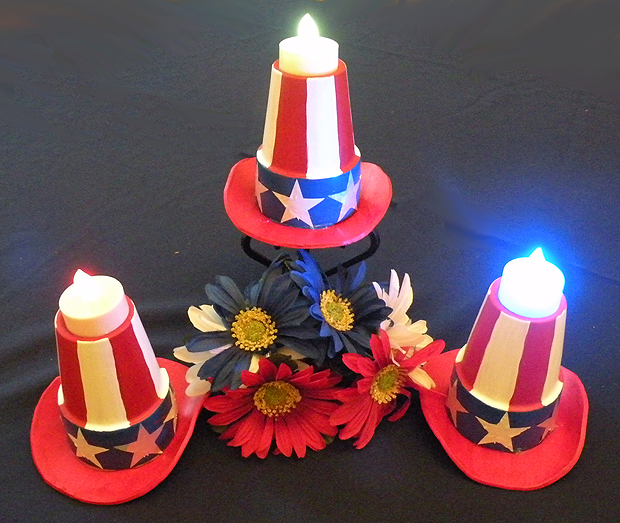 Uncle Sam Hat Candle Holders
- Knitting Ideas
-
 Knitted Tank Top
-
 Knitted Pom-Pom Booties
-
 Knitted Rabbit Dolls