Crochet Dish Towel Toppers: A Fun and Functional Craft

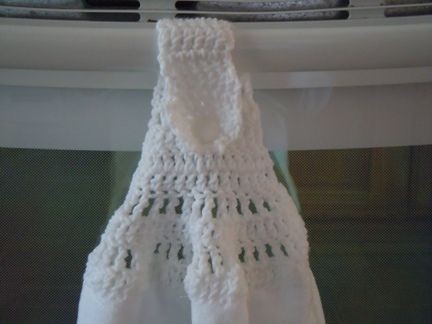
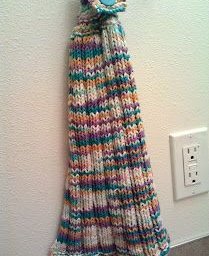
Crochet dish towel toppers are a fantastic way to add a personal touch to your kitchen decor while keeping your dish towels neatly in place. These handy creations not only look cute but are also functional and easy to make.
By crocheting a simple band with a button closure, you can easily attach your dish towel and hang it wherever you need it. Plus, you can customize the colors and designs to match your kitchen style or create festive versions for different seasons.
Whether you're a seasoned crocheter or just starting out, making dish towel toppers is a fun and rewarding project that will surely brighten up your kitchen ambiance. Happy crafting!
Crochet Supplies
- Worsted weight yarn; 1oz
- 3/4" Shank button
- Kitchen towel*
- Crochet hook; size G or H
- Metal yarn needle
* One kitchen towel makes two hanging towels.
Instructions
Cut the dishtowel in half. It's a good idea, but not completely necessary, to run a zigzag stitch along the cut edges with your sewing machine to prevent raveling.
Working with just one towel half (put the other one aside to make a second hanging towel later), thread a piece of yarn onto a metal yarn needle. Knot the end of the yarn about 6" from the end. Whip stitch (overcast stitch) 54 stitches across the cut edge of the towel. Knot off. Weave the edges of the yarn into the back side of the whip stitches and cut yarn close to your work.
Row Instructions
Row 1: DC in each of the whip stitches across; ch 2 turn (54 stitches)
Row 2: TC in 1st st *sk 1; tc in next st. Repeat from * to end of row. ch 2 turn (27 stitches)
Row 3: DC in each st; ch 2 turn (27)
Row 4: Repeat Row 2 (14)
Row 5: DC in each st; ch 2 turn (14)
Row 6: DC in 1st st; sk 1 st; dc in remaining stitches; ch 2 turn (13)
Row 7: Repeat Row 6 (12)
Row 8: DC in 1st st; sk 1; dc in next 8; sk 1; dc in last st; ch 2 turn (10)
Row 9: DC in 1st st; sk 1; dc in remaining stitches; ch 2 turn (9)
Rows 10 - 12: Repeat row 9 (you will have 6 stitches after completing row 12)
Rows 13 - 15: DC in each st; ch 2 turn (6)
Row 16: 2 DC in 1st st; dc in remaining stitches; ch 2 turn (7)
Row 17: Repeat Row 16 (8)
Row 18: DC in 1st 3 stitches; sk 2; dc in remaining stitches; ch 1 turn (6) [the sk 2 in this row makes the button hole]
Row 19: *sk 1; sc in next st. Repeat from * across row (3)
Row 20: SK 1; sl st in next st; fasten off and weave loose ends back into your work.
Sew a button to the center of the 6th row.
- Recipes
-
 Chickpea Tikka Masala
-
 Salt and Pepper Tofu (椒盐豆腐)
-
 Raspberry Rose Choux Cream Puffs
- Funny Pictures
-
 Spot on Memes That Just Make Sense
-
 Some Memes That are Just About Us
-
 The Harsh Truth About the Everyday Life of Adults
- Crochet Ideas
-
 Crochet Lace Poncho
-
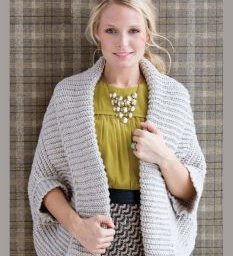 Crochet Ribbed Shrug
-
 Crochet Beautiful Lobster
- Lifehacks
-
 Woven Shell Crochet Stitch Photo Tutorial
-
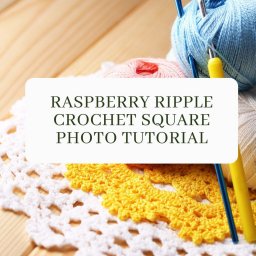 Raspberry Ripple Crochet Square Photo Tutorial
-
 Tripple Puff Crochet Granny Square Photo Tutorial
- DIY
-
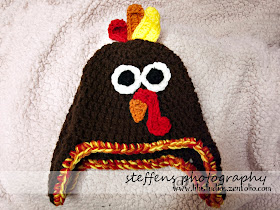 Crochet Tilly The Turkey Hat
-
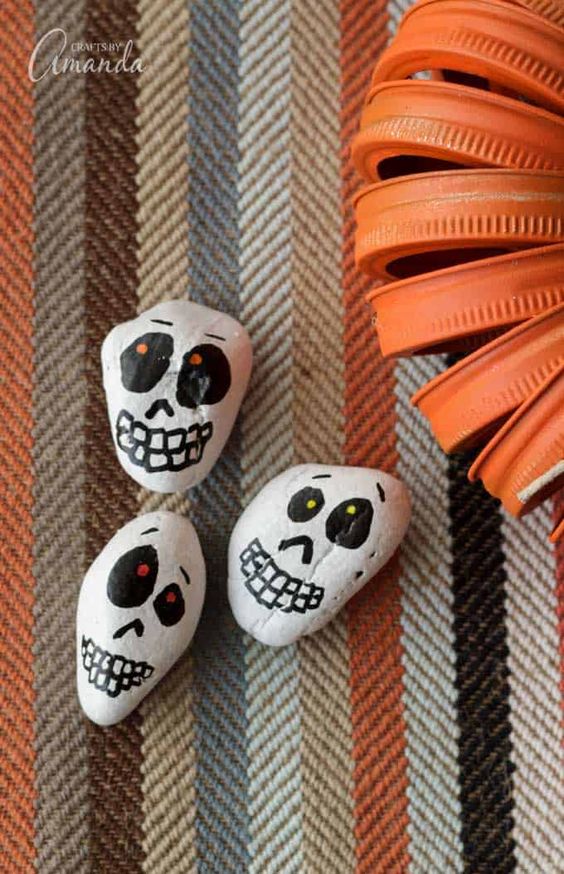 Cute Skull Rocks
-
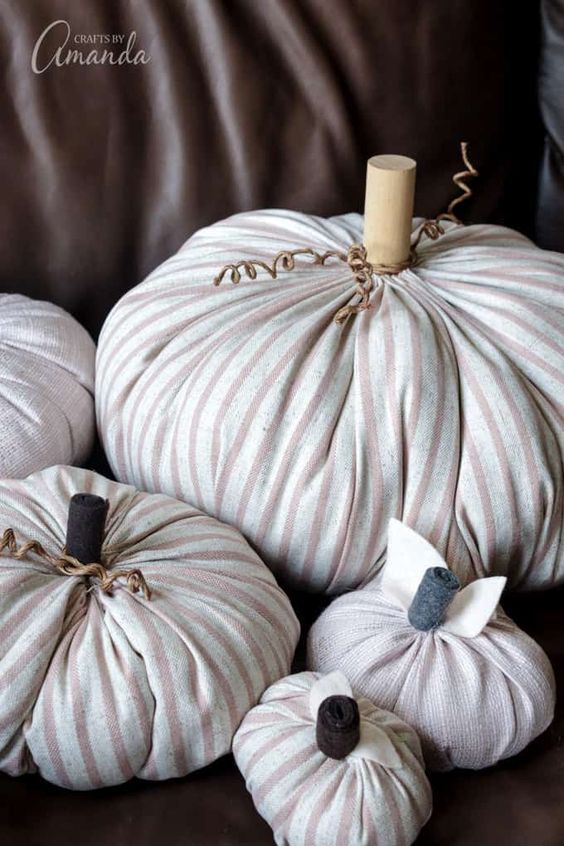 Easy Fabric Pumpkins
- Knitting Ideas
-
 Knitted Christmas Candle Cloth & Towels
-
 Knitted Button-top Ribbed Hand Towel
-
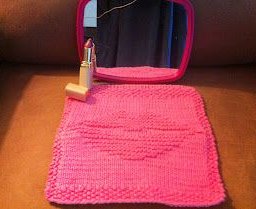 Knitted Kiss Me Lips Dishcloth