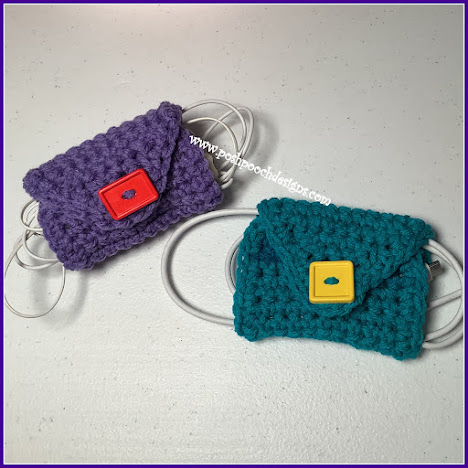
How to Create a Stylish Crochet Cord Wrap


Project Overview
Transforming a simple crochet cord into a stylish and practical cord wrap can be a fun and creative project. By using different colors and textures of yarn, you can customize the wrap to suit your personal style. Crochet cord wraps are not only functional for keeping cords organized and tangle-free, but they also make great gifts for friends and family.
With just a few basic crochet stitches, you can create a unique and useful accessory that will add a touch of handmade charm to your everyday life. Whether you prefer a sleek and minimalist design or a more intricate pattern, the possibilities are endless when it comes to crochet cord wraps. You can experiment with different stitch patterns, add embellishments like buttons or beads, or even incorporate other techniques like embroidery or appliqué to make your cord wrap truly one-of-a-kind. So grab your crochet hook and some yarn, and get ready to create a practical and stylish accessory that will help you stay organized in a fashionable way.
Skill Level
Easy
Materials
- Hook: H / 5.00 mm
- Worsted Weight Yarn
- 1 button, 0.5 inch
Stitches
- Chain (ch)
- Single Crochet (sc)
- Single Crochet Together (Sctog)
Dimensions
Size: 8 X 4 Inches
Pattern
RND 1: Ch 11, 1 sc in the 2nd ch from the hook, 1 sc in each ch across, ch 1, turn (10 sc)

RND 2: 1 sc in each sc, ch 1, turn (10 sc)
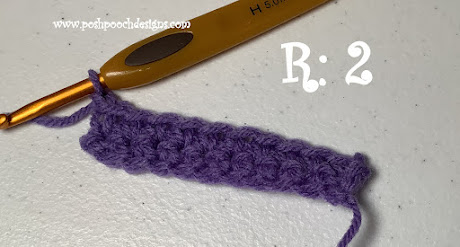
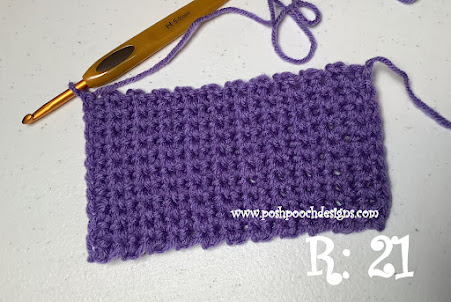
RND 3 to RND 21: Repeat RND 2
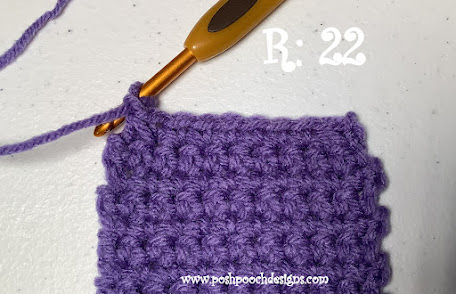
RND 22: Sctog 1st 2 sc, 1 sc in the next 6 sc, Sctog the last 2 sc, ch 1, turn (8 sc)
RND 23: Sctog 1st 2 sc, 1 sc in the next 4 sts, Sctog the last 2 sc, ch 1, turn (6 sc)
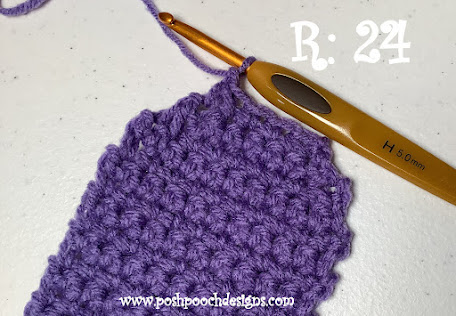
RND 24: Sctog 1st 2 sc, then ch 2, Sctog the last 2 sc, ch 1, turn (4 sc)
RND 25: st 1st 2 sc together, then ch 4, st the last 2 sc together, ch 1

Sc evenly down the side of the wrap, across the bottom, back up the other side, continue to sc to the ch 4 space, 5 sc in the ch 4 space then sc the other side of the wrap. Join to the first sc, tie off. Weave in your ends.
Sew the button on the opposite end and use it.
- Recipes
-
 Crispy Chicken Tacos
-
 Apple Enchiladas
-
 One Pan Chicken Shawarma and Rice
- Funny Pictures
-
 Some Memes to Get You Into Halloween Spirit
-
 Funny Memes to Enlighten Your Mood
-
 The Best Tweets: Laughter is Inevitable
- Crochet Ideas
-
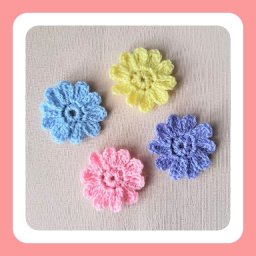 Crochet 10 Petal Flower
-
 Crochet Puff Sleeve With Ribbed Cuffs Top
-
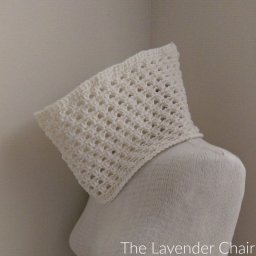 Crochet Lazy Daisy Cowl
- Lifehacks
-
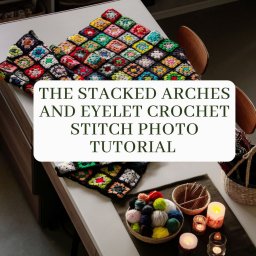 The Stacked Arches and Eyelet Crochet Stitch Photo Tutorial
-
 The Diagonal Shell Mesh Crochet Stitch Photo Tutorial
-
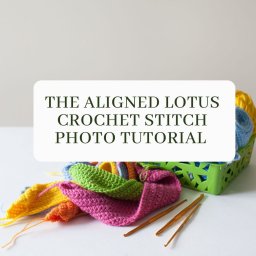 The Aligned Lotus Crochet Stitch Photo Tutorial
- DIY
-
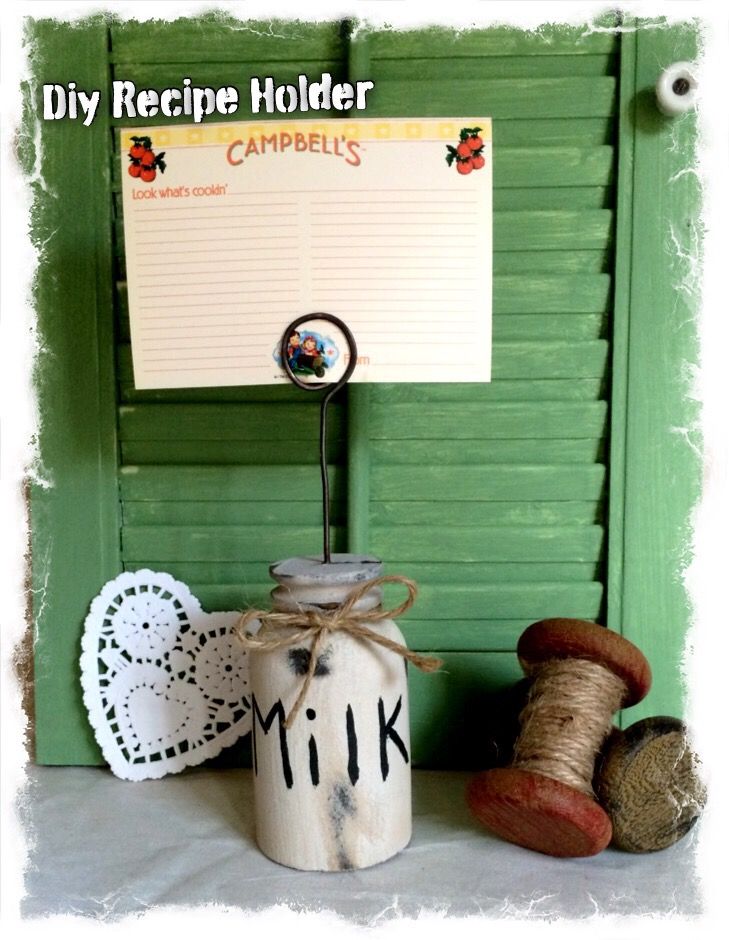 DIY Recipe Card Holder
-
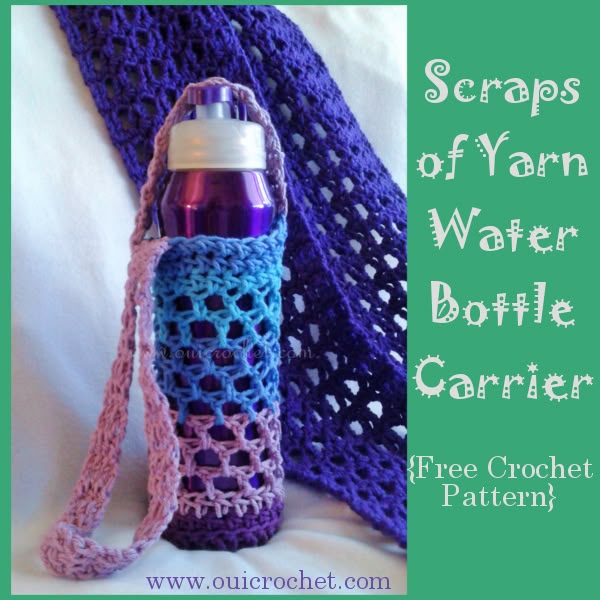 Crochet Yarn Water Bottle Carrier
-
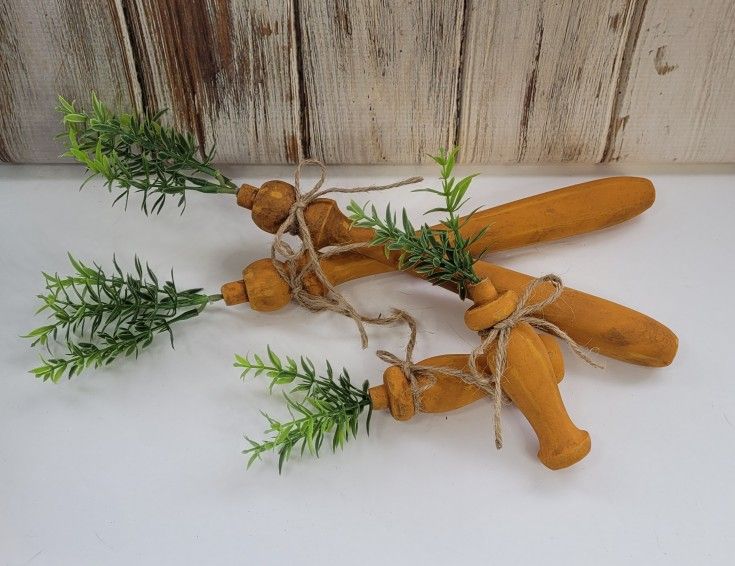 DIY Wooden Spindle Carrots
- Knitting Ideas
-
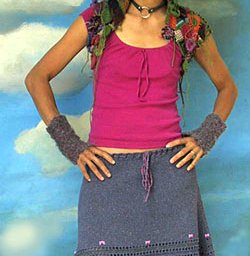 Knitted Eyelet Skirts
-
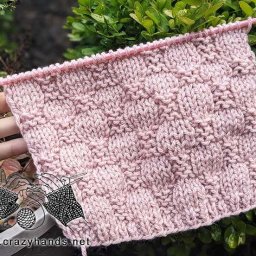 Knitted Basketweave Stitch
-
 Knitted Beautiful Handbag