Crochet Suzette Neck Warmer – Free Crochet Pattern

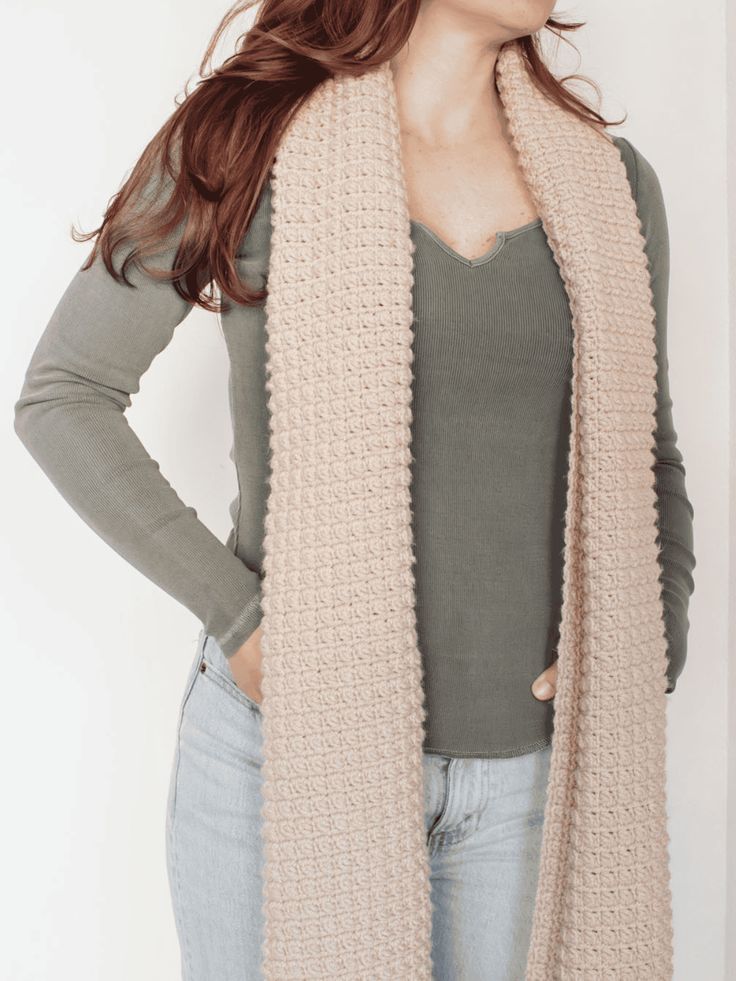
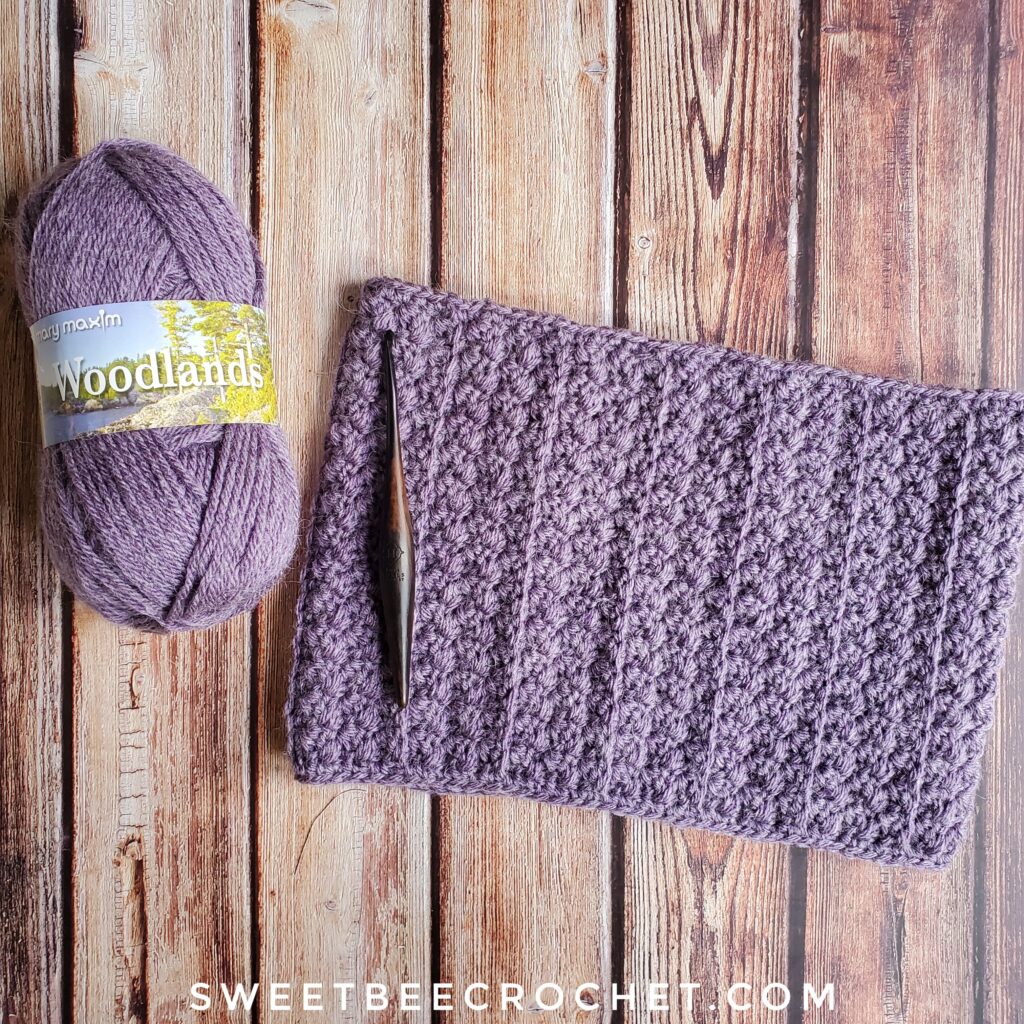
Introducing the Crochet Suzette Neck Warmer, a stylish and cozy accessory that will keep you warm during the chilly winter months. This neck warmer is not only functional but also adds a touch of elegance to any outfit. Handcrafted with love and attention to detail, it features a unique Suzette stitch pattern that creates a beautiful texture and adds visual interest.
Notes:
- This pattern is written in US terms
- Laying flat, after seaming and adding edges measures approx. 12 ½ x 8 ½ inches
- Gauge is 2×2 inches = 2 inches tall (rows 1-6), 2 inches wide (suzette stitch x4)
- Beginning CH 1 does not count as a stitch throughout the neck warmer. Beginning CH 1 does count as a stitch for the edging.
- Special stitch tutorials are included within the pattern
- This neck warmer can be adjusted in size by increasing or decreasing the row repeat. Please note that doing so will change the yardage required
Materials Needed:
- Approximately 226 yards of worsted weight yarn.
- 5mm hook
- Yarn needle
- Scissors
- Measuring tape
Stitches:
CH – Chain
SK – Skip Stitch
SS – Slip Stitch
SC – Single Crochet
DC – Double Crochet
Special Stitch Tutorial:
Suzette Stitch – One SC and one DC are placed into the same stitch. Skip the next stitch. Repeat across the row. After the last skipped stitch of the row, place 1 SC.
Back Loop Single Crochet – Instead of making your single crochet into the traditional stitch space (under top 2 loops), make your single crochet stitch only into back loop of the stitch (the one furthest from you).
Pattern:
Begin with CH 30 and start row 1 in the second CH from your hook.
Rows 1-5:Into the first stitch, place 1 SC and 1 DC. SK the following stitch. *In the next stitch place 1 SC and 1 DC, SK the next stitch*. Repeat this sequence from * to * 12 more times across the row until you have two stitches remaining. SK 1 stitch and place 1 SC into the last stitch of the row. CH 1 and turn.
(15 SC stitches, 14 DC stitches = 29 stitches)
Row 6:
Into the first stitch and each stitch across, place 1 BLSC. CH 1 and turn.
(29 BLSC stitches)
Repeat rows 1-6 (12 more times) with your last row being BLSC. At this point, lying flat your project should measure approximately 25 inches in length and 8 inches wide. Fold your edges into the centre to meet to determine if the sizing is right for you. If you’d like it more fitted or loose, please adjust accordingly by removing a repeat segment OR adding more.
Seaming:
Bring your two short ends together and use your preferred method for seaming (I like using the invisible seam). Join your two ends, fasten off and ensure your textured side with the ridges are facing out.
Edging:
Join yarn into the edge at the seam with a SS and CH 1 (counts as 1 SC). Evenly place 1 SC around, finishing with a SS into the beginning CH 1. Fasten off and repeat for the second edge. Weave in all ends. Great job! Simple Suzette Neck Warmer is complete!


