CrochetMenScarvesHatsGlovesSweatersCardigansSocksOther clothingWomenScarvesHatsGlovesShawls and cover upSweatersCardigansSocksSlippersBagsOther clothingChildrenScarvesHatsGlovesSweatersCardigansSocksSlippersOther clothingHomeBlankets and plaidsRugsHome decorationsPetsSchemesKnittingOther hand-madeChat
Crochet Sheep Pouch
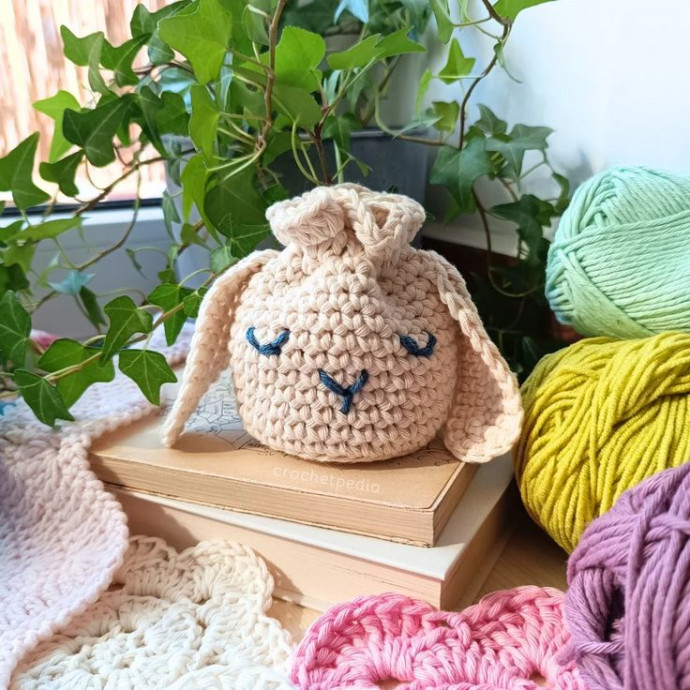
The crochet sheep pouch is as adorable as it is practical. This charming little accessory is perfect for storing your small items in style. The fluffy sheep design adds a touch of whimsy to any outfit or bag, making it a fun conversation starter wherever you go. Whether you use it to hold your coins, keys, or even some lip balm, this pouch is sure to bring a smile to your face every time you reach for it.
Materials and Tools
- Yarn: 1 skein of Drops Paris (50 g, 100% cotton). I used about 25 g to make one pouch.
- 4.5 mm crochet hook
- scissors
- yarn needle
- embroidery thread (optional)
REMEMBER! If you choose a different yarn weight, remember to use a corresponding hook size, and be prepared for the final product to have different measurements.
Measurements
the pouch is 9 cm (3.5 in) high, and its base is 6 cm (2.4 in) in diameter.
Stitches and Abbreviations
- magic ring
- ch – chain stitch
- sl st – slip stitch
- sc – single crochet
- hdc – half double crochet
- dc – double crochet
- st – stitch
- sc blo – back loop only single crochet
Sheep Drawstring Pouch Free Crochet Pattern
First, we crochet the pouch. Then, we make two ears and sew them onto the bag. Next, we braid the drawstring and weave it into the bag. Lastly, we embroider the face.
Notes
- The numbers in brackets (#) signify the overall stitch count for a given row or round.
- 1 ch at the beginning of the round (turning chains for single crochet) don’t count as a stitch and aren’t included in the overall stitch count.
- 2 ch and 3 ch at the beginning of the round (turning chains for half double crochet and double crochet) do count as a stitch and are included in the overall stitch count.
The Pouch
Start: magic ring
Round 1: Ch 1, 6 sc, sl st
Round 2: Ch 1, 2 sc in each st, sl st (12)
Round 3: Ch 1, *1 sc, 2 sc in one st*, sl st (18)
Round 4: Ch 1, *1 sc, 2 sc in one st, 1 sc*, sl st (24)
Round 5: Ch 1, *2 sc, 2 sc in one st, 1 sc*, sl st (30)
Round 6: 1 ch, 1 sc blo in each st, sl st (30)
Round 7: 1 ch, 1 sc in each st, sl st (30)
Rounds 8-15: Repeat row 7.
Round 16: 3 ch, 1 dc in each st, sl st (30)
Round 17: 2 ch, 2 hdc in each st, sl st (60)
Cut the yarn and weave in the yarn ends.
Drawstring
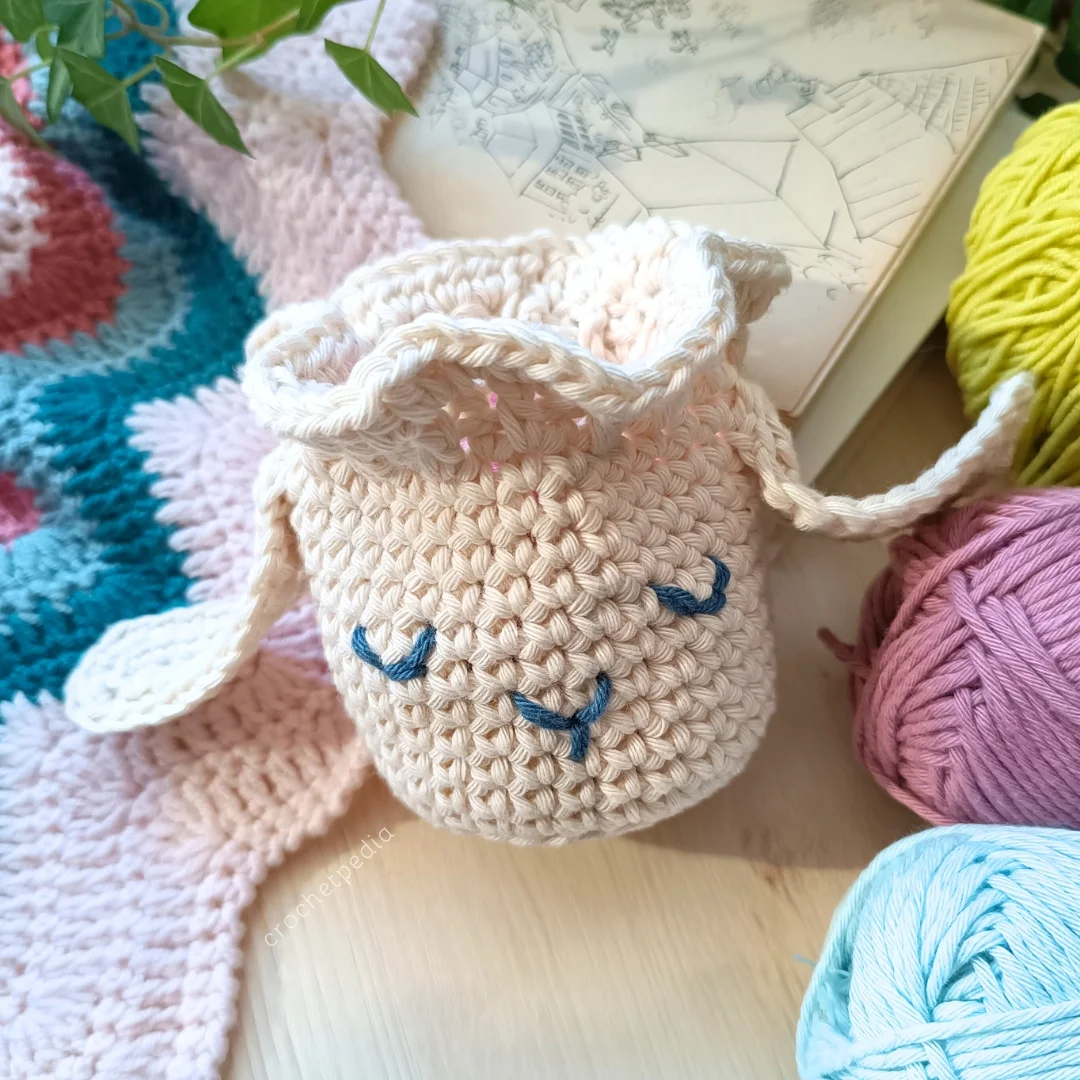
Flatten the top part of the pouch and measure its width. Double this measurement and add 10 cm (4 inches). This is the minimum length of your drawstring.
Next, braid a classic braid using three pieces of yarn to the desired length, but try it out before taking the final cut. You can also make a chain stitch instead of a braid.
In my case, the final length of the braided drawstring is 35 cm (~14 in).
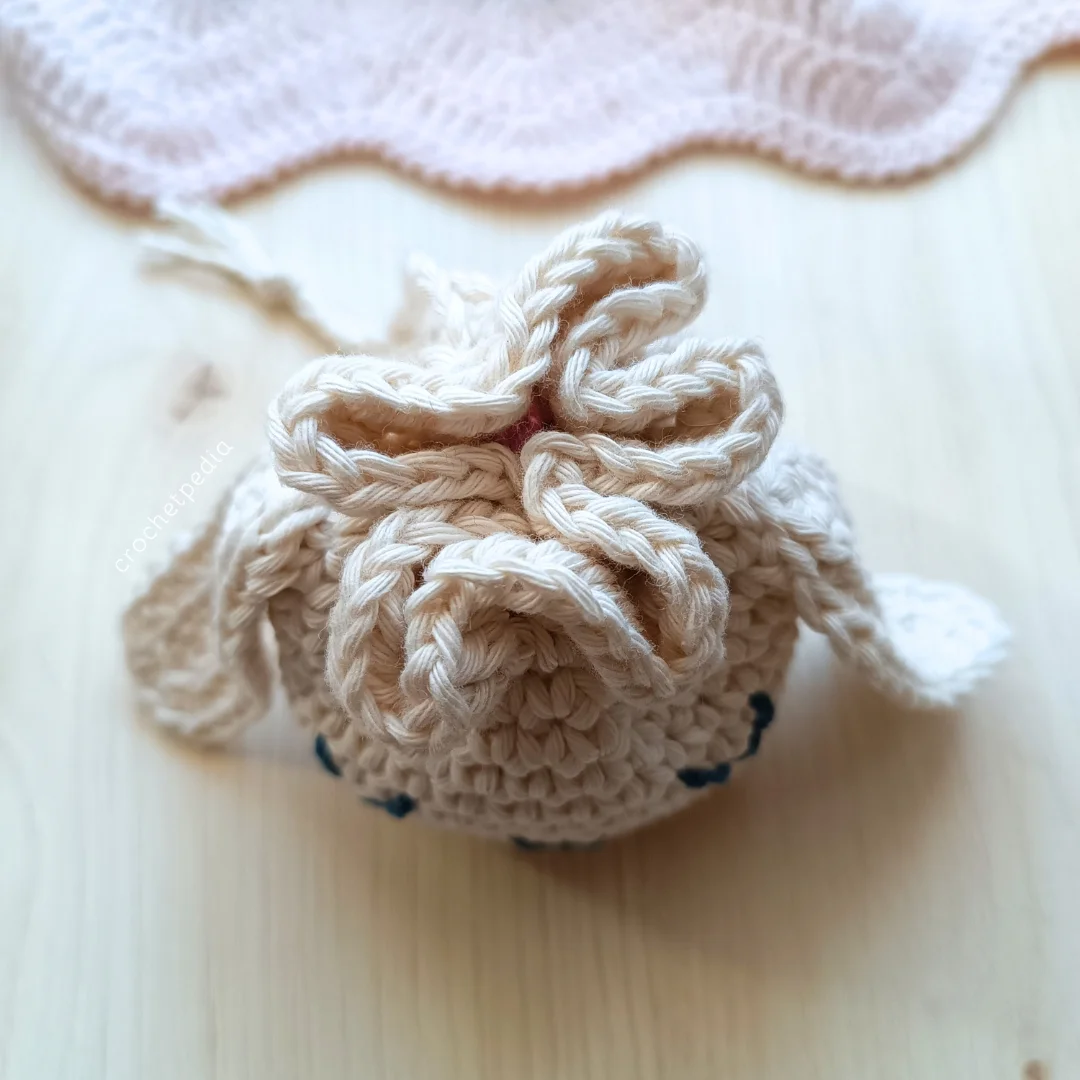
Weave it through the double crochet row in the sequence: over 1 stitch, under 1 stitch. Test if it closes completely. If everything is right, tie both ends of the drawstring.
Ears
Make two.
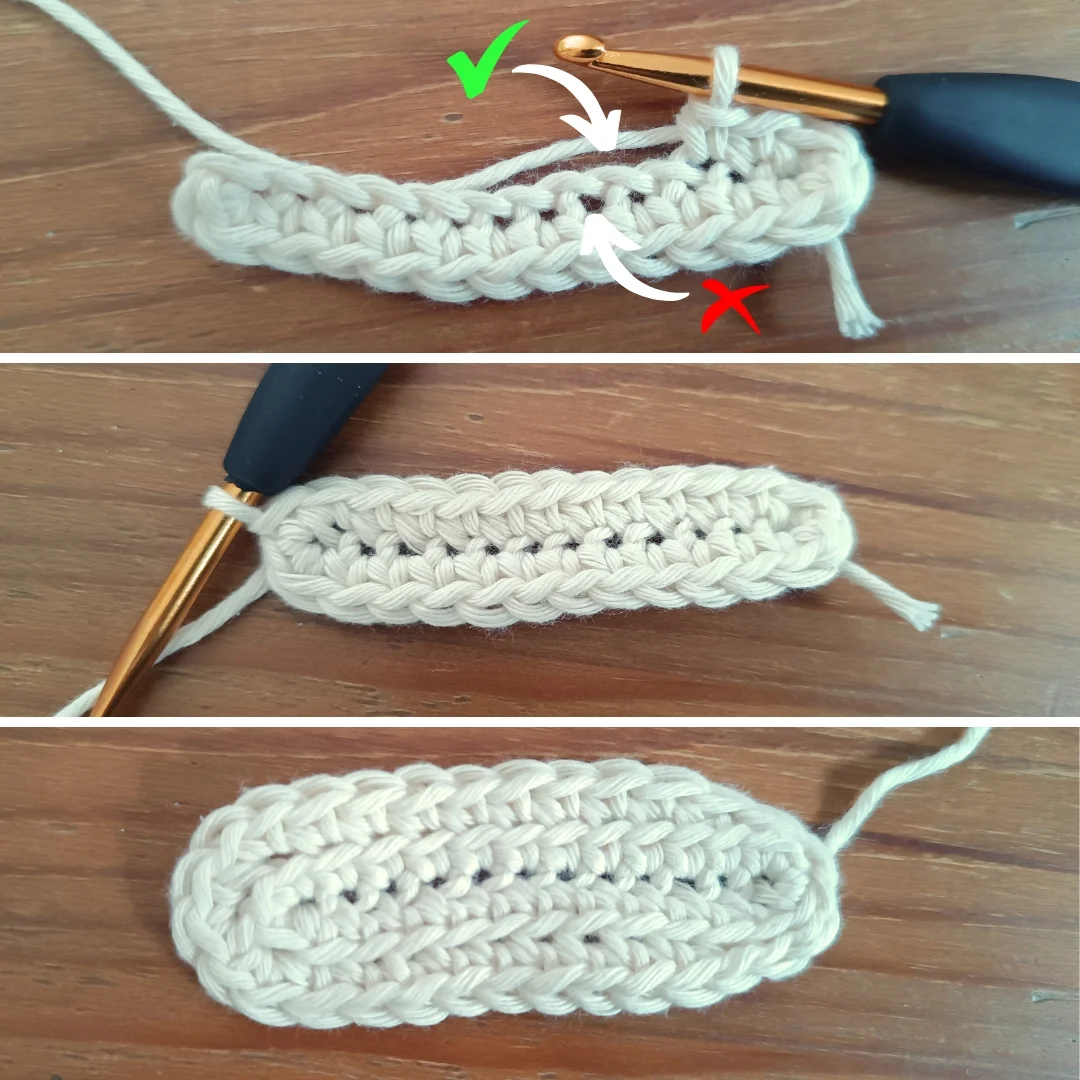
The ear is worked in the rounds, going around the initial foundation chain. It means the stitches are worked both “on top” of the chains and “from the bottom”. See photos.
To avoid gaps in the middle of the ear, work your “bottom row” under the marked yarn strand, not in the holes.
Start: Chain 12
Round 1: 1 ch, 2 sc in one st, 10 sc, 3 sc in one st (the first stitch of the foundation chain), 10 sc on the back of the chain, 1 sc (in the stitch with 2 sc already in it), close the round with a sl st.
Round 2: 2 sl st blo, 9 sc blo, *inc blo* x 3, 9 sc blo, 3 sl st blo.
Cut the yarn, secure it, and weave in the ends.
Assembly
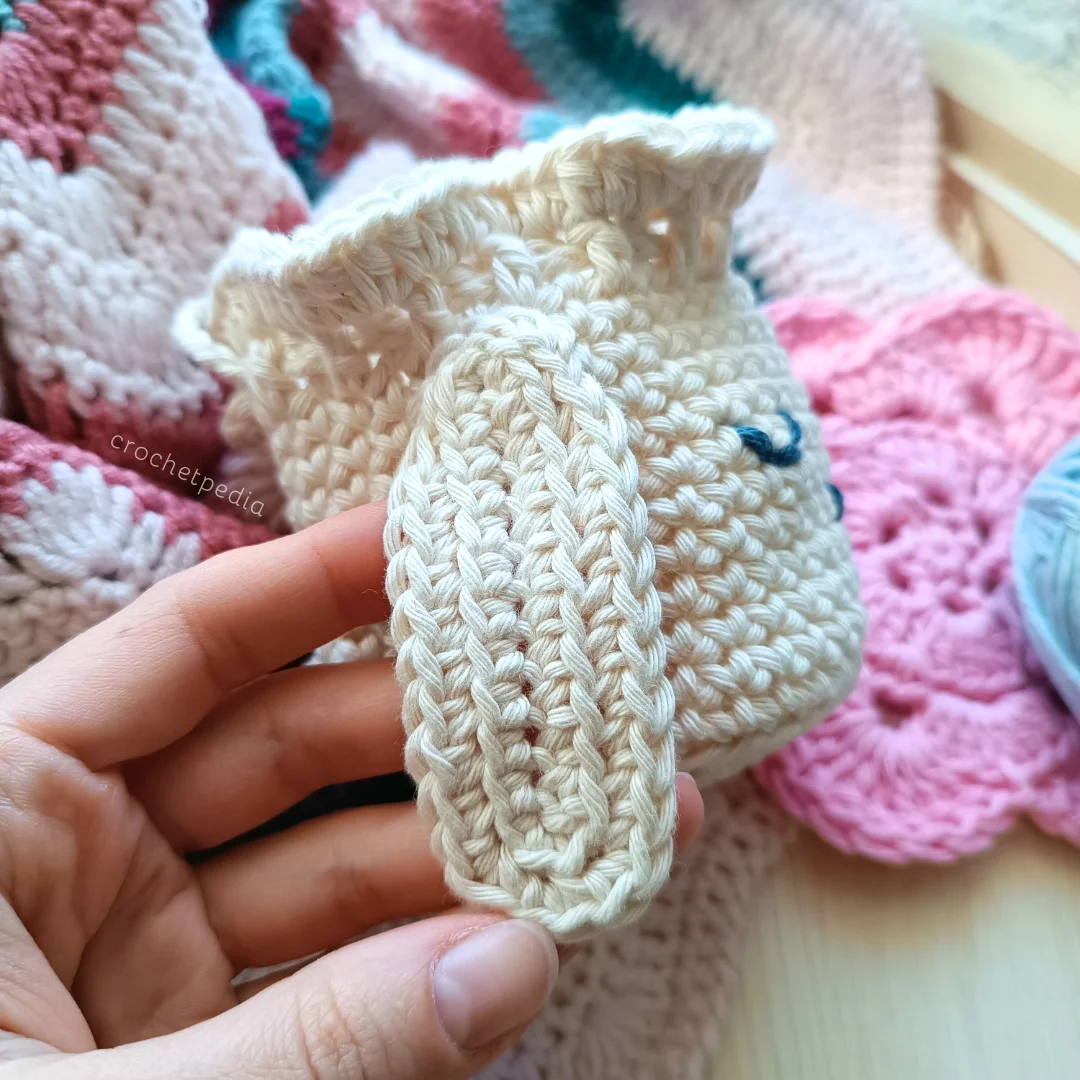
Position the ears on the opposite sides of the pouch, right below the drawstring row (the row of double crochets), so that the wider end is at the bottom.
Sew the ears to the pouch using a blunt needle and the remaining yarn in the same color. I recommend going through the top stitches and one or two side stitches of the ears.
Tie the yarn ends securely on the inside of the pouch.
Embroidery
Adding embroidery is optional.
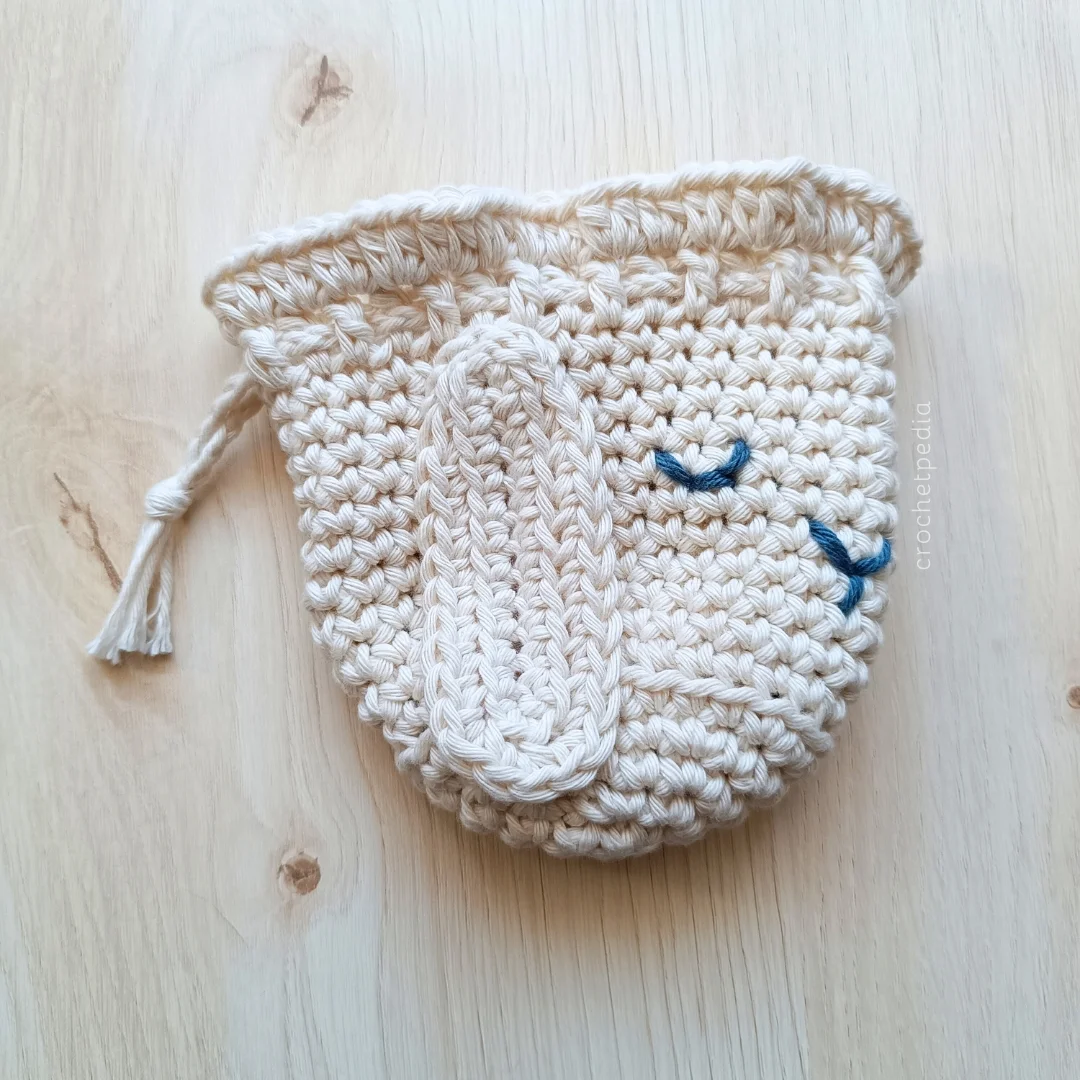
Use leftover yarn of any kind and a blunt needle to create the face of your sleepy sheep.
Tie the yarn ends on the inside securely.
No comments
Write a comment
