Crochet the Figs Oversized Crop Sweater: Step-by-Step Guide
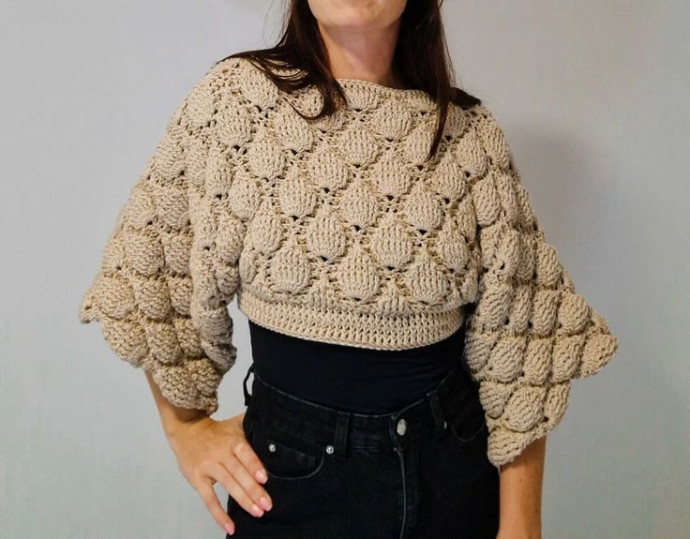
The Crochet the Figs Oversized Crop Sweater is an absolute must-have for your wardrobe! This trendy sweater combines style and comfort effortlessly, making it perfect for any occasion. The oversized fit adds a cozy and laid-back vibe, while the crochet detailing gives it a touch of charm. Whether you're heading out for a casual day or a fun night with friends, this sweater will have you looking stylish and feeling confident.
Don't miss out on adding this versatile piece to your collection – you'll love how easily it pairs with your favorite jeans or skirts!Specialty Stitch & Technique Key
Step-by-Step Guide
- Start: Chain 2.
- Yarn Over: Wrap the yarn over your hook.
- Insert Hook: Insert your hook into the first chain.
- Draw Up a Loop: Yarn over and pull up a loop. You should have three loops on your hook.
- Create the Base: Yarn over and draw the yarn through the first loop. This creates the base for your next stitch.
- Complete the Double Crochet: Yarn over and pull through two loops. Yarn over again and pull through the remaining two loops.
- Begin the Next Stitch: Yarn over and insert your hook under both loops of the base of the previous stitch.
- Repeat: Continue from step 3 to grow your foundation double crochet row.
Front Post Double Crochet (FPDC)
Step-by-Step Guide for FPDC
- Yarn Over: Start by wrapping the yarn over your hook.
- Insert Hook: Instead of inserting the hook into the top of the stitch, insert it from front to back around the post of the stitch from the previous row.
- Complete the Stitch: Yarn over and pull up a loop, then yarn over and pull through two loops. Yarn over again and pull through the remaining two loops.
Back Post Double Crochet (BPDC)
Step-by-Step Guide for BPDC
- Yarn Over: Wrap the yarn over your hook.
- Insert Hook: Insert your hook from the back to the front around the post of the stitch from the previous row.
- Complete the Stitch: Yarn over and pull up a loop. Yarn over and pull through two loops, then yarn over again and pull through the remaining two loops.
These techniques, when mastered, can elevate the texture and design of your crochet projects. The FPDC and BPDC, in particular, are essential for achieving the 3D effect in the Figs Oversized Crop Sweater. Practice them, and soon they’ll become second nature!
Join Me in Crafting This Beauty
Materials
- XS/S: 950 g / 33 oz, 1425 m / 1560 yds
- M/L: 1200 g / 42 oz, 1800 m / 1968 yds
- XL/2XL: 1450 g / 51 oz, 2175 m / 2320 yds
Finished Sizes
- XS/S, M/L, XL/2XL
- Panel Width: 103, 110.5, 118 cm
- Length: 34, 39, 43.5 cm
Stitch Key (US terminology)
- ch = chain
- st = stitch
- sts = stitches
- sl st = slip stitch
- dc = double crochet
- fpdc = front post double crochet
- bpdc = back post double crochet
- fpdc2tog = front post double crochet two stitches together
- fpdc3tog = front post double crochet three stitches together
- bpdc2tog = back post double crochet two stitches together
Specialty Stitch & Technique Key
- Ch 2
- Yarn over and insert your hook into the first chain.
- Yarn over and draw up a loop.
- Yarn over and draw yarn through the first loop on your hook. This makes a chain stitch.
- Yarn over and pull through two loops on your hook.
- Yarn over and pull through the last two loops on your hook.
- Yarn over and insert your hook under both loops of the base of the previous stitch (the chain you created in Step 4).
- Yarn over and pull up a loop.
- Yarn over and pull through 1 (like in Step 4), yarn over, and pull through 2 twice (as in Steps 5 and 6).
Keep repeating steps 7-9 to grow your foundation double crochet row.
Notes
- Ch 2 doesn’t count as a stitch.
- The sweater is made of 2 panels (front and back).
- It’s crocheted from bottom to top.
- You can lengthen the sweater by adding rows on the front and back panel (this will also result in wider sleeves), or by adding rows on the waist. The waist width can also be adjustable. Work more or less sl sts on the underarm seam for that.
Instructions
Front and back panel (make 2)
- Row 1: ch 2, turn. Dc in the 1st st, fpdc 5, *bpdc 2, (dc, ch 2, dc), bpdc 2, fpdc 5* repeat from * to the end, finishing with a dc in the last st.
- Row 2: ch 2, turn. Dc in the 1st st, bpdc2tog, bpdc, bpdc2tog, *fpdc 2, 7 dc in ch 2 sp, fpdc 2, bpdc2tog, bpdc, bpdc2tog* repeat from * to the end, finishing with a dc in the last st.
- Row 3: ch 2, turn. Dc in the 1st st, fpdc3tog, *bpdc 2, fpdc 7, bpdc 2, fpdc3tog* repeat from * to the end, finishing with a dc in the last st.
- Row 4: ch 2, turn. Dc in the 1st st, bpdc, *fpdc 2, bpdc 7, fpdc 2, bpdc* repeat from * to the end, finishing with a dc in the last st.
- Row 5: ch 2, turn. Dc in the 1st st, (dc, ch 2, dc), *bpdc 2, fpdc2tog, fpdc 3, fpdc2tog, bpdc 2, (dc, ch 2, dc)* repeat from * to the end, finishing with a dc.
- Row 6: ch 2, turn. Dc in the 1st st, 7 dc in the ch 2 sp, *fpdc 2, bpdc2tog, bpdc, bpdc2tog, fpdc 2, 7 dc in the ch 2 sp* repeat from * to the end, finishing with a dc in the last st.
- Row 7: ch 2, turn. Dc in the 1st st, fpdc 7, *bpdc 2, fpdc3tog, bpdc 2, fpdc 7* repeat from * to the end, finishing with a dc in the last st.
- Row 8: ch 2, turn. Dc in the 1st st, bpdc 7, *fpdc 2, bpdc, fpdc 2, bpdc 7* repeat from * to the end, finishing with a dc in the last st.
- Row 9: ch 2, turn. Dc in the 1st st, fpdc2tog, fpdc 3, fpdc2tog, *bpdc 2, (dc, ch 2, dc), bpdc 2, fpdc2tog, fpdc 3, fpdc2tog *, repeat from * to the end, finishing with a dc in the last st.
Repeat rows 2 – 9 until row 28. Row 28 will be the repetition of row 4.
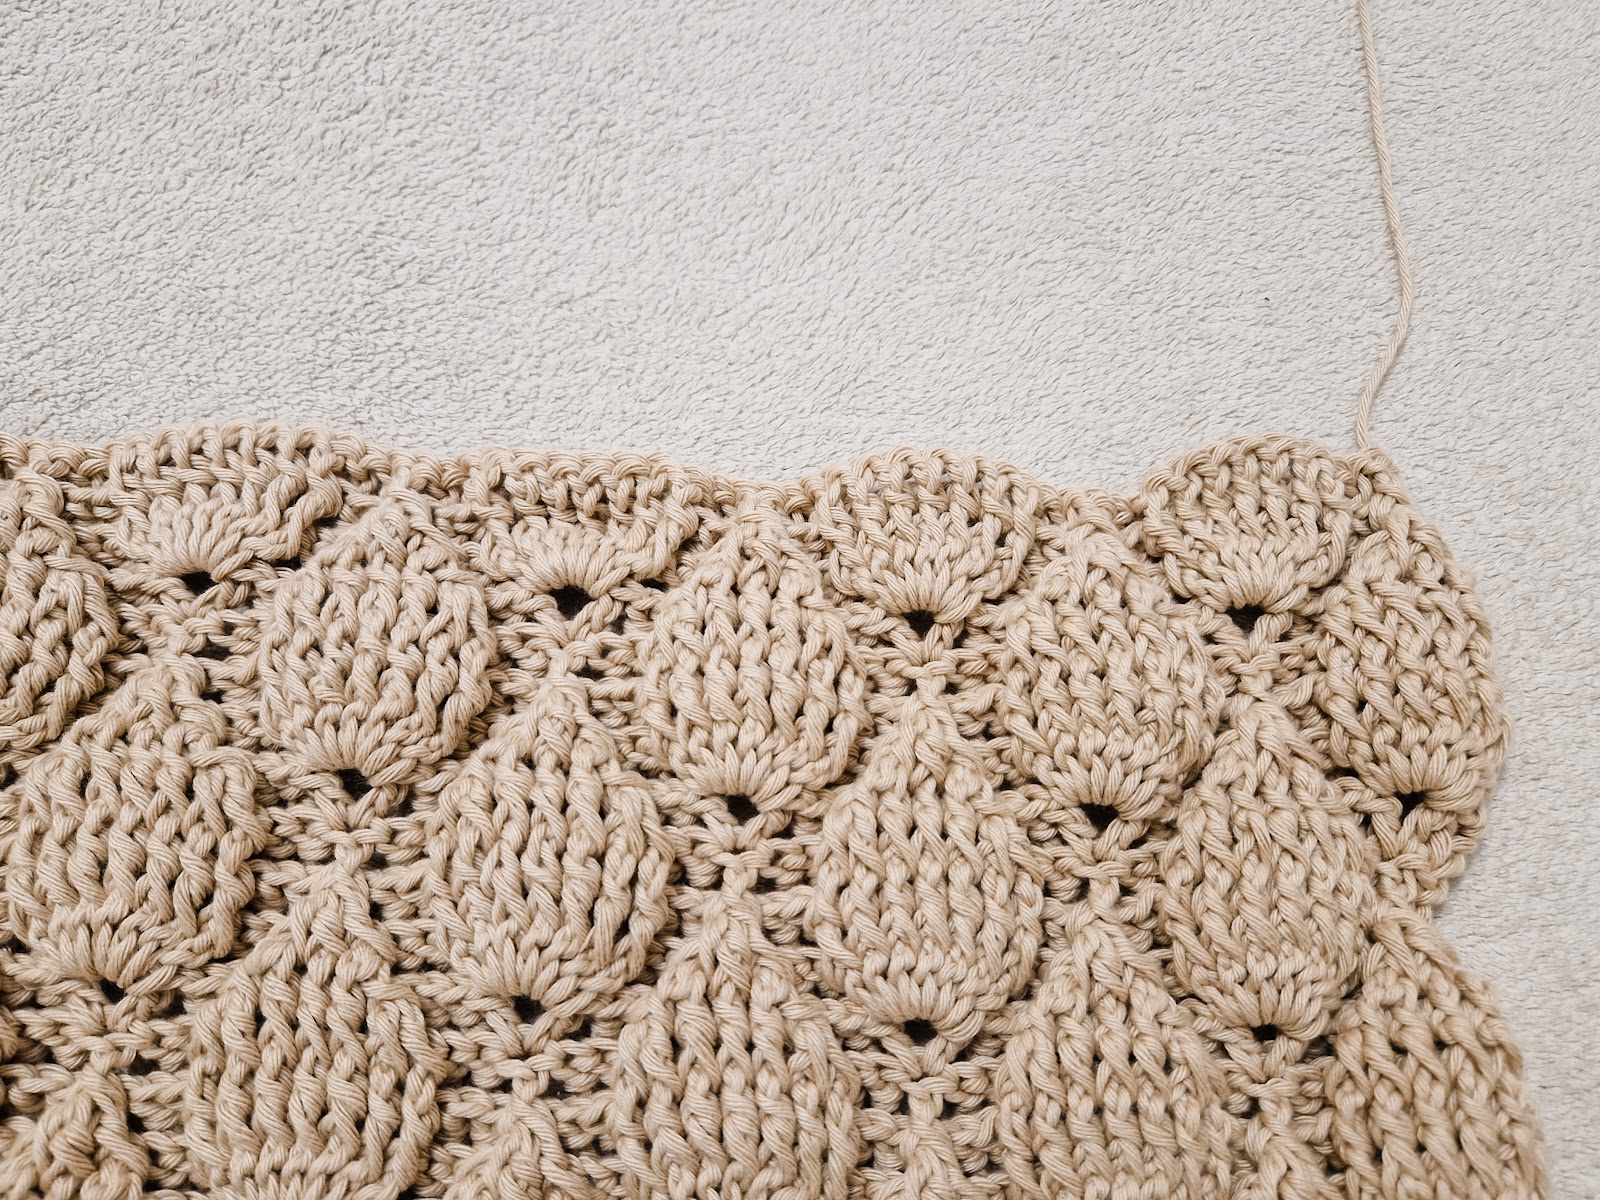
Assembling
- Be careful not to stretch the fabric when determining the width for the neck hole!
- Count sts on each panel and mark them with a stitch marker so the stitch count is correct on both sides and both panels.
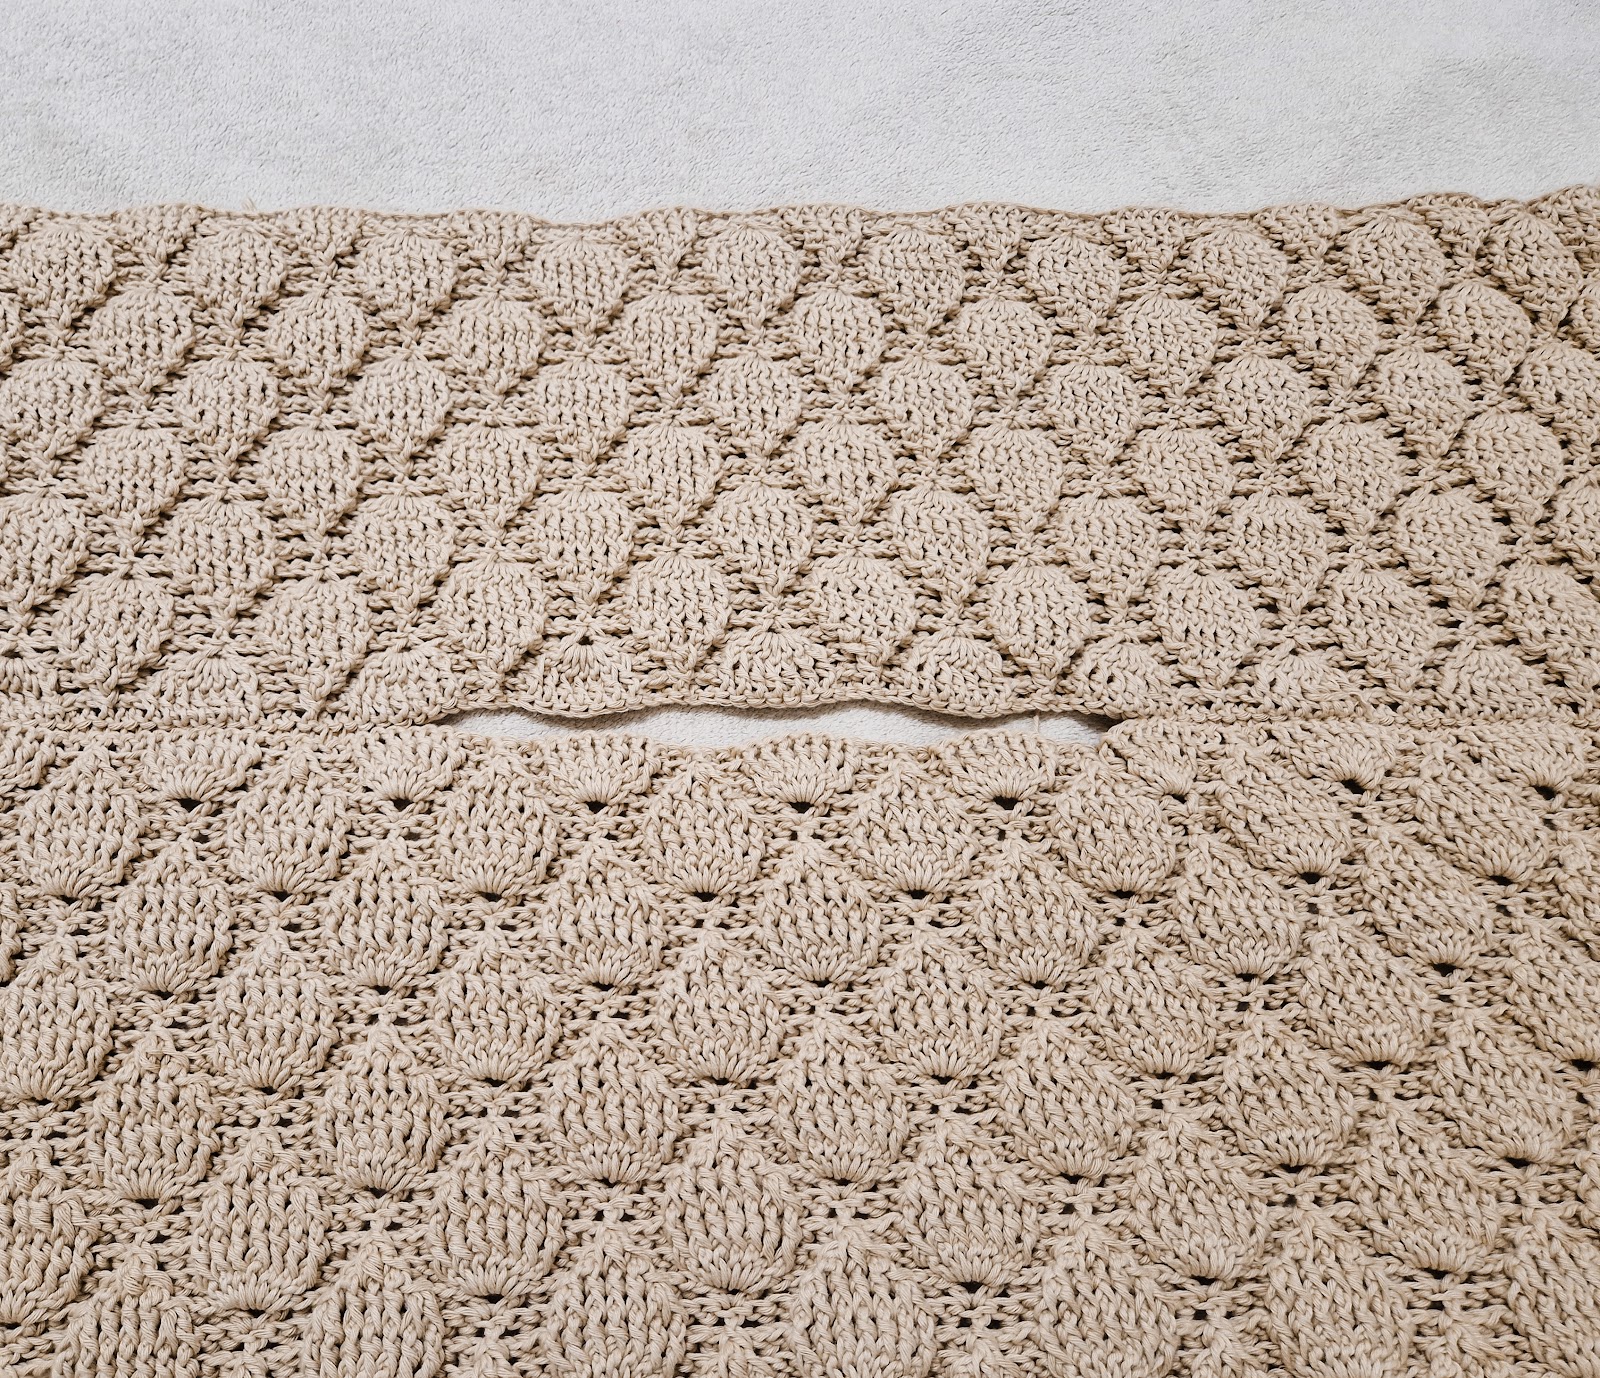
- Be careful not to stretch the fabric when determining the width for the underarm and waist width!
- The width for the waist is 40 cm.
- Count sts on each panel and mark them with a stitch marker so the stitch count is correct on both sides and both panels.
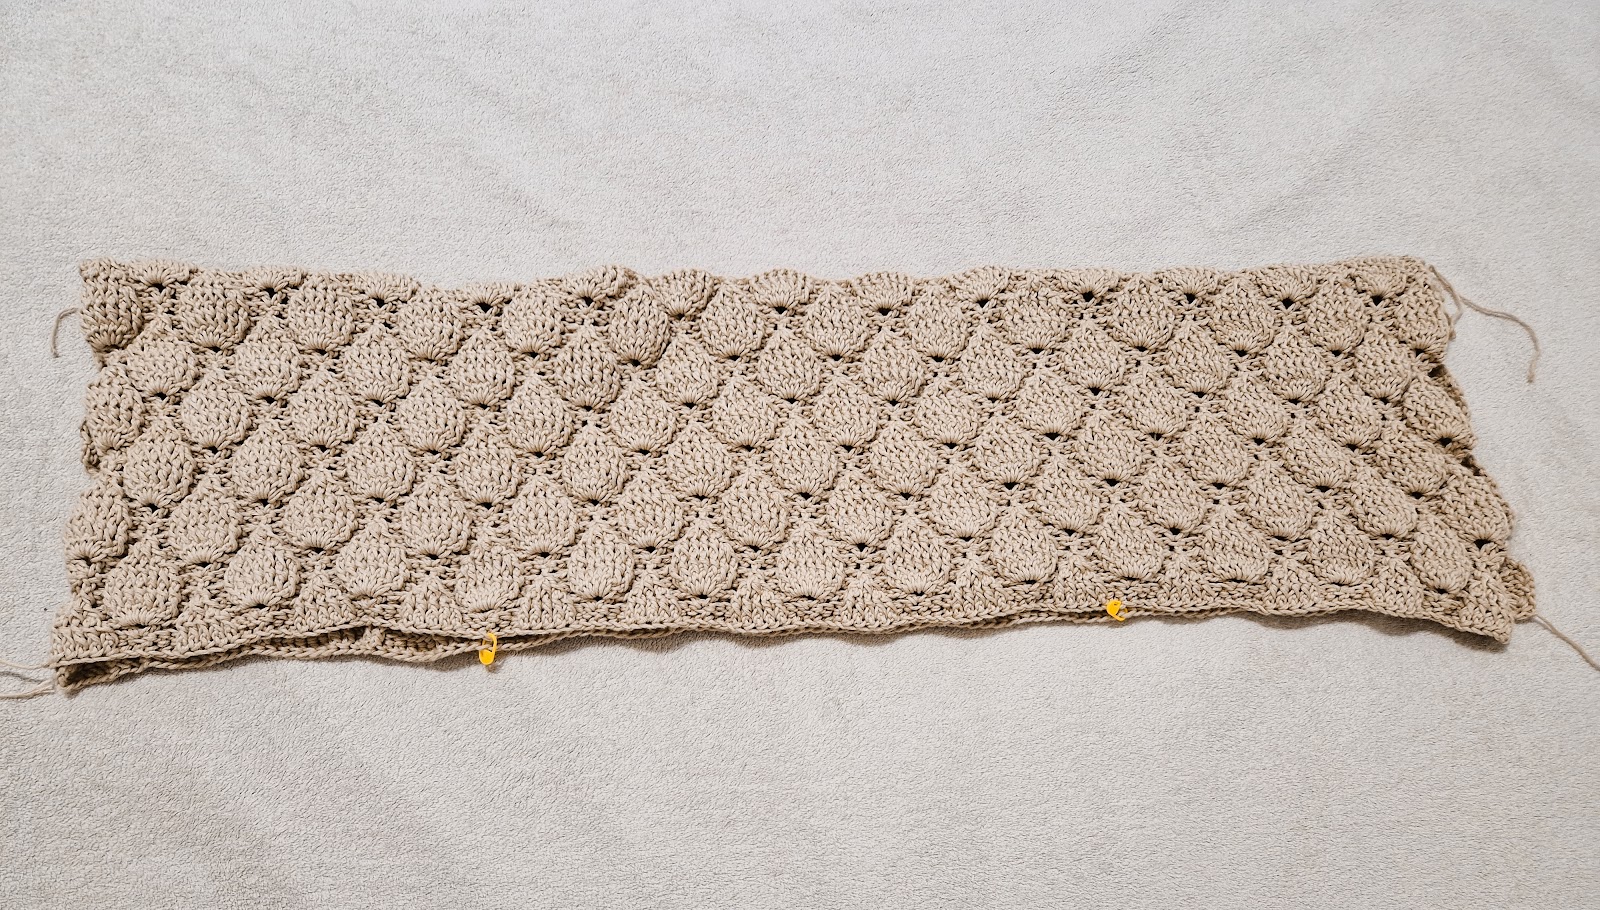
Waist
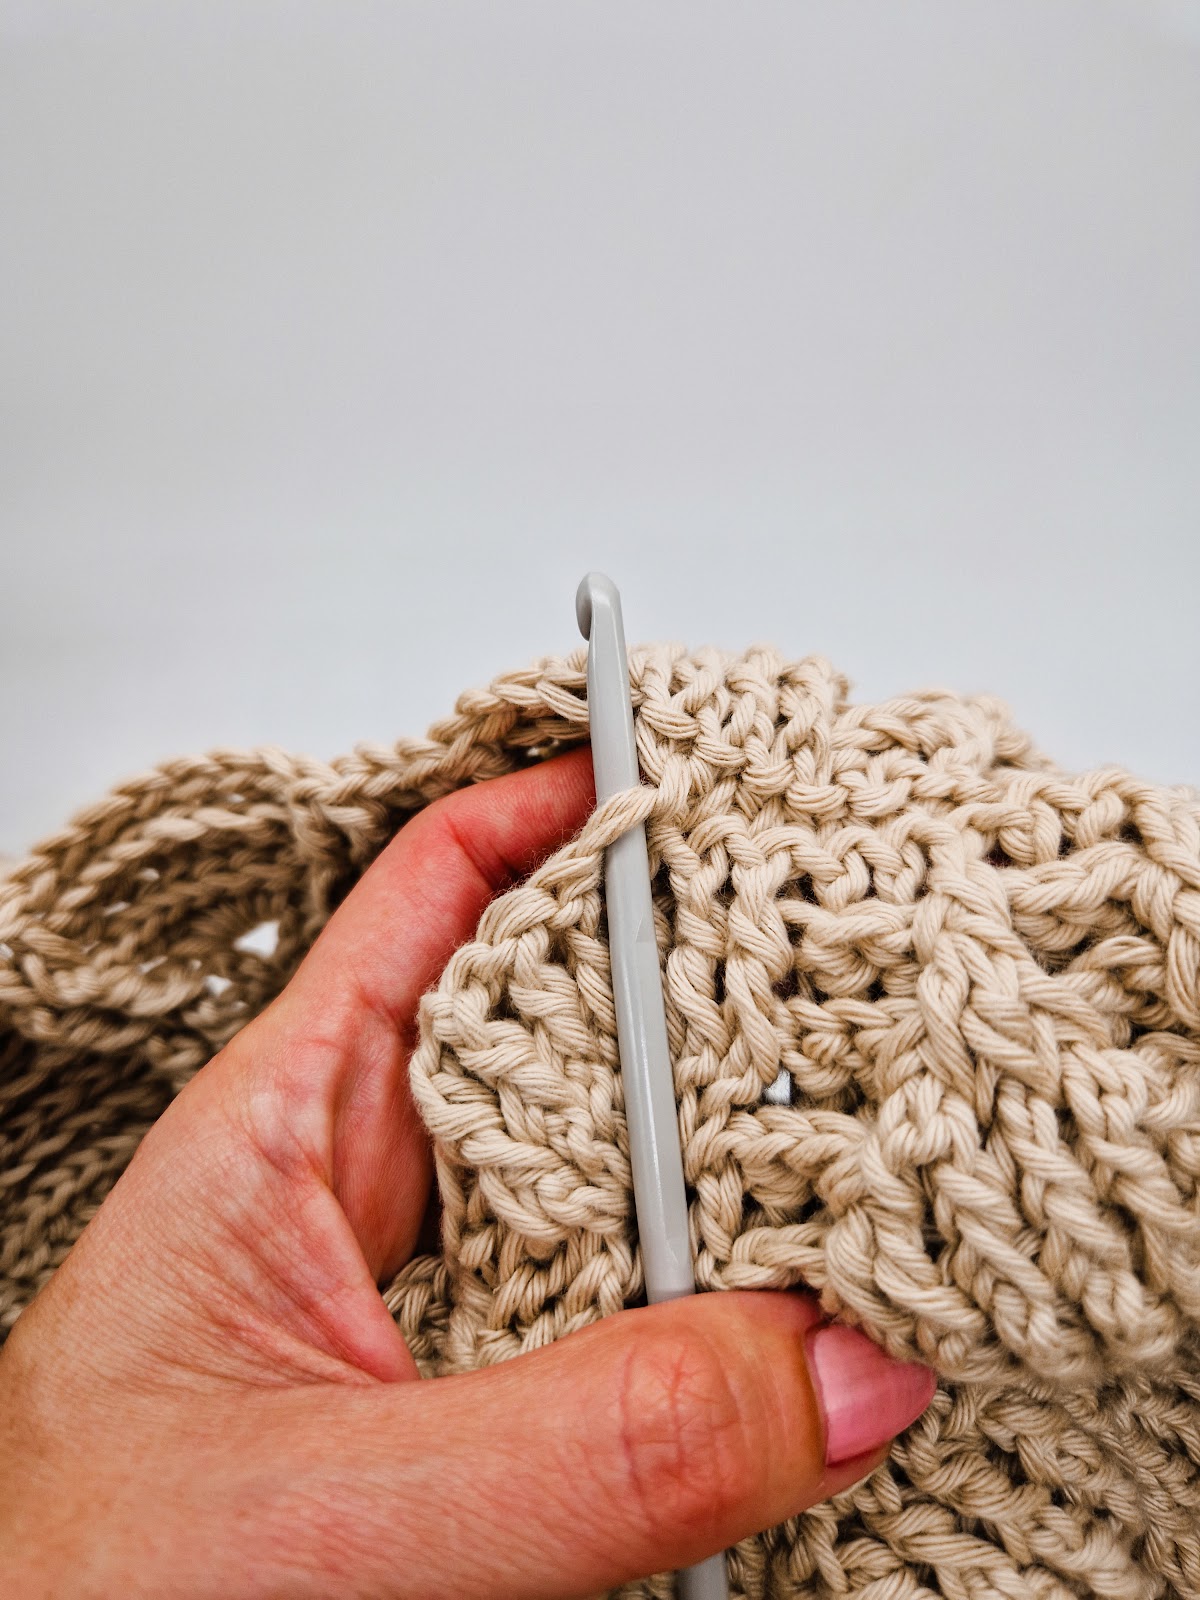
- Round 1: ch 2, fpdc in the same st as ch 2 and around. On the other side where the 2nd underarm seam is again work in the last st where you made the last sl st (on both panels). Sl st in the 1st fpdc to join the round.
- Round 2 – 4: ch 2, Fpdc around. Sl st in the 1st fpdc to join the round.
- Round 5: ch 1 (counts as a stitch), sl st in the 2nd st from the hook and around. Sl st in the ch 1 to join the round.
- Finish off.
Neckline
Repeat the instructions for the waist, for round 1 and round 5.
