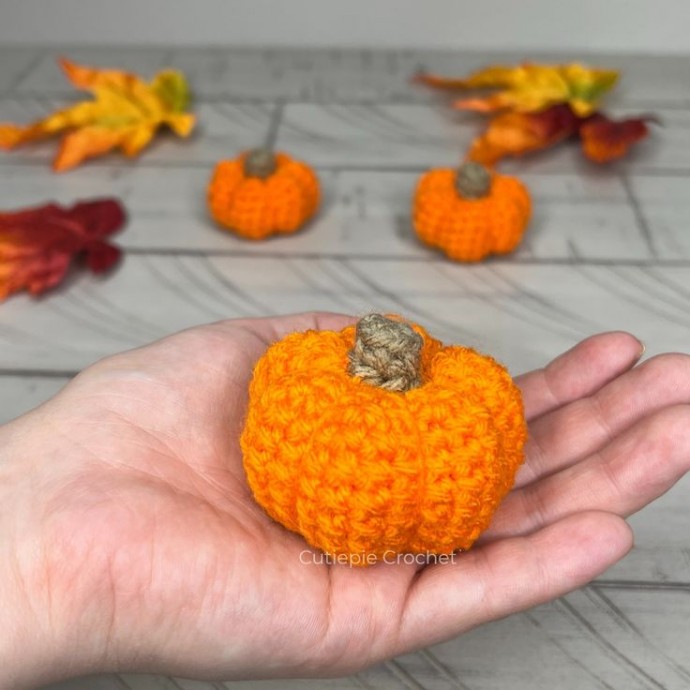
Crochet Mini Pumpkin Amigurumi

If you're looking for a cute and cozy fall decor idea, why not try making a Crochet Mini Pumpkin Amigurumi? These adorable tiny pumpkins are perfect for adding a touch of warmth to your home during the autumn season. With just a few basic crochet stitches and some yarn in cozy orange hues, you can create a charming little pumpkin that will bring a smile to your face.
Whether you're a seasoned crocheter or just starting out, this fun and friendly project is a great way to add a handmade touch to your fall decorations. So grab your crochet hook, pick out your favorite yarn, and get ready to craft your very own mini pumpkin amigurumi to cozy up your space!
For this pattern you will need:
-Worsted weight yarn (size 4)
-Polyester Fiber Fill
-3.75mm crochet hook
-Yarn needle
-Scissors
-Stitch markers
-Pins
Abbreviations
Mr- magic ring
St- stitch
Sc- single crochet
Inc- increase (sc twice in one stitch)
Dec- decrease (sc two stitches together)
BLO- sc in back loops only
Pumpkin:
Round 1: mr 6
Round 2: inc x6 [12]
Round 3: (sc 1, inc)x6 [18]
Round 4: (sc 2, inc)x6 [24]
Rounds 5-10: sc around [24]
Round 11: (sc 2, dec)x6 [18]
Round 12: (sc 1, dec)x6 [12]
Round 13: dec x6 [6]
FO, leaving an extra long tail for sewing. Stuff to medium firmness.
Stem:
Round 1: mr 6 [6]
Round 2: BLO sc around [6]
Tie off, leaving a long tail for sewing.
Assembly:
First, we’re going to make the bumps on our pumpkin.
-Using a yarn needle and the extra long tail from the pumpkin, bring the needle up through the middle of the pumpkin and out the top. Then bring the yarn in a straight line down the side of the pumpkin and insert it back into the middle of the bottom and then back through the top, pulling tight (but not so tight you snap the yarn). Bring the yarn straight down a few stitches away, insert it in the bottom middle, and bring it back up through the top. You’ve just created your first bump!
Repeat this step to make as many bumps as you want. I usually don't keep track of how many stitches are in each bump, I personally like to make them all slightly different because it looks a little more natural and less uniform.
-When you are done adding as many bumps as you want, tie off and hide your tail, then it’s time to attach the stem and then you are all done!
