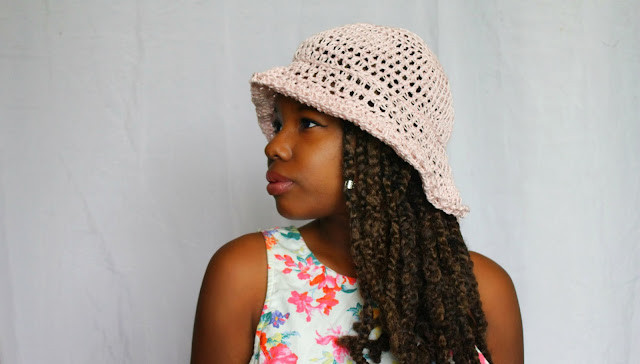
How to Make a Beautiful Crochet Spring Hat

Spring is the perfect time for bright colors, flowers blooming, and of course, a stylish crochet spring hat to top it all off! Whether you're strolling through a park or enjoying a picnic on a sunny day, a crochet spring hat adds that extra touch of charm and coziness. With a variety of patterns and yarns to choose from, you can easily customize your hat to match your unique style.
So, go ahead and embrace the season with a delightful crochet spring hat that will have you feeling fabulous and ready to soak up the sunshine with a smile on your face.Ingredients for Your Crochet Spring Hat
Crochet Hook>> H/8-5.00MM
Craft Scissors
Tapestry Yarn Sewing Needle
1 Skein of Natural in a Cotton Linen Blend
Medium 4 - "53% Cotton and 47% Linen"
Needle and Thread
Stitch Guide
HDC = half double crochet
SC = single crochet
DC = double crochet
SS = slip stitch
ST(S) = stitch(es)
CH = chain
Round[number] Row[number]

Working on Your Hat
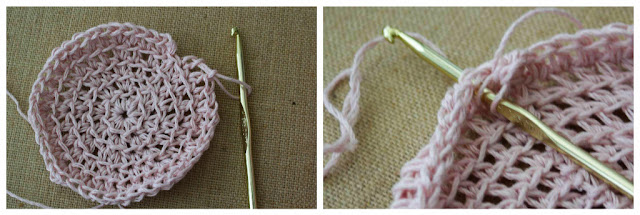
You will be working in rounds to create the hat.
CH 3
Connect the last ST to the first ST by SS.
HDC two times into the circle [for a total of 6 STS].
Round Instructions
RND 1: HDC into the first ST only once, HDC into the following ST two times... (Repeat this method for the entire Round, connect at the end of the Round and CH 1.) [for a total of 15 STS]
RND 2: HDC into the first ST only once, HDC into the following ST two times... (Repeat this method for the entire Round, connect at the end of the Round and CH 1.)
RND 3: HDC into the first TWO STS only once, HDC into the following ST two times... (Repeat this method for the entire Round, connect at the end of the Round and CH 1.)
RND 4: HDC into the first THREE STS only once, HDC into the following ST two times... (Repeat this method for the entire Round, connect at the end of the Round and CH 1.)
RND 5: HDC into the first FOUR STS only once, HDC into the following ST two times... (Repeat this method for the entire Round, connect at the end of the Round and CH 1.)
RND 6: HDC into the first FIVE STS only once, HDC into the following ST two times... (Repeat this method for the entire Round, connect at the end of the Round and CH 1.)
RND 7: HDC into All of the STS for the entire Row... (Repeat this method for the entire Round, connect at the end of the Round and CH 1.)

RND 8-17: (Crocheting in between the STS instead of inside) HDC into ALL of the STS for All of the Rows.. (Repeat this method for All of the Rounds, connect at the end of each Round and CH 1.)
RND 18-RND 22: SC two times into every ST... (Repeat this method for the entire Round, connect at the end of the Round and CH 1.)
RND 23: DC into all of the STS for the entire round... (Repeat this method for the entire Round, connect at the end of the Round and CH 1.)
RND 24: HDC into the first ST, CH 1, Skip 1 ST, HDC into the following ST (Repeat this method for the entire Round, connect at the end of the Round with a SS to complete work.)
Optional Tie for the Hat
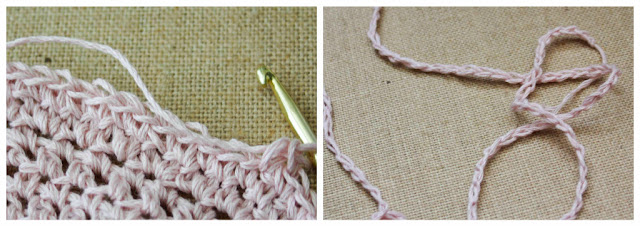
CH 74 to create a tie for the hat. Once complete, wrap the chain around the hat to tie it in the back.

