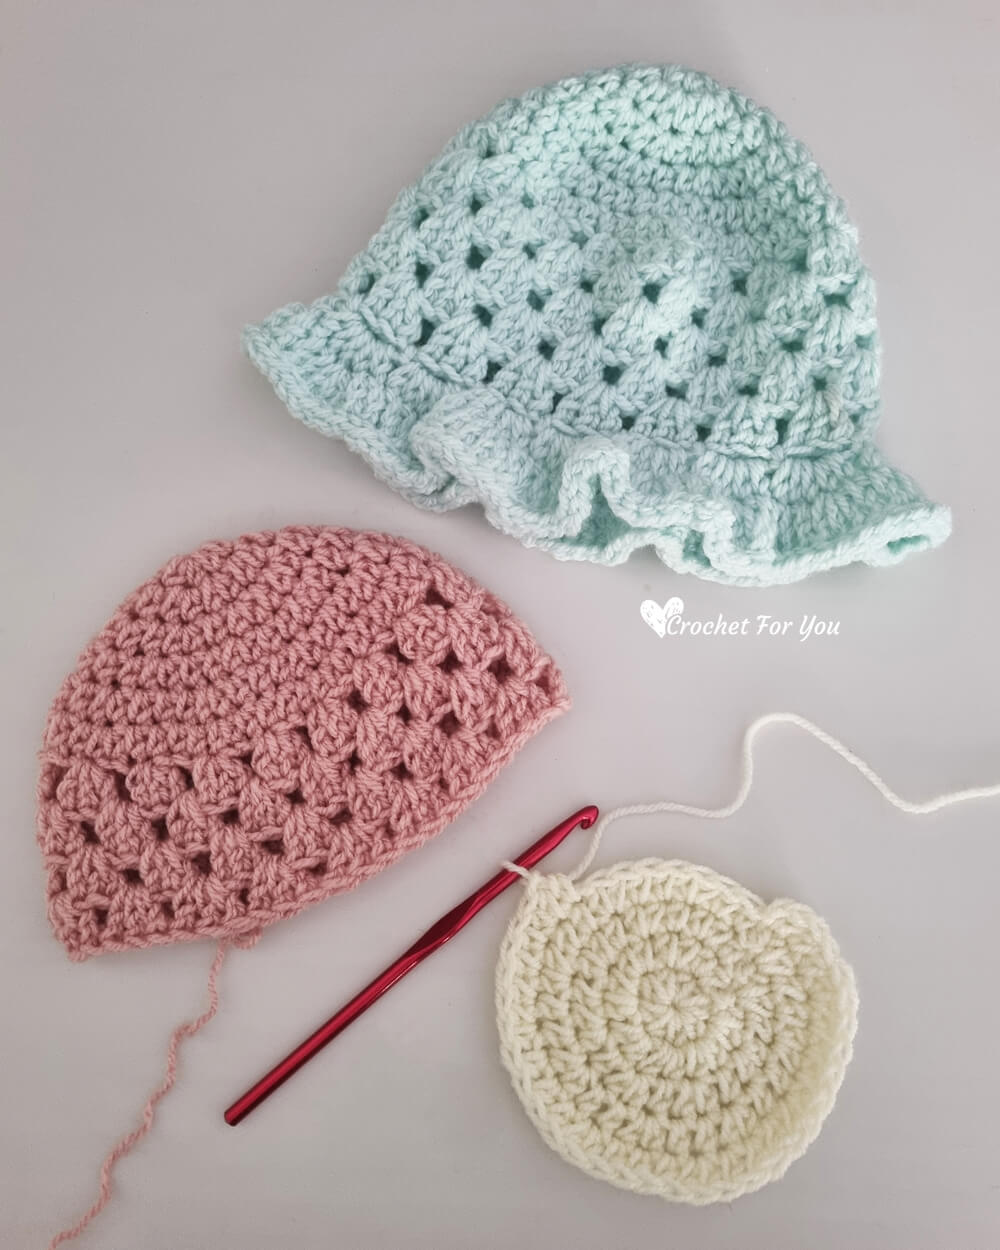
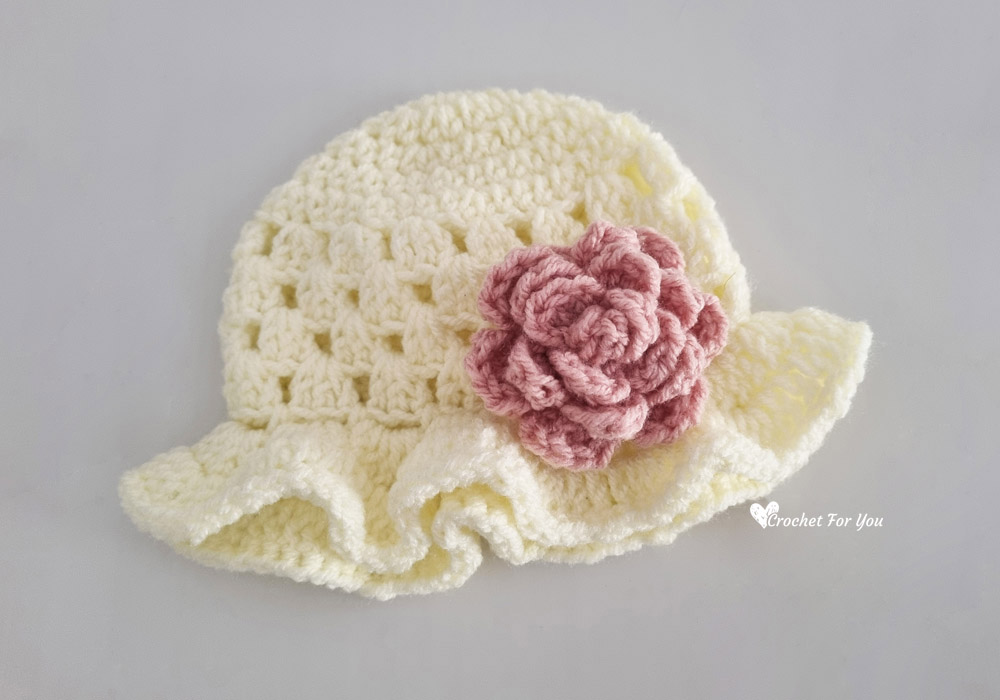
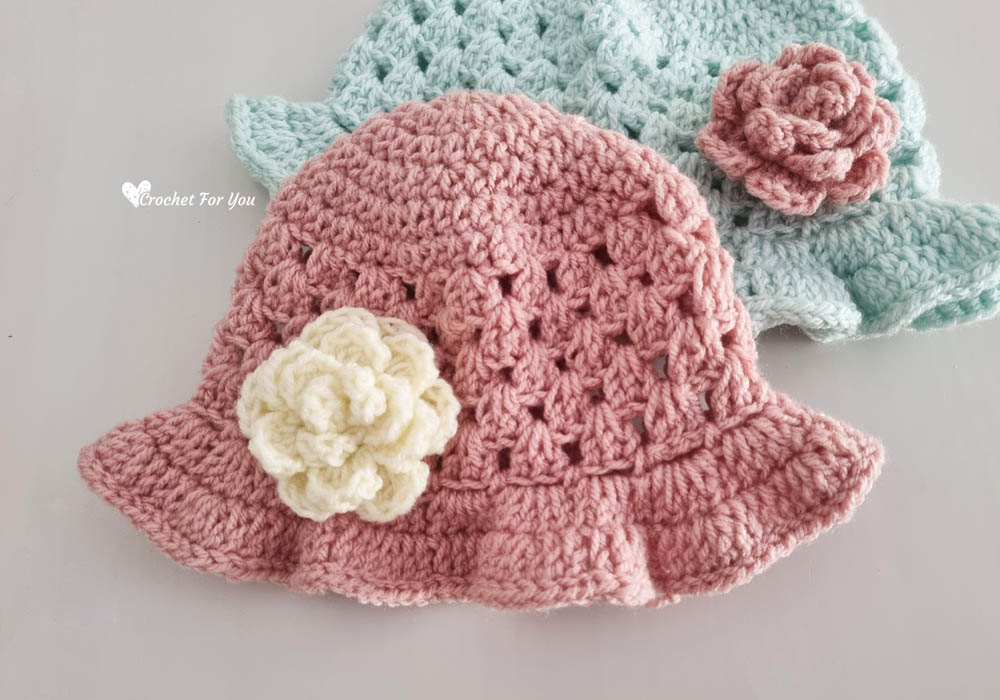
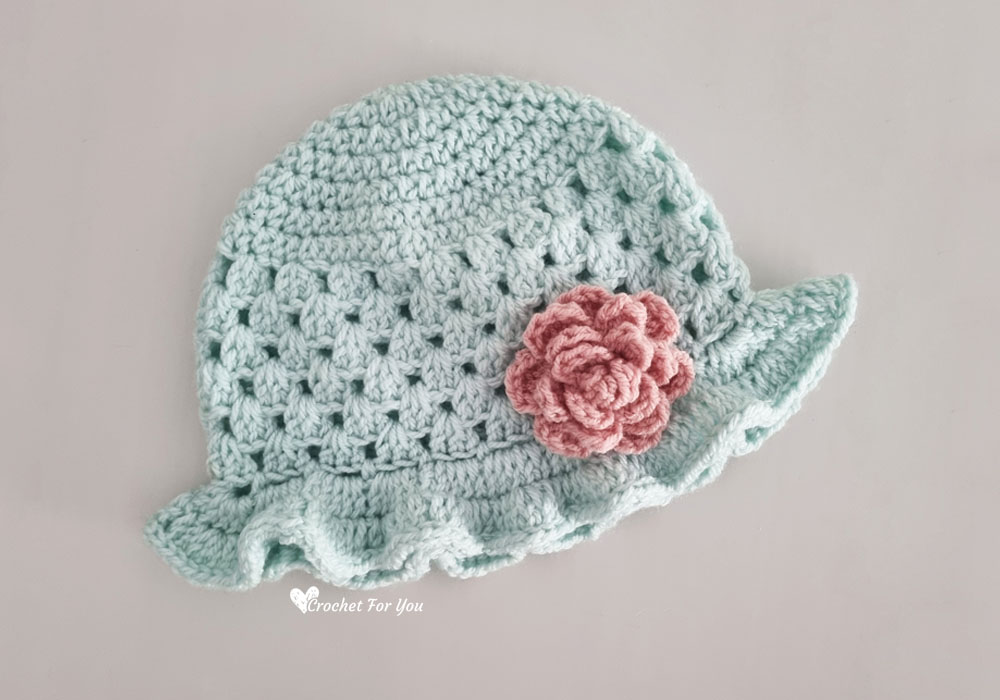
Crochet Spring Girls Hat

Create a beautiful hat for young girls perfect for the spring season using the art of crocheting. Crafted with delicate yarn and intricate stitches, this handmade accessory is sure to add a touch of charm to any outfit. The hat features a lightweight design, making it comfortable to wear on sunny days while still providing a stylish look.
Embrace the creativity and versatility of crocheting by making a unique spring hat for girls. With endless possibilities for colors and patterns, you can customize the hat to suit any personal style. Whether it's for a casual day out or a special occasion, this crocheted hat will be a lovely addition to any little girl's wardrobe.Materials;
Skill level: Easy
Finished sizes:
- 6-12 Months = 14″ circumference / 6.75″ height with ruffle brim
- 1-3 Toddler = 16″ circumference / 7.5″ height with ruffle brim
- 3-10 Child = 19″ circumference / 8.5″ height with ruffle brim
Materials: 4-Medium / Worsted / 100% Acrylic / Approx: 155 yards for each size
(I used)
– Ice Yarn Abordale 2 skeins for each size
– US I/9, 5.5mm crochet hook
– Tapestry needle for weaving ends
– Scissors
Gauge: 13 hdc x 8.5 rows = 4″ with US I-9, 5.5mm crochet hook.
Abbreviations (US Term)
- ch = chain
- sl st = slip stitch
- sc = single crochet
- hdc = half double crochet
- dc = double crochet
- st(s) = stitch(s)
- sk = skip
- sp = space
- *to = repeat * to the instructions.
- [ ] = work instructions within brackets as many times as directed
- beg = beginning
Special stitches
3-dc cluster – 3 dc into indicated st or chain space.

Notes:
– The hat works top to bottom featuring basic granny style.
– For other sizes: after you get the closest number to the size of the crown width you want. Continue the body part until you reach the hat height you need.
– Make ruffle brim last.
– And attach the flower embellishment to the hat if you want.
6-12 Months

Crown
Round 1: ch 1, 9 hdc into the ring, join with sl st in first st. (9 sts)
Round 2: ch 1, 2 hdc in first st and each of next st around, join with sl st in first st. (18 sts)
Round 3: ch 1, 2 hdc in first st, *hdc in next st, 2 hdc in next st; repeat * from around, join with sl st in first st. (27 sts)
Round 4: ch 1, 2 hdc in first st, *hdc in each of next 2 st, 2 hdc in next st; repeat * from around, join with sl st in first st. (36 sts)
Round 5: ch 1, 2 hdc in first st, *hdc in each of next 3 st, 2 hdc in next st; repeat * from around, join with sl st in first st. (45 sts)
Body of the hat
Round 6: ch 3 (count as stitch), 2 dc in first st, *sk next 2 st, 3-dc cluster in next st; repeat * from around, join with sl st in first st. (15 dc-clusters)
Round 7: crochet sl st until next space between clusters, ch 3, 2 dc in same space, *3-dc cluster in next space between clusters; repeat * from around, join with sl st in first st. (15 dc-clusters)
Round 8 and 9: repeat round 7.
Ruffle Brim
Round 10: crochet sl st until next space between clusters, sc in same space, *ch 3, sk next cluster, sc in next space between clusters; repeat * from around, join with sl st in first st. (15 ch-3 spaces)
Round 11: crochet sl st in first ch-3 space, ch 3 (count as st), 4 dc in same ch-3 space, *5 dc in next ch-3 space; repeat * from around, join with sl st in beg ch 3 top. (75 sts)
Round 12: ch 3 (count as st), dc in next st, 3 dc in next st, dc in each of next 2 st, *ch 1, dc in each of next 2 st, 3 dc in next st, dc in each of next 2 st; repeat * from around, join with sl st in beg ch 3 top. (105 sts)
Round 14: sl st in each st around. Fasten off and weave the end.
Flower embellishment
scroll down to see the flower pattern. Follow the pattern with your favorite color and attach it on to the hat.
1-3 Toddler

Crown
Round 1: ch 1, 9 hdc into the ring, join with sl st in first st. (9 sts)
Round 2: ch 1, 2 hdc in first st and each of next st around, join with sl st in first st. (18 sts)
Round 3: ch 1, 2 hdc in first st, *hdc in next st, 2 hdc in next st; repeat * from around, join with sl st in first st. (27 sts)
Round 4: ch 1, 2 hdc in first st, *hdc in each of next 2 st, 2 hdc in next st; repeat * from around, join with sl st in first st. (36 sts)
Round 5: ch 1, 2 hdc in first st, *hdc in each of next 3 st, 2 hdc in next st; repeat * from around, join with sl st in first st. (45 sts)
Round 6: ch 1, 2 hdc in first st, *hdc in each of next 4 st, 2 hdc in next st; repeat * from around, join with sl st in first st. (54 sts)
Body of the hat
Round 7: ch 3 (count as stitch), 2 dc in first st, *sk next 2 st, 3-dc cluster in next st; repeat * from around, join with sl st in first st. (18 dc-clusters)
Round 8: crochet sl st until next space between clusters, ch 3, 2 dc in same space, *3-dc cluster in next space between clusters; repeat * from around, join with sl st in first st. (18 dc-clusters)
Round 9 to 11: repeat round 8.
Ruffle Brim
Round 12: crochet sl st until next space between clusters, sc in same space, *ch 3, sk next cluster, sc in next space between clusters; repeat * from around, join with sl st in first st. (18 ch-3 spaces)
Round 13: crochet sl st in first ch-3 space, ch 3 (count as st), 4 dc in same ch-3 space, *5 dc in next ch-3 space; repeat * from around, join with sl st in beg ch 3 top. (90 sts)
Round 14: ch 3 (count as st), dc in next st, 3 dc in next st, dc in each of next 2 st, *ch 1, dc in each of next 2 st, 3 dc in next st, dc in each of next 2 st; repeat * from around, join with sl st in beg ch 3 top. (126 sts)
Round 15: sl st in each st around. Fasten off and weave the end.
Flower embellishment
scroll down to see the flower pattern. Follow the pattern with your favorite color and attach it on to the hat.
3-10 Child

Crown
Round 1: ch 1, 9 hdc into the ring, join with sl st in first st. (9 sts)
Round 2: ch 1, 2 hdc in first st and each of next st around, join with sl st in first st. (18 sts)
Round 3: ch 1, 2 hdc in first st, *hdc in next st, 2 hdc in next st; repeat * from around, join with sl st in first st. (27 sts)
Round 4: ch 1, 2 hdc in first st, *hdc in each of next 2 st, 2 hdc in next st; repeat * from around, join with sl st in first st. (36 sts)
Round 5: ch 1, 2 hdc in first st, *hdc in each of next 3 st, 2 hdc in next st; repeat * from around, join with sl st in first st. (45 sts)
Round 6: ch 1, 2 hdc in first st, *hdc in each of next 4 st, 2 hdc in next st; repeat * from around, join with sl st in first st. (54 sts)
Round 7: ch 1, 2 hdc in first st, *hdc in each of next 5 st, 2 hdc in next st; repeat * from around, join with sl st in first st. (63 sts)
Body of the hat
Round 8: ch 3 (count as stitch), 2 dc in first st, *sk next 2 st, 3-dc cluster in next st; repeat * from around, join with sl st in first st. (21 dc-clusters)
Round 9: crochet sl st until next space between clusters, ch 3, 2 dc in same space, *3-dc cluster in next space between clusters; repeat * from around, join with sl st in first st. (21 dc-clusters)
Round 10 to 13: repeat round 9.
Ruffle Brim
Round 13: crochet sl st until next space between clusters, sc in same space, *ch 3, sk next cluster, sc in next space between clusters; repeat * from around, join with sl st in first st. (21 ch-3 spaces)
Round 13: crochet sl st in first ch-3 space, ch 3 (count as st), 4 dc in same ch-3 space, *5 dc in next ch-3 space; repeat * from around, join with sl st in beg ch 3 top. (105 sts)
Round 14: ch 3 (count as st), dc in next st, 3 dc in next st, dc in each of next 2 st, *ch 1, dc in each of next 2 st, 3 dc in next st, dc in each of next 2 st; repeat * from around, join with sl st in beg ch 3 top. (147 sts)
Round 15: sl st in each st around. Fasten off and weave the end.
Flower embellishment
scroll down to see the flower pattern. Follow the pattern with your favorite color and attach it on to the hat.
Flower embellishment
Ch 44
Row 1: sl st to 6th ch from the hook, *ch 3, sk next ch, sl st to next ch; repeat * to end, turn. (20 ch-3 sp)
Row 2: sl st to ch-3 sp, [ch 2, 4 dc into the same ch-3 sp, ch 2, sl st to same sp, ch 1, sl st to next ch-3 sp] 7 times, [ch 2, 3 dc into the same ch-3 sp, ch 2, sl st to same sp, ch 1, sl st to next ch-3 sp] 7 times, [ch 1, 2 hdc into the same ch-3 sp, ch 1, sl st to same sp, ch 1, sl st to next ch-3 sp] 5 times, ch 1, 2 hdc into same sp, ch 1, sl st to same sp, fasten off. Cut the yarn leaving 20” long yarn tail.
With the tapestry needle, sew the flower while curling. Start from you finished side with the yarn tail. Add a few more stitches back and forth to secure. And attach the flower to the hat. Cut the yarn and weave the end.
