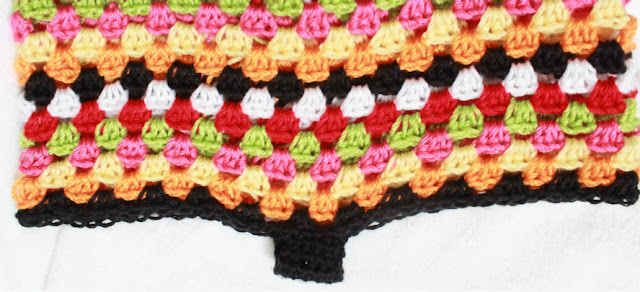
Create Your Own Stylish Cochet G-Squared Shorts for an Active Lifestyle
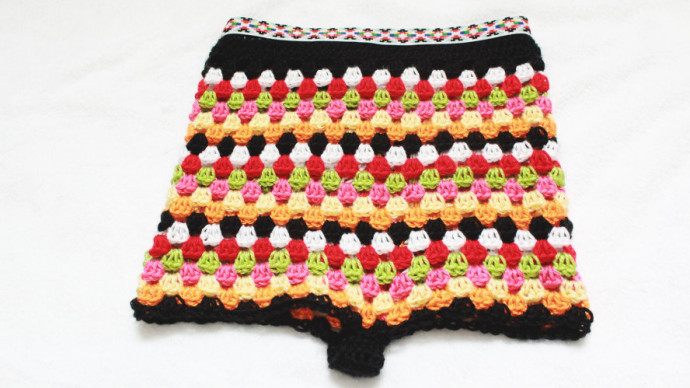
Excited about enhancing your workout wardrobe with style and functionality? The Cochet G-Squared Shorts are your perfect go-to choice! These trendy shorts not only provide a flattering fit but also offer great support and flexibility for your active lifestyle. Whether you're hitting the gym or going for a run, these shorts are designed to keep you comfortable and confident throughout your workout.
Say goodbye to compromising style for comfort and say hello to your new favorite workout companion - the Cochet G-Squared Shorts!Materials Needed
Materials:
- Scrap Yarn leftover from projects, all Caron Simply Soft Yarn // Medium 4
- You can use as many colors as you choose [I used 7 total]. Less than half a skein of yarn [depending on the amount of yarn]; approximately 10-12 yards of yarn per color
- Craft Scissors
- Crochet Hook H/8 5.00 MM
- Tapestry Sewing Needle
- Measuring Tape
- Sewing Needle and Thread
- Elastic Band [1 inch band]
Abbreviations
- hdc = half double crochet
- dc = double crochet
- [number]tch[s] = turning chain[s]
- sts = stitches
- ** = Repeat method until end of round
Measuring and Cutting the Elastic
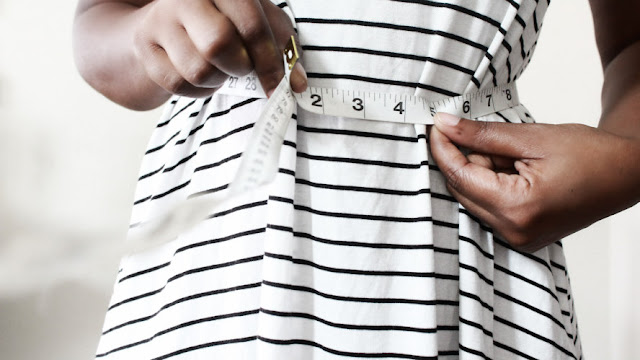
First things first! You will want to measure the circumference of your waist. I wanted the shorts to hit a bit higher, around the belly button. Write down your measurements.

Next, you will measure your elastic band, utilizing the number from your waist measurement with a few centimeters longer [like 2-3 cm]. Cut your elastic band and, with your sewing needle and thread, overlap those few centimeters to sew securely for that extra 2-3 cm together to create a round.
Crocheting the Shorts
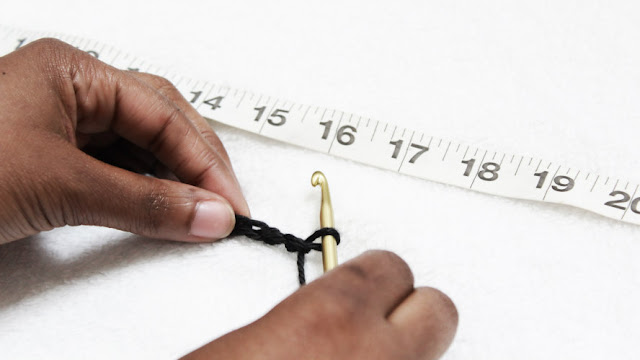
Next, you will crochet to the length of the elastic band based on your waist measurement, disregarding those 2-3 cm. For example: If I measured out 28, I crocheted to 95 STS, allowing for the turning chain amount.
For Row 1: HDC the entire row, into all of the STS, and once you hit the last ST, you will pause your work here.
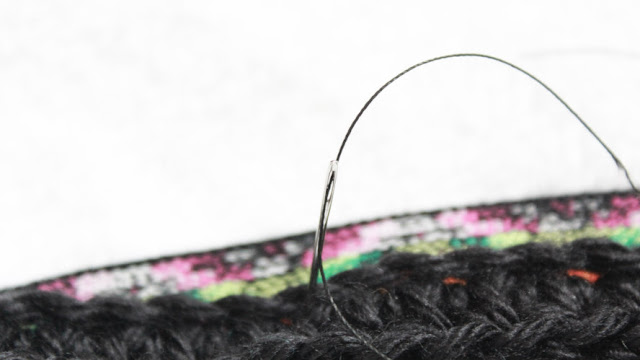
Next, you will sew that first round to the inside/back of the elastic band, using your sewing needle and thread to secure the crochet to the band. Sew in between the STS; you might have to double around. [My version is hand sewn!]
Continuing the Pattern
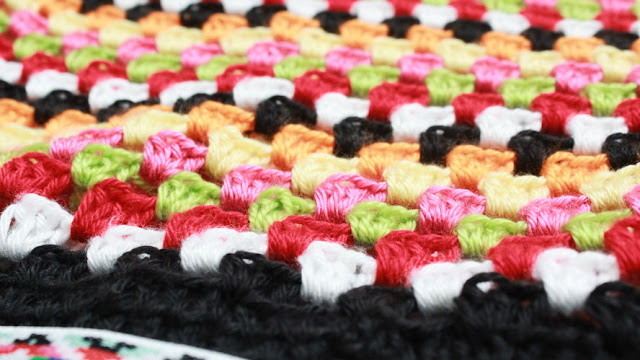
You will return back to Row 1, inserting your hook back into your last ST. You will SS to connect the last ST to the very first ST, thus creating a round. This will be the process to follow from now on. You can alternate colors every other round however you choose. NOTE: You will be alternating colors for each individualized round.
For Round 2 to Round 4: HDC into all of the STS for ALL of the rounds; at the end of each round, SS to continue work as well as accommodate the turning chain accordingly.
For Round 5 to Round 22: HDC into the first ST, **CH 1, Skip 3 STS and into the following ST, HDC [three times all into the same ST] next, CH 1, Skip 3 STS and HDC [three times all into the same ST]. [**Repeat this method until the end of the round, ending on a single HDC to complete the round. At the final Round [22], you will SS to complete the final work for this section. The length should be 14 inches with 119 STS per round.
*Also, if you want to lengthen the shorts, extend from Round 22 or decrease from that section depending on personal preference.
Shaping the Bottom of the Shorts
Next, measure out the bottom of your shorts. Mine was 16.5 inches wide. You will find the middle section, which will utilize only 1 inch, to start the middle section to construct the "shorts" appearance.

Insert your hook into the middle for 5 STS [2.5 inches width] solely or more, depending on personal preference.
For Row 1 to Row 6: HDC into all of the STS for all of the rows, utilizing turning chains accordingly. When you hit Row [6], SS to complete the final work for this section.
Turn the project inside out to sew the middle section using your tapestry sewing needle and a strand of yarn [9 inches or so] [as shown above "middle photo"]. Sew the section to the other side of the bottom piece [as shown above "right"], connecting the strip together and securing it.
*Also, if you want to lengthen the middle section, extend from Row 6 or decrease from that section depending on personal preference.
